I love scallion pancakes. Hot off the griddle, they’re crisp and flaky on the outside and slightly chewy on the inside, with layers of aromatic scallions sprinkled throughout. 🤤 I’ve long dreamed of perfecting homemade scallion pancakes and making a huge batch to stash in the freezer and pull out anytime I want a comforting snack or appetizer!
While I’ve tried a number of different recipes over the years and made some tasty (and some just ok) pancakes, my quest to perfect my scallion pancake recipe and technique is still ongoing. I was super excited to find a recipe in Made in Taiwan: Recipes and Stories from the Island Nation when we bought the book last year, and finally got a chance to try it out at home. Keep reading below to see how it went for me! I’ve also added lots of process pictures to show how I made it, which I hope you’ll find helpful if you try it yourself, since the book itself doesn’t include any.
Making the dough
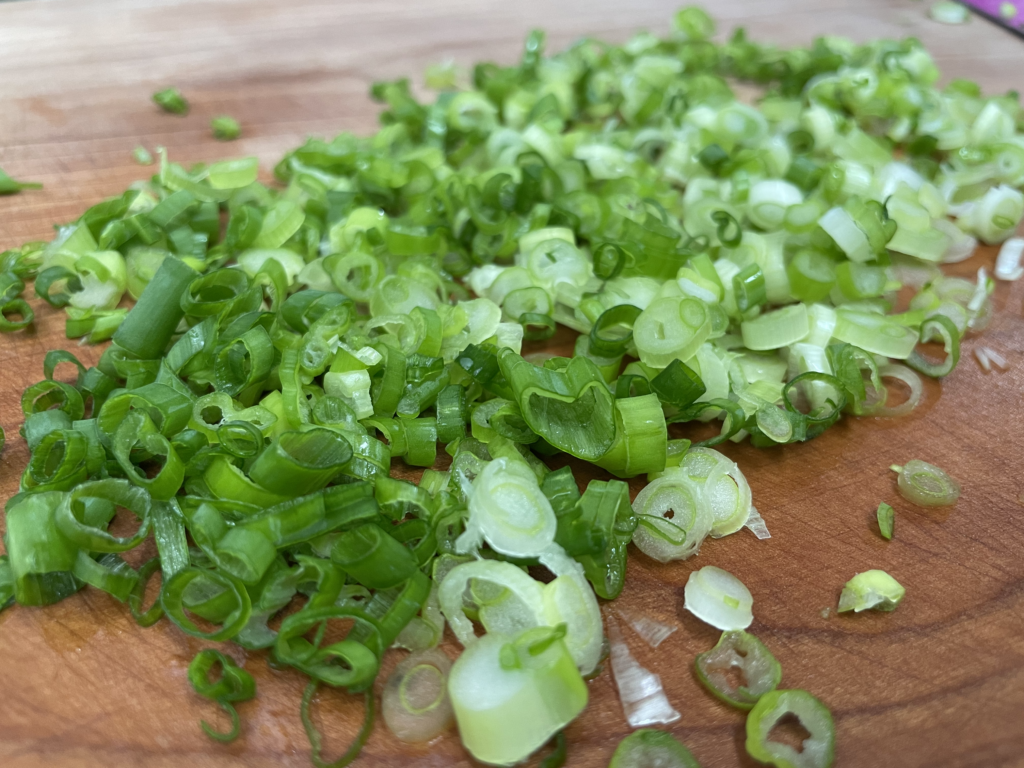
The very first step in the recipe is to spread minced scallions out on a paper towel to let them air dry. I’ve actually never done this before, but it makes sense as you don’t want wet scallions to make the inside of your pancakes heavy and mushy! (I actually opted to leave my scallions spread out on a wooden cutting board, which also did a great job absorbing moisture.)
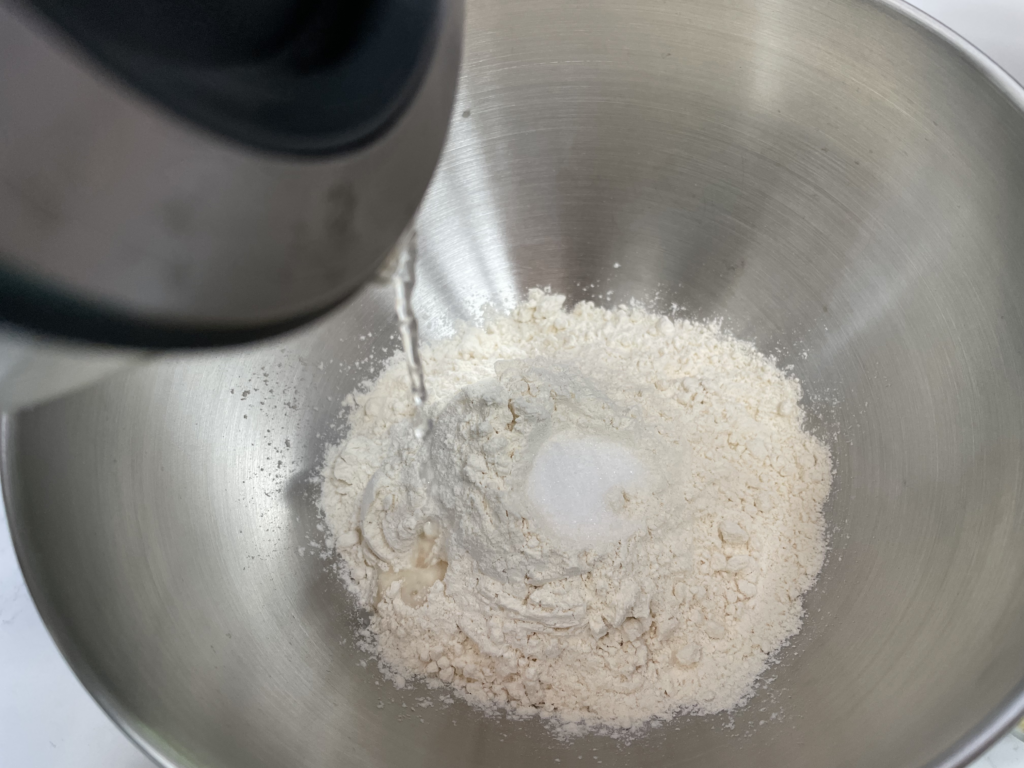
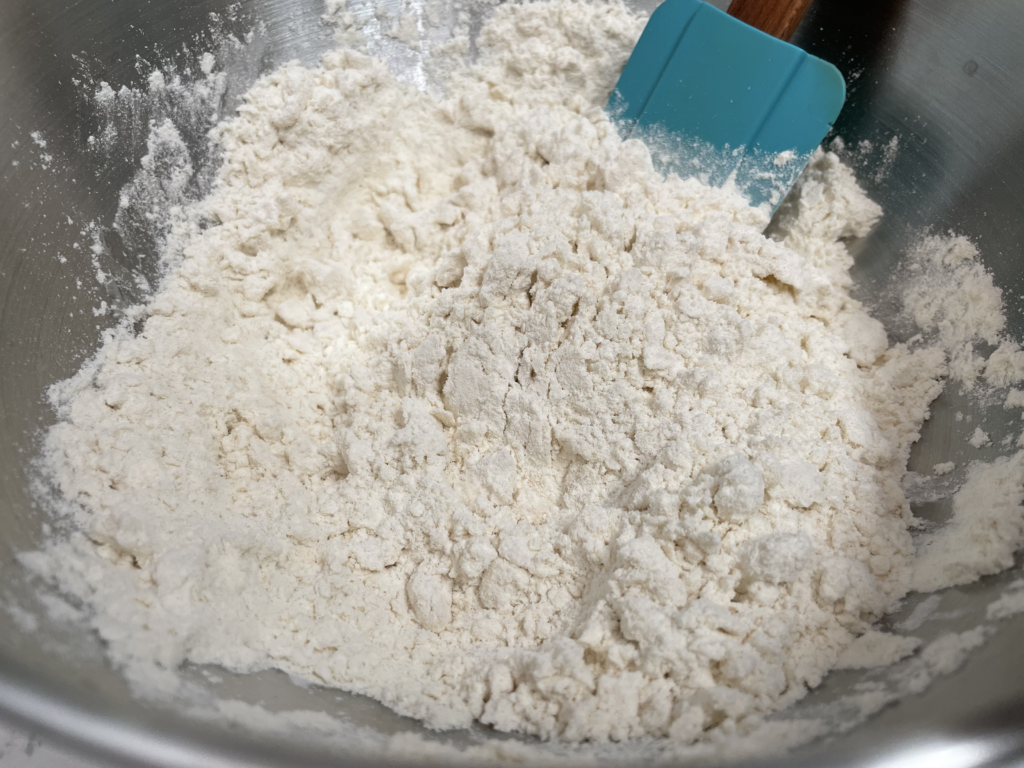
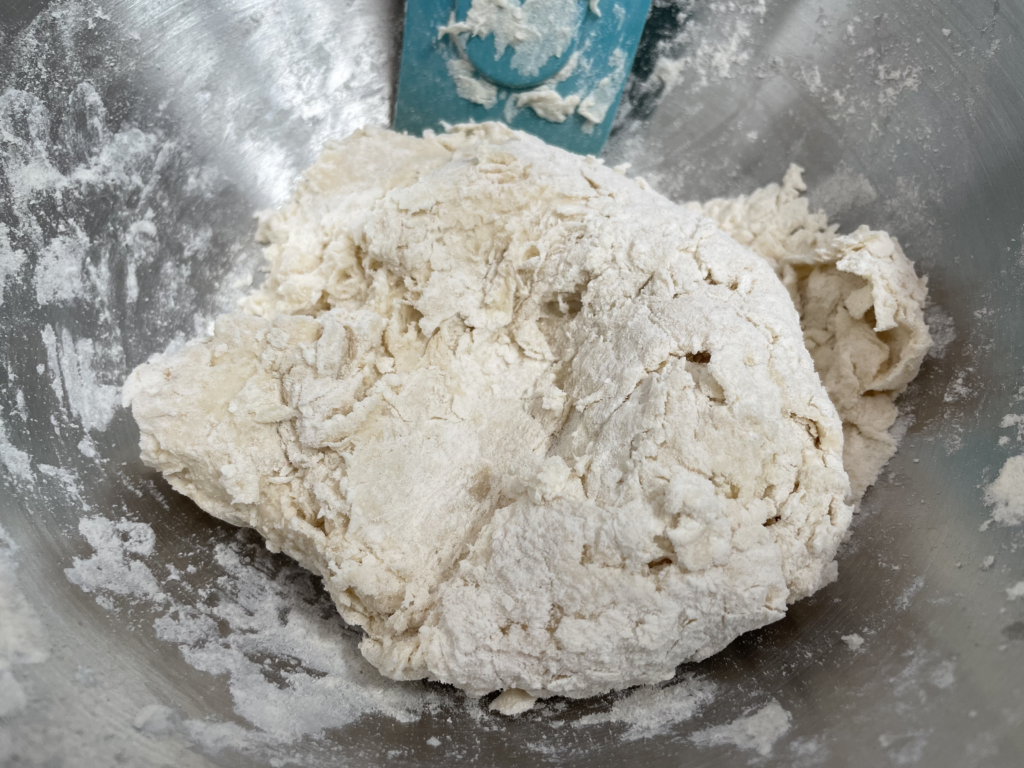
This pancake uses a standard hot water dough technique of adding hot water first, then room-temperature water. The hot water “cooks” the flour a bit to give it a softer, stretchier texture with less gluten development, and makes it easier to roll the dough thinner. You can see that my dough still had dry spots after adding all the water, which worked out fine because everything gets hydrated and combined while kneading in the fat next.
(Note: For reference, my ½ tsp of fine sea salt that went into the dough weighed out to 2g.)
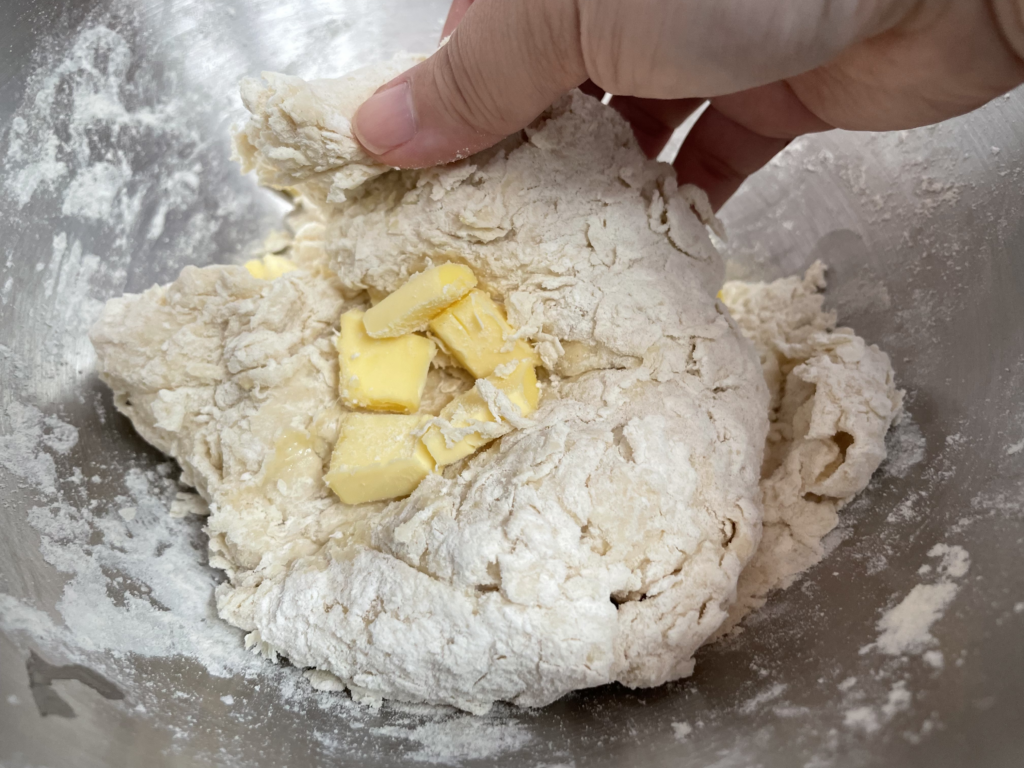
The introduction to this recipe states that “the use of lard is mandatory” according to original recipe author Tung Yu-Chu (董玉珠), but the recipe ingredients indicate that unsalted butter can be used instead. I didn’t have any lard on hand, so I went with butter. (Interestingly, they also note that Yu-Chu’s original recipe uses MSG as well. Their adaptation omits it, but I wonder how much the MSG would have altered the end result!)
I do believe that using lard vs. butter would make a difference in the final product. Lard has a lower water content and higher melting point, while butter has its signature buttery taste. I surmise that using lard will yield a more tender and flaky pancake, so I’ll have to try it next time and update here – for now, I can only speak to how they came out using butter!
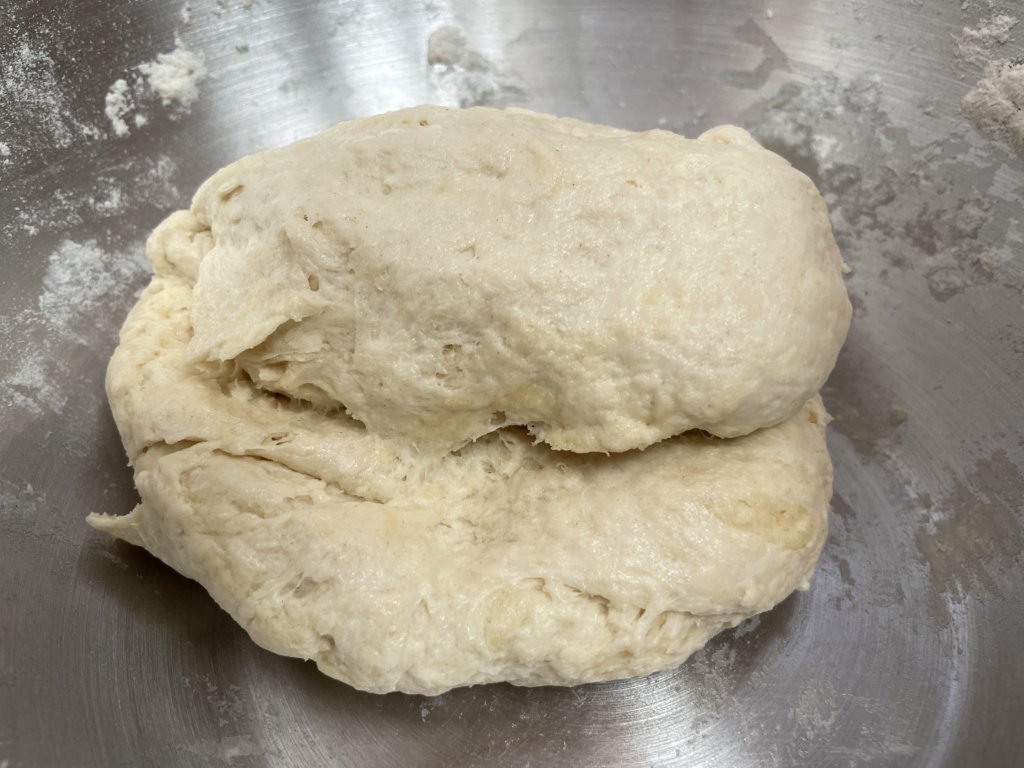
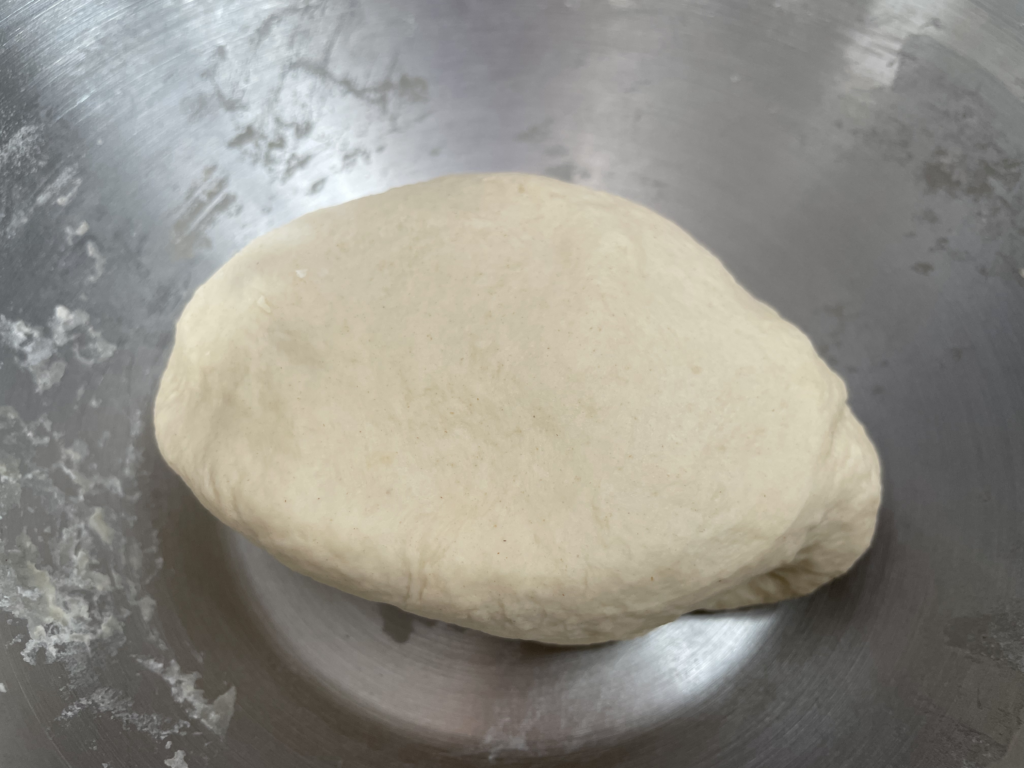
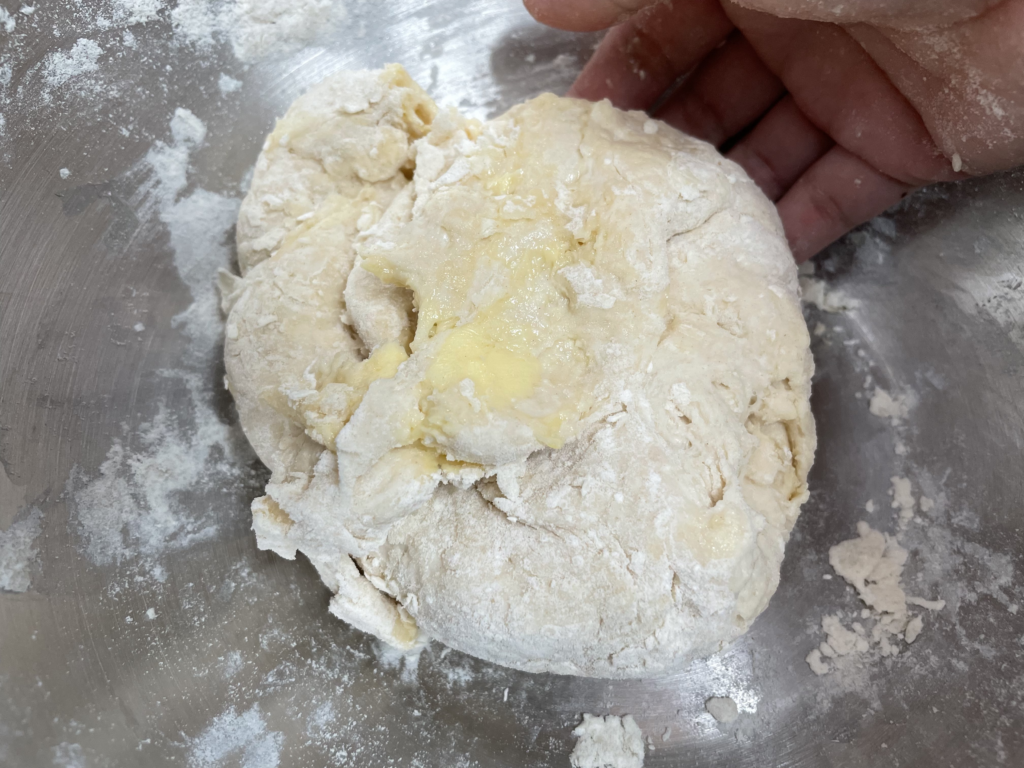
It took me a good bit of hand-kneading to get all the softened butter emulsified into the dough. From there, I continued kneading until I got a reasonably smooth, pliable dough. I also got some well-hydrated and deliciously fragrant hands as a side benefit from all that butter! 😂 If you’re not up for hand-kneading, a stand mixer would make this process easier and faster.
Dividing & shaping

While waiting for the dough to rest, I mixed up the remaining salt and butter, to be spread on the inside of the pancakes later.
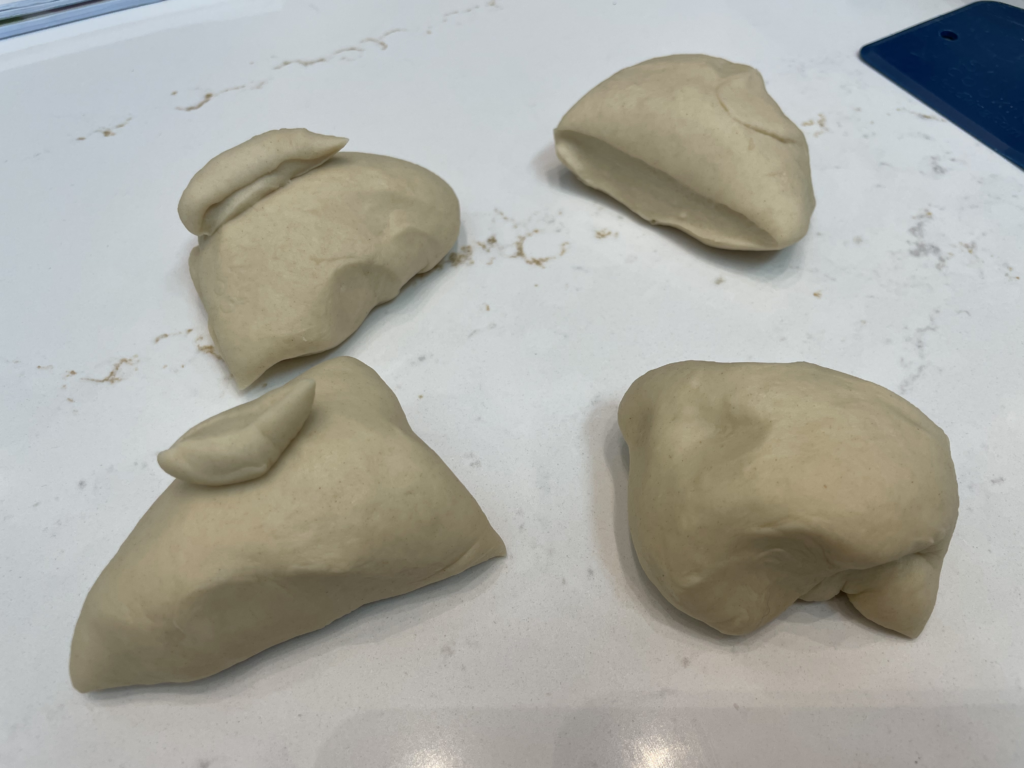
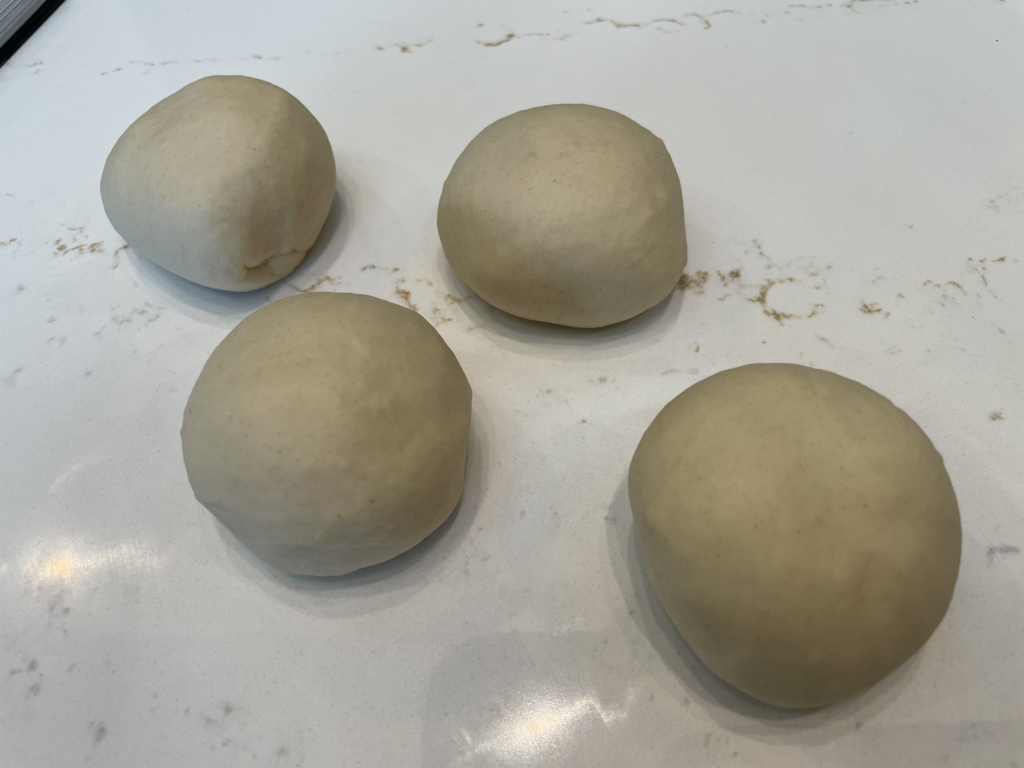
After a 30-minute rest, I divided the dough into 4 equal-weight pieces using a scale. Since the pieces were all irregular shapes after dividing, I first shaped them into rounds before flattening.

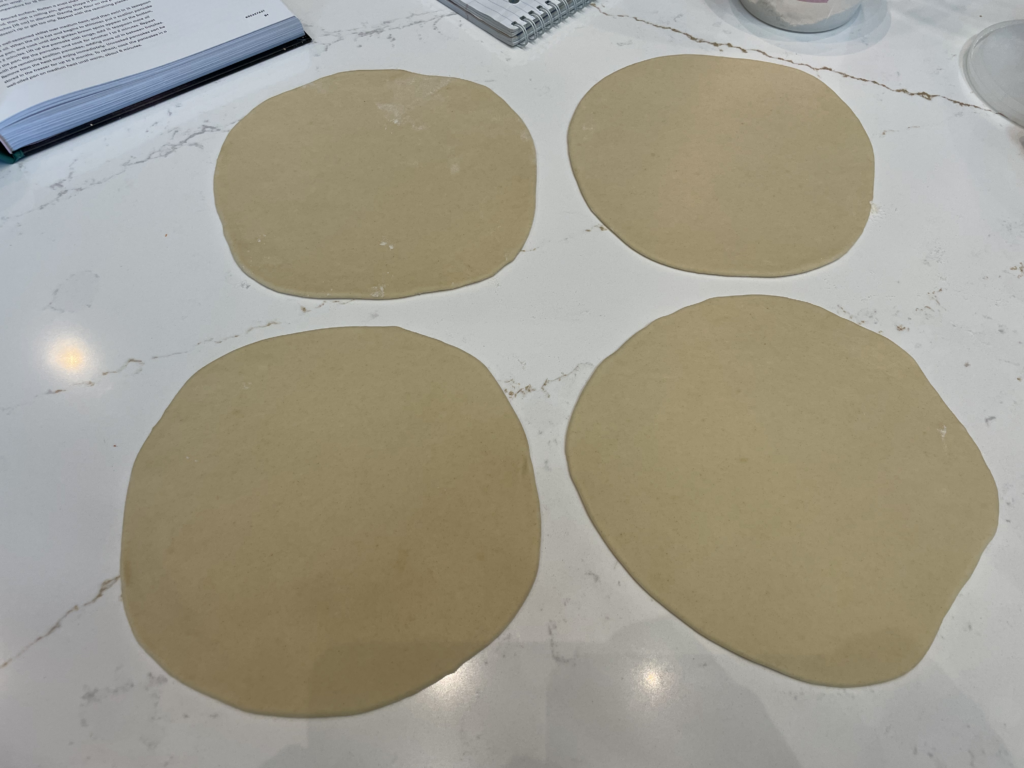
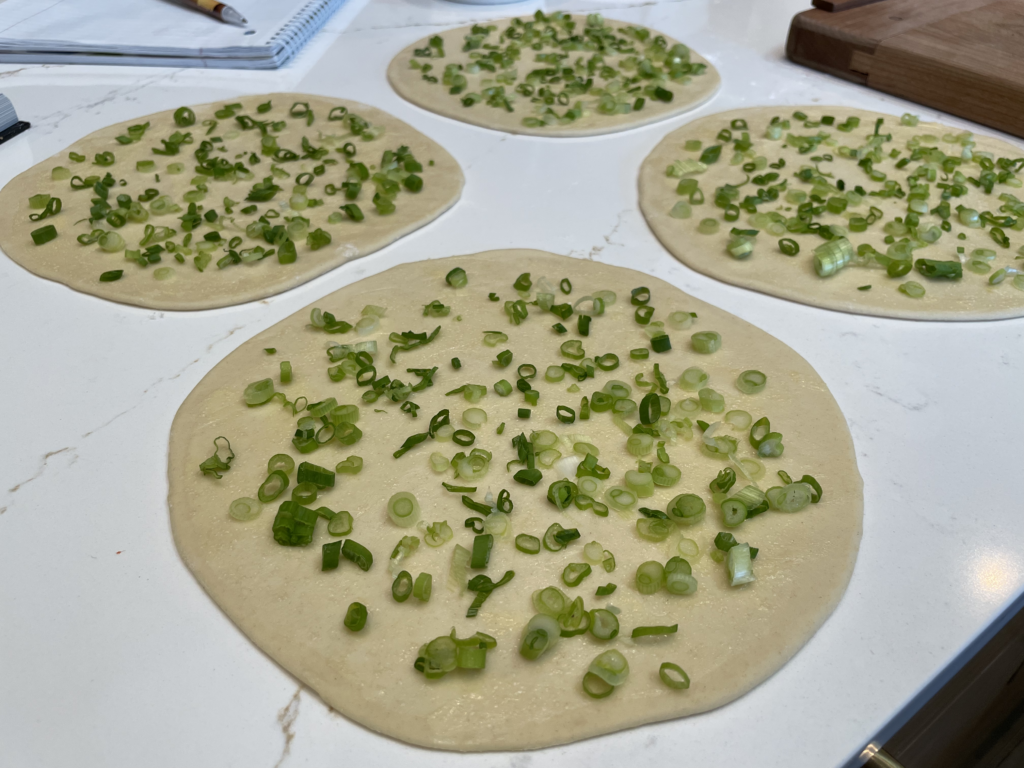
Thanks to the hot water in the dough and the rest period, each of my dough balls rolled out to thin 9-inch rounds pretty easily. The recipe says to use a pastry brush to brush the salted butter evenly onto each round, but I found it easier and less wasteful to spread with a spatula or butter knife. There wasn’t much butter to go around, so I ended up having to spread a very thin layer onto each – more like gently scraping to get a super thin, translucent coating all over each round. From there, I divided the scallions evenly across the rounds.
After rolling up each disc into a log and stretching to elongate them, I found the next steps for shaping the pancakes a bit confusing as written. The recipe says to:
Place your palms face down on the rope, with one palm on each side. Swipe the right palm up and the left palm down at the same time so that the rope begins to twist onto itself. Take one end of the rope and begin to coil it up against itself like a snail shell.
– Clarissa Wei, Made in Taiwan: Recipes and Stories from the Island Nation, p. 51
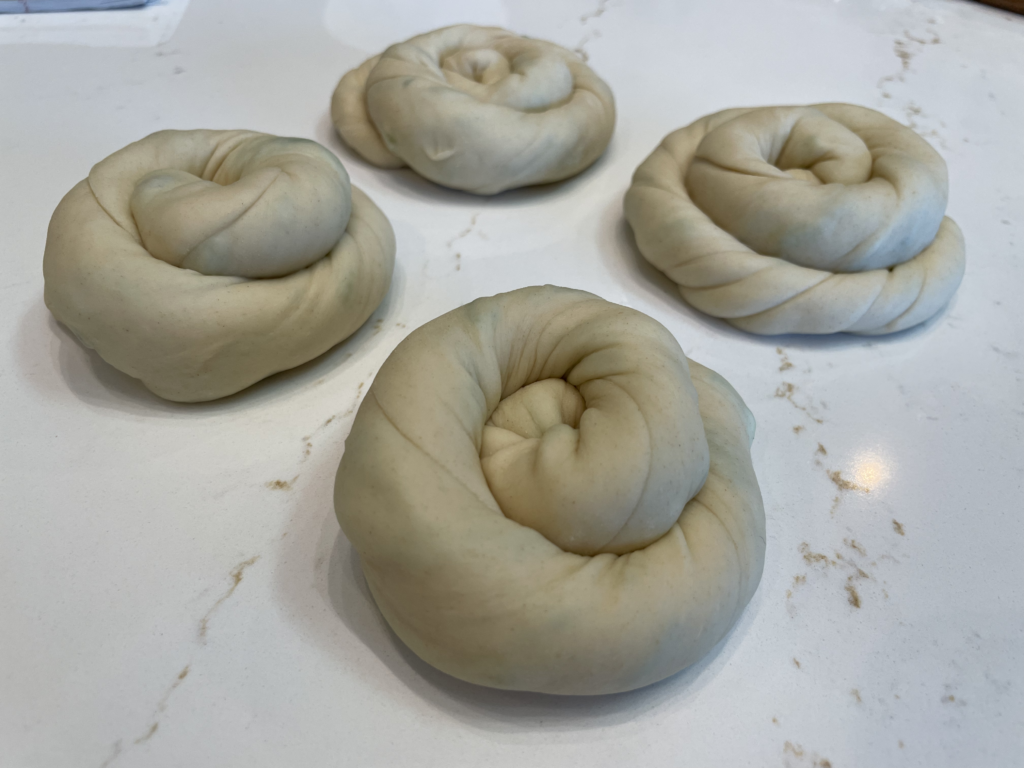
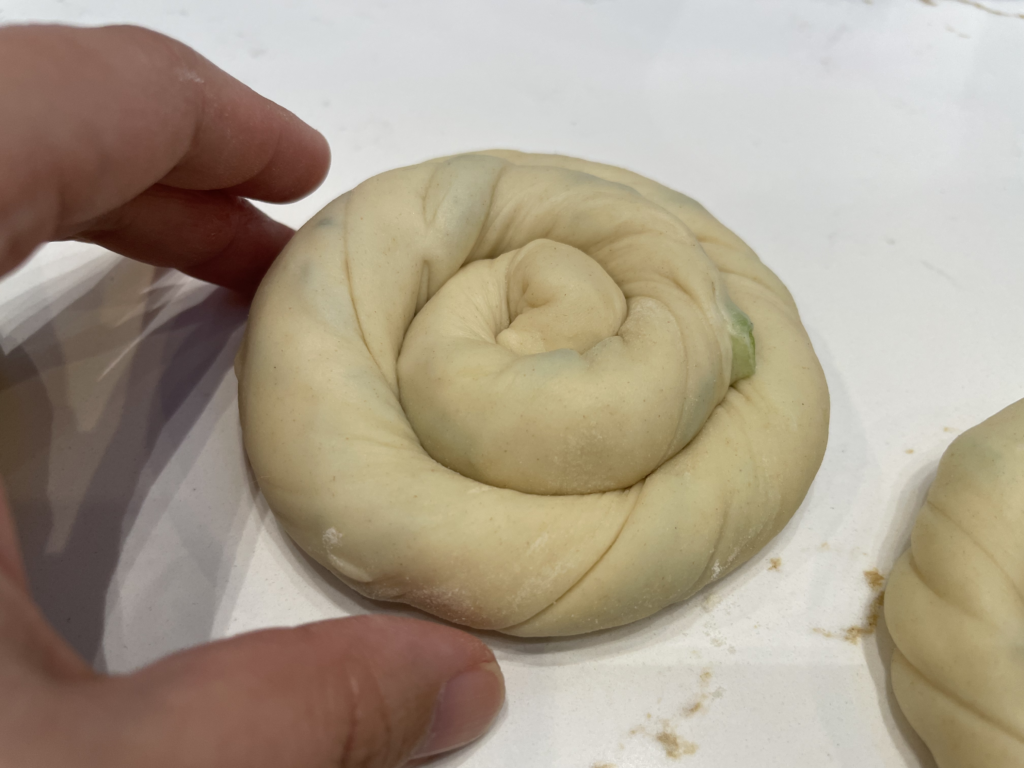
This is the first time I’ve encountered this twisting technique for scallion pancakes! I did my best to interpret the instructions without having any visual guide for how the shaped pancakes were supposed to look. Each log turned into a beautifully twisted rope when I rolled the two ends in opposite directions, but wouldn’t quite twist on itself since the dough was so soft and stretchable. I ended up just starting from one end and following the direction of the twist to coil each rope into a disc. (I usually think of snail shells as pointy, but I think a flatter coil was probably the recipe’s intention. 🐌) I then tucked the end slightly under to make sure it wouldn’t come apart later.
I love how cute the little coils look, and you can see how thin the layers are because the scallions show through!
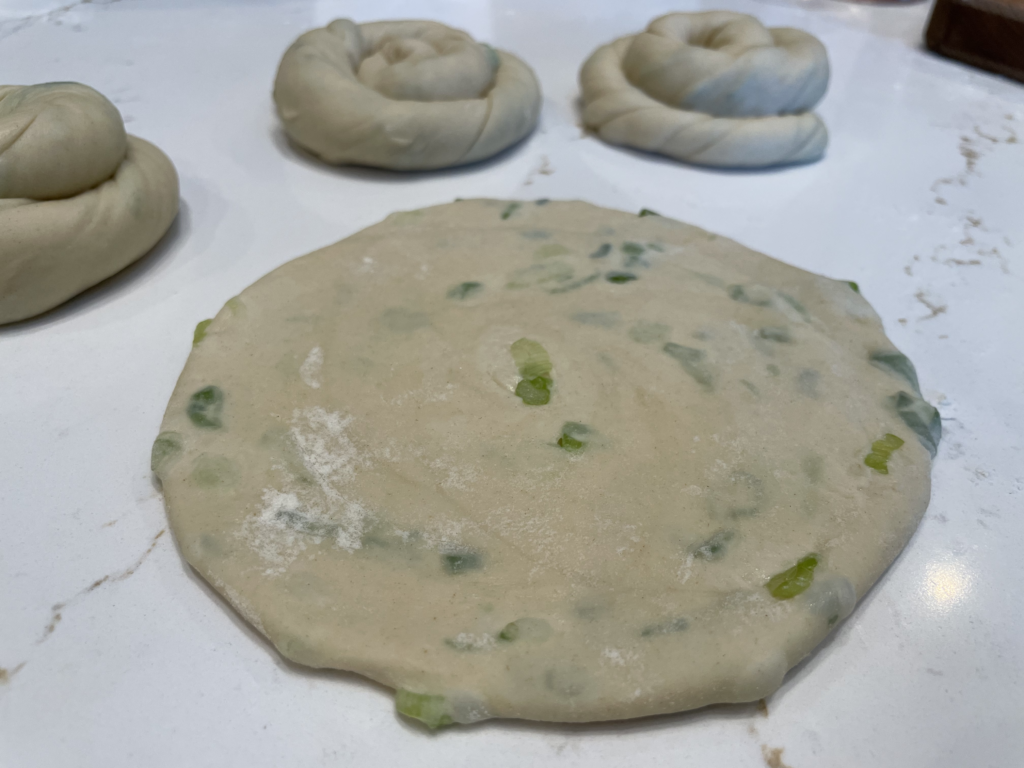
The coiled pancakes got a 15-minute rest before getting gently rolled into 6-inch round pancakes. I was impressed that despite how thin the layers were, I barely had any scallions break out through the dough.
Pan-frying & eating
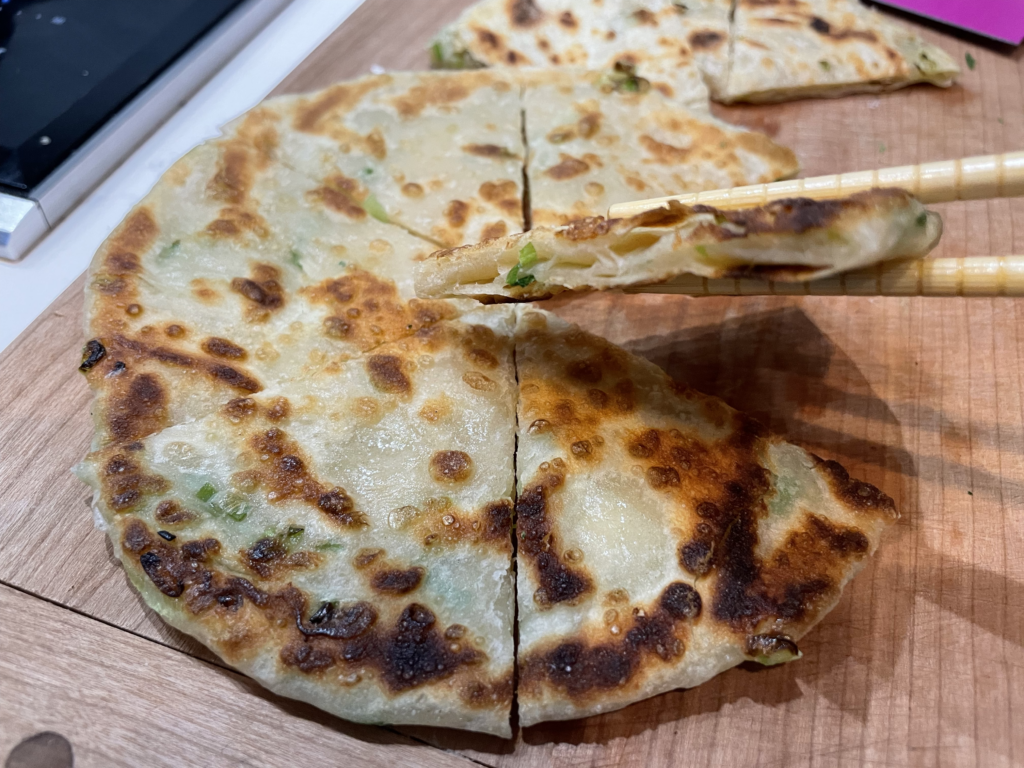
The last step is to pan-fry each pancake in a hot skillet with oil. This recipe only uses a ½ tsp of oil per side. I used a cast iron pan and fried my pancakes in avocado oil.
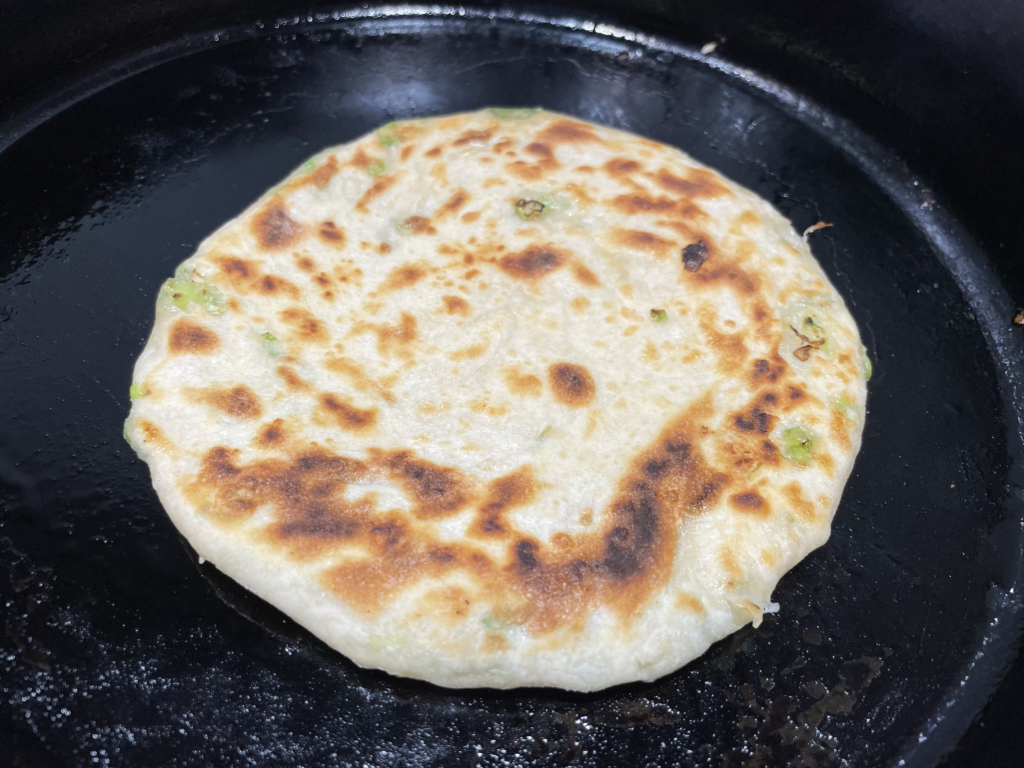
½ tsp of oil per side really isn’t much, so these pancakes turn out much less heavy and greasy compared to ones you might be used to from a restaurant. Like the recipe says, they’re best eaten straight out of the pan while they’re hot!
I enjoyed the crisp outer shell and layers of scallions, but I admit I found these pancakes a little bit lacking in flavor. They certainly weren’t bad and we still happily ate them all, but I felt like they were missing something that would’ve boosted the flavor profile. Maybe it’s that I’m used to using sesame oil in my scallion pancakes, or that I didn’t use lard…or maybe it’s the MSG that was left out of this adapted recipe! 😂 (I do really wish the MSG was included as an optional ingredient so I could try it out, as it was part of the original recipe.) I was also surprised to note that they didn’t end up tasting super buttery even though I’d worked a good amount of butter into the dough.
Overall, I wouldn’t mind making this recipe again with some adjustments. I really liked how supple the dough turned out and I loved the thin, twisted layers the shaping technique created. Next time, I think I’ll try the lard or make some other tweaks to see if I can boost the flavor more to our preference!
My tips for making this recipe
Make sure your pan is properly preheated
I noticed that the first pancake I fried, before it had properly preheated, turned out doughier and denser than the next few. This makes sense, because a hotter initial temperature helps the moisture in the fat between layers turn into steam. Like any other laminated pastry, this leads to more puffing between layers.
So, for the best texture, make sure you preheat your pan up to temperature before putting in your pancakes!