A dough sheeter is one of the pieces of equipment I miss most from my days working in a professional pastry kitchen. While laminating and rolling out dough to an even thickness by hand is totally doable (and a great skill to have!), sheeters bring pastry-making to a new level of efficiency and accuracy. Unfortunately for the home baker, though, most sheeters on the market are big commercial models that cost thousands of dollars. I’m not ready for that level of commitment in my home kitchen! 😅
When Brod & Taylor announced in 2022 that they would be releasing a hand-cranked countertop dough sheeter for home use, I was super excited. The models they introduced are the horizontal reversible type that I’m accustomed to (vs. vertical sheeters where you feed the dough in from the top and collect it on the bottom), and they come in a reasonable footprint, weight, and price point for residential use. They’re made in Japan by a company called Japan Kneader.

After eagerly watching it for a year, I finally pulled the trigger and bought the larger 15.5″ model during this year’s 15% off Black Friday sale. 🎉 I’m looking forward to sharing my future discoveries and all the yummy things you can make with this cool tool! But for now, here are my first impressions upon receiving and unboxing this dough sheeter.
Packaging
The sheeter arrived in two boxes: one medium-sized box with the sheeter, and another long, flat box with the sheeter board.

I appreciated the thoughtful packaging (as I’ve come to expect from Japanese products!). It wasn’t over the top with packing materials, but packed just enough to make sure everything arrived in good condition.
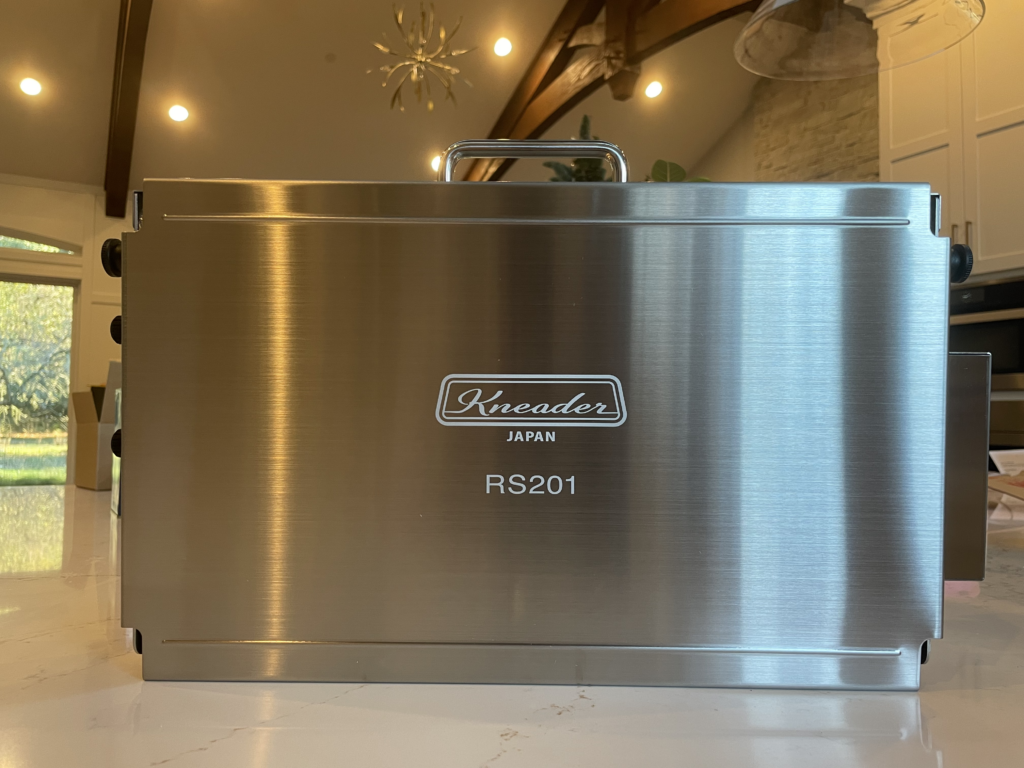
The outer shipping box for the sheeter contained an inner product box with a handy plastic carrying handle. The sheeter was nestled inside, suspended between a few blocks of styrofoam*. Because the box had stayed so pristine, I felt comfortable keeping it for transport and for storing the sheeter away from dust while I’m not using it.
(*Note: According to the Japan Kneader product page, they’ve replaced all styrofoam in the packaging with eco-friendly paper pulp molds. Even better!)
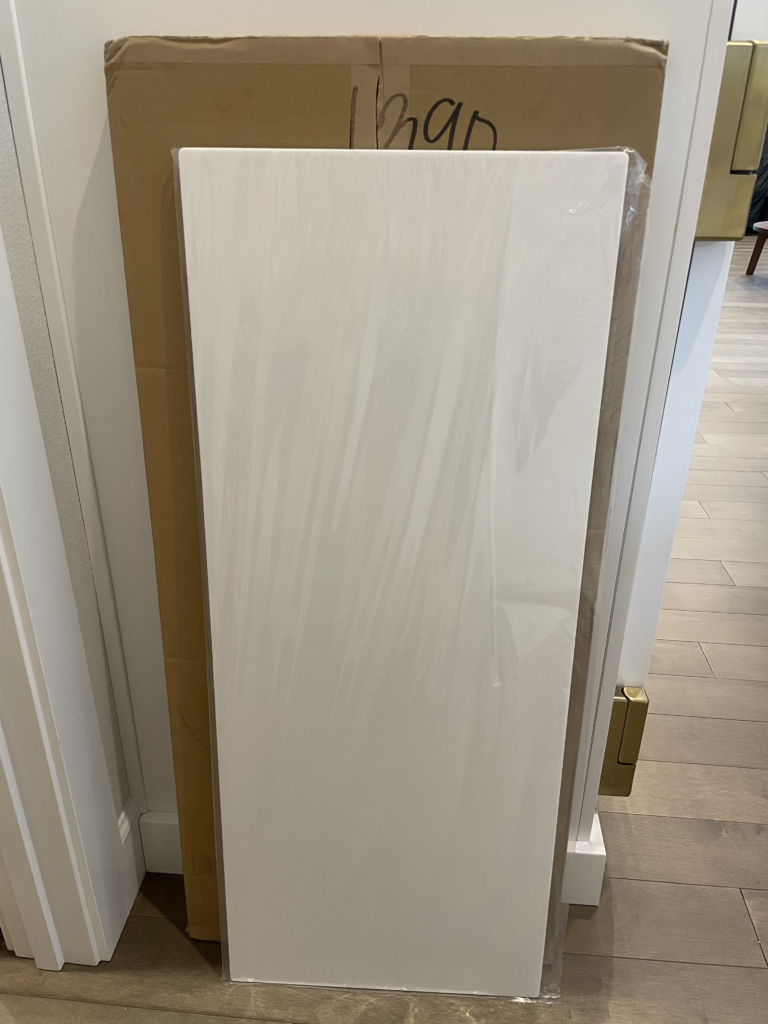
Meanwhile, the sheeter board arrived in a thin box with simple cardboard blocks around the perimeter to protect the edges of the board. The board arrived in perfect condition – no scratches, bending, or dings.
Initial Setup
I felt immediately impressed upon taking the sheeter out of its box. It looks and feels well-made, and most of the components are made of stainless steel. It has some heft to it without being too heavy to carry.
The clever folding design makes the sheeter very quick and easy to set up within minutes (maybe even seconds, once you know how it works!). I do recommend reading all parts of the manual carefully upon first use, since it provides helpful step-by-step instructions for setting up and and cleaning the machine.
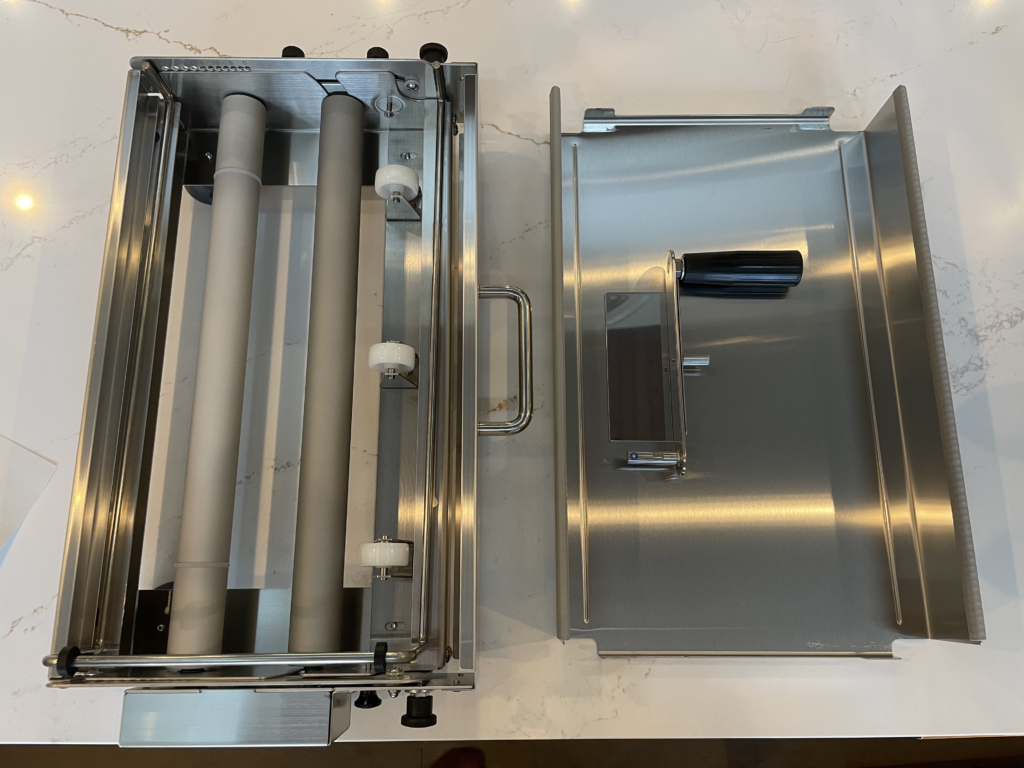
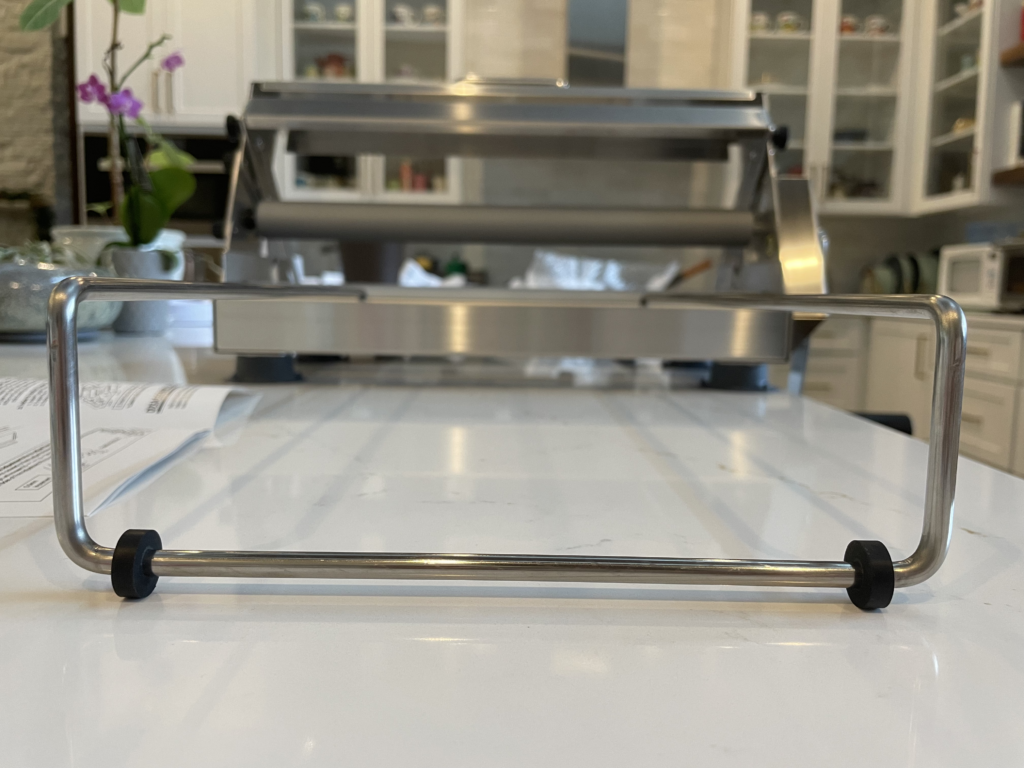
Everything fits neatly inside the machine when folded away. There are only 3 loose pieces to put together: the crank handle, a platform piece for the left side, and the cover which doubles as a platform for the right side. Once those pieces are in place, the only thing left to do is to raise the lever arm that holds the upper roller until it clicks into place.

One thing to pay attention to when you set this up – the crank handle extends below the bottom of the machine when you turn it, so you’ll always have to position the sheeter at the edge of a work surface with the handle protruding out.
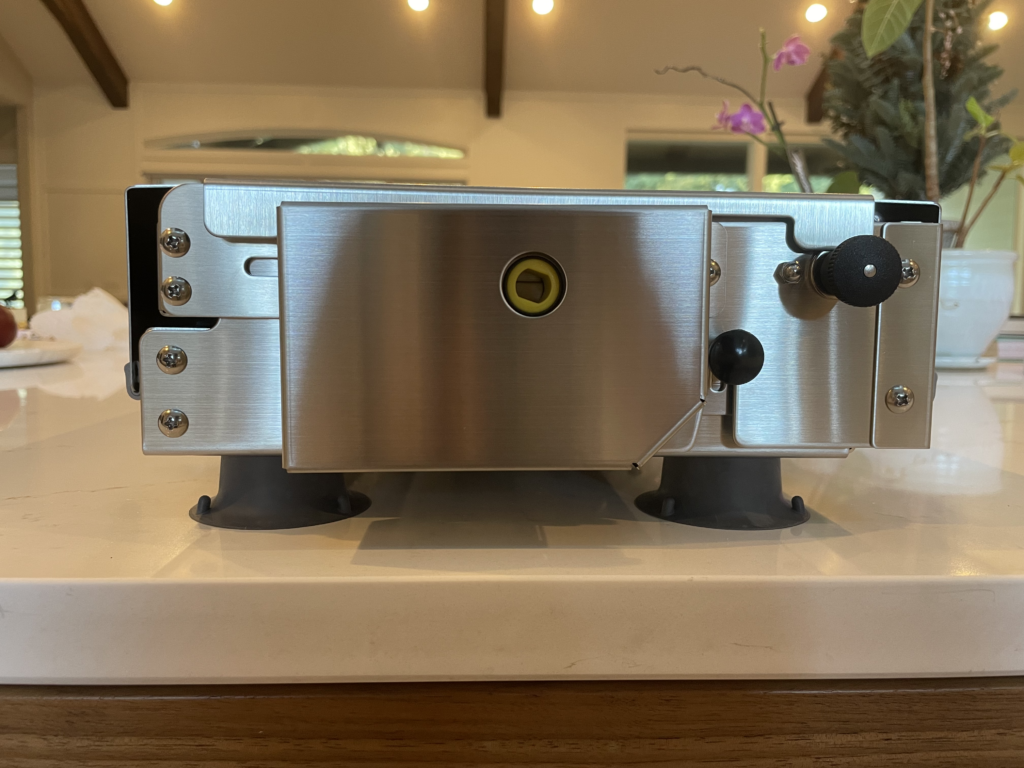
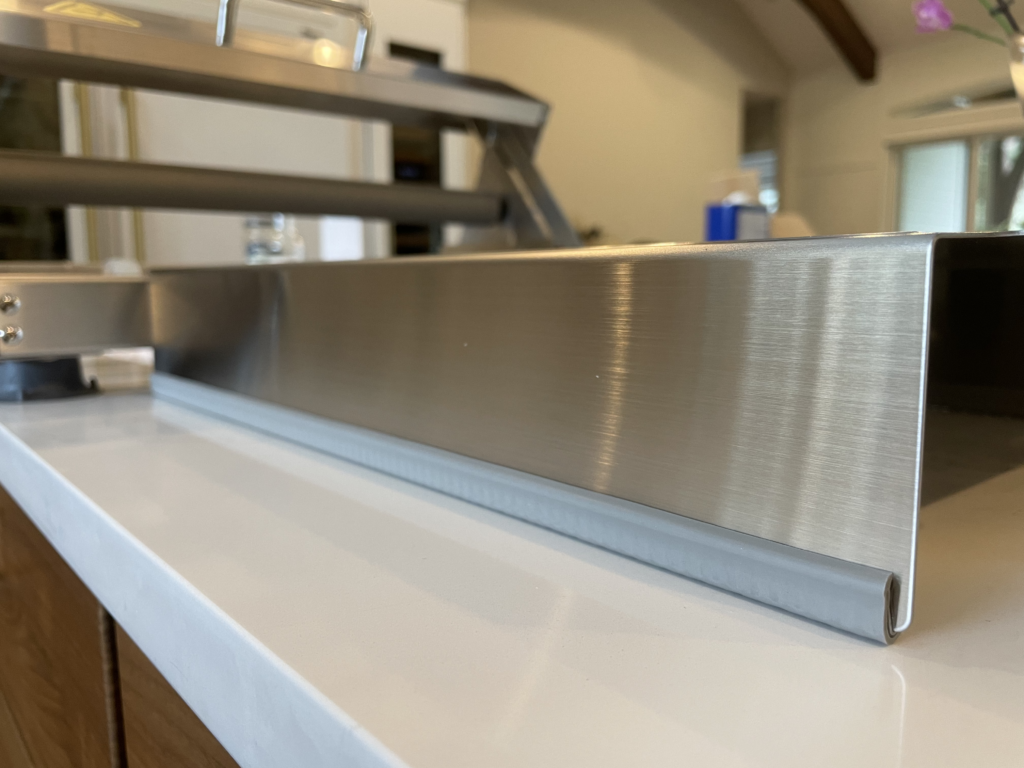
I love how this sheeter includes thoughtful details like rubber suction feet to stabilize the machine for rolling, and rubber bumpers on all pieces that would touch the countertop. I never felt apprehensive at any point that my quartz countertop would be scratched by the sheeter. The suction feet also do a great job keeping the machine stable while staying easy to remove.
Cleaning
The upper roller and the sheeter board will be the main points of contact with food, so it’s especially important to keep these parts clean. I washed both right away before testing the sheeter with any food.
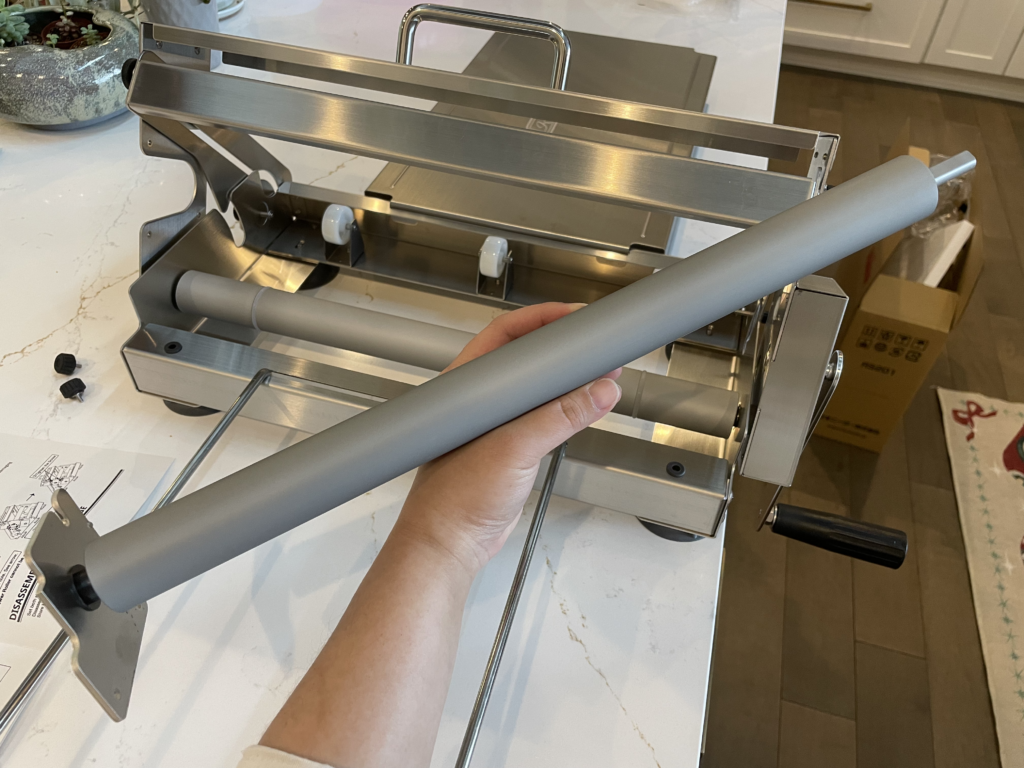
The upper roller removes easily to be cleaned separately, and I love that there were few nooks and crannies in it for debris or water to get stuck. The sheeter board is also easy to clean, but due to its size, it can be hard to wash it in the sink. We have a 36″ single basin sink with a flexible faucet, and while I was able to wash it in there by doing one end at a time and carefully flipping it over, it was still a little awkward. Depending on your setup, you might have an easier time washing it down with a sponge or towel on the countertop.
First Use
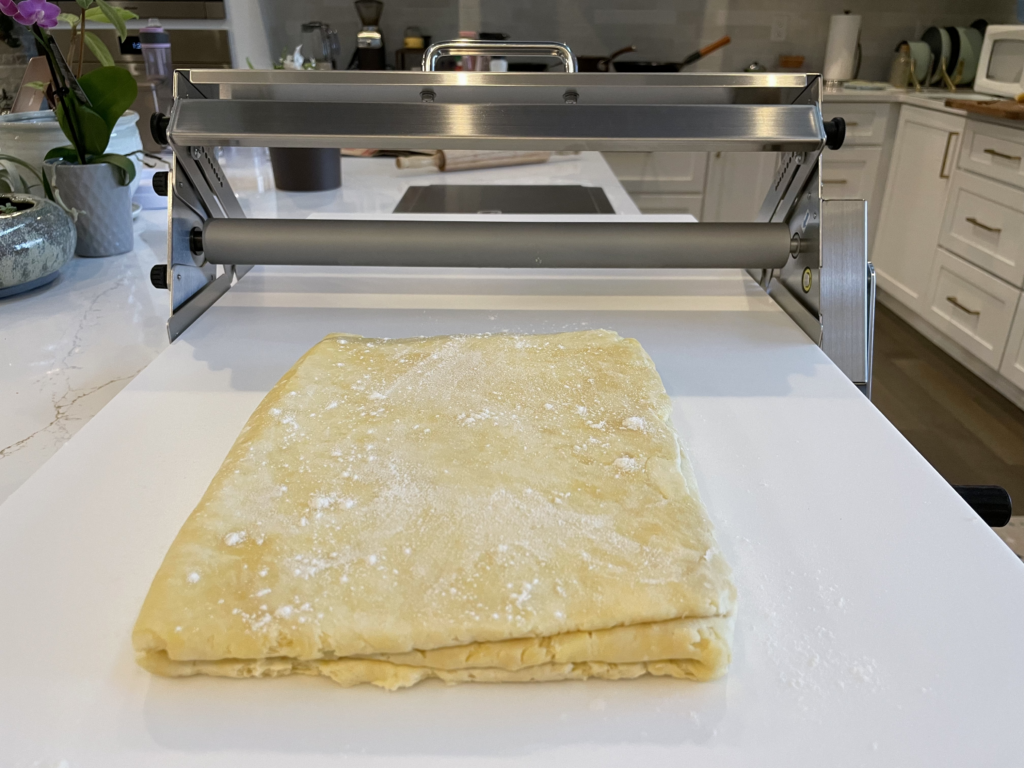
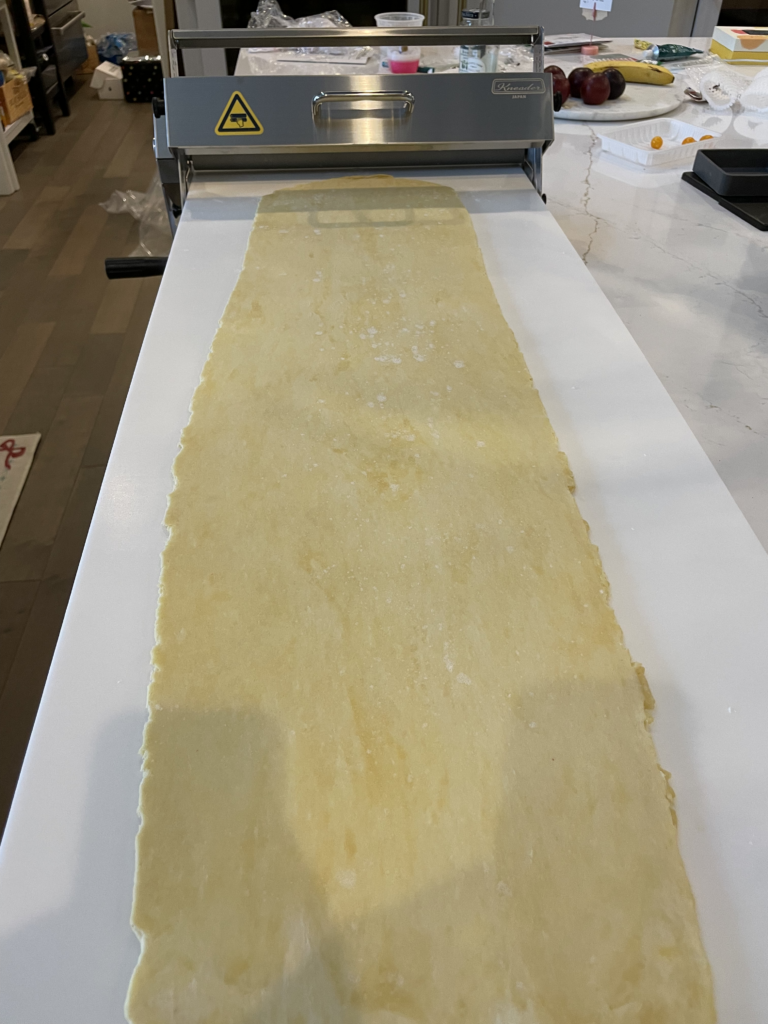
I had a small slab of flaky sour cream dough on hand and ready to roll out, so I used that for my first run on the sheeter.
Unlike electrical sheeters I’ve used that have a single knob you turn to whatever thickness you want, this sheeter has rough and fine adjustment pins that you adjust separately. A typical workflow with this machine will likely start with a series of rough thickness adjustments, followed by fine adjustments as you get closer to the target thickness of your dough.
Making rough thickness adjustments
To make rough adjustments in increments of 2.5mm, you pull out two pins on either side of the machine and raise or lower the lever arm until both sides click into place at the measurement you want. (The pins have springs that allow them to automatically click into place.) It is possible to misalign the sides, so I recommend double checking that both sides have clicked into place at the same measurement. You can see the rough measurements on both sides from above, making it easy to verify both sides align.
With a light dusting of flour on both the sheeter board and the top of the dough, I had no problems with the dough sticking to anything. I was able to sheet my dough down to 5mm pretty quickly using just the rough adjustment and adjusting down by a notch every time I reversed direction.
Making fine thickness adjustments
The fine adjustment works similarly, but the pins are smaller and closer to the bottom of the machine. The measurement markings are on the side of the machine next to the adjustment pin, so you can only see them from the side. The fine adjustments increase thickness in increments of 0.5mm, so in combination with the rough adjustments, you can sheet to any measurement between 0 and 27mm in increments of 0.5mm.
Since my target thickness for the sour cream dough was 3mm, after sheeting to 5mm I had to go to 2.5mm and use the fine adjustment to add an additional 0.5mm. The fine adjustment was a little more finicky – the pins don’t seem to click into place as distinctly as the rough adjustment pins do, and it was a bit cumbersome leaning over my counter to peer around the far side of the sheeter so I could check the fine adjustment number on that side. Still, I did get my dough sheeted out to the thickness I wanted relatively quickly and painlessly, so I’m happy!
Dividing dough on the sheeter board?
I wanted to divide my dough immediately after sheeting, and as a first-time user, I had to stop to think for a moment on how to best do so.
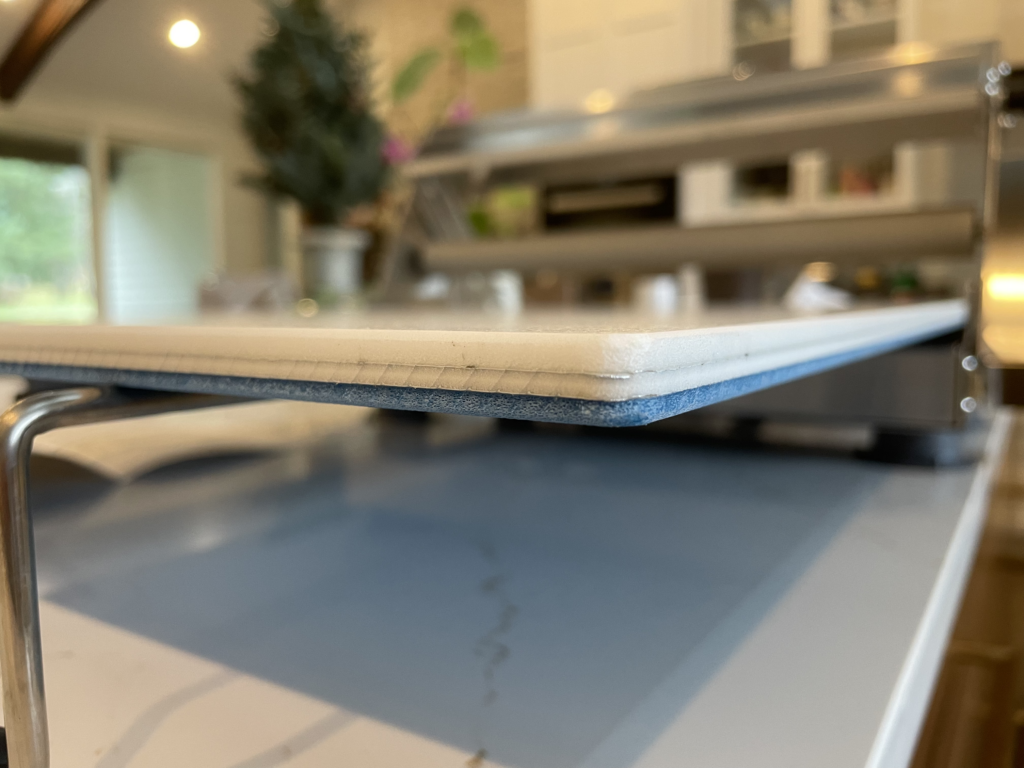
The sheeter board has a smooth white nonstick side for rolling, and a rougher blue side for cutting. I’d prefer to avoid scratching the white side, so that means no cutting on the white side. In terms of workflow, the options I can think of are:
- Option 1: Transfer the dough (which might be very large/long after sheeting) onto a separate work surface to cut
- Option 2: Pick up the dough, turn the sheeter board over to the cutting side, then transfer the dough there to cut
- Option 3: Slide something protective under the dough to cut on
- Option 4: Cut the dough very gently or with a tool you’re confident won’t scratch
Option 1 requires having a big enough clean work surface to transfer your entire rolled-out dough to. Depending on your kitchen, that may or may not be feasible. Of course, you could put the sheeter away and use that work surface, which will definitely be a big enough area. I’d probably go this route if I were sheeting many pieces, chilling them in the fridge until I could put the sheeter away and divide them all on the counter afterward.
Option 2 seems reasonable if you’re sheeting and dividing one piece of dough right away.
I didn’t seriously consider Option 3 as I don’t think it’d end up being the most efficient option in any situation, but it might work! And of course, Option 4 is at your own risk. 😉
I’m sure I’ll figure out what workflow works best for me as I get more used to using this machine at home! Do you have a different workflow that works well for you? Let me know!
Overall impressions
All in all, upon first use, I’m delighted and impressed with this home sheeter! It’s thoughtfully designed, solidly built, and includes what I consider the most important features – fine thickness adjustments to every 0.5mm and reversibility – in a compact, residential-friendly unit. My only main nitpick so far is the minor difficulty I had with setting the fine adjustment pins. I’ll gladly get used to that in exchange for the pastry-making options this little machine will open up to me!