Featured photo courtesy of my friend Will Guo.
Happy holidays! I hope the close of 2023 is filled with love, warmth, and fond memories for you and your loved ones. 🥰
Holiday cookie baking and gifting has been a tradition of mine since 2020, after I graduated from pastry school. I love having holidays be an opportunity to put together a delightful spread of treats, try new recipes, and spread holiday cheer to friends and family near and far.
Here’s a look at what I made this year, along with a window into the kitchen chaos behind the scenes and my learnings for the future.
This year’s collection
Without further ado, here is my 2023 Holiday Cookie Collection:
- Hand-Dipped Chocolate Hobnobs
- Armenian Shortbread with Cardamom and Mahleb
- Smoked Cheese Cocktail Cookies
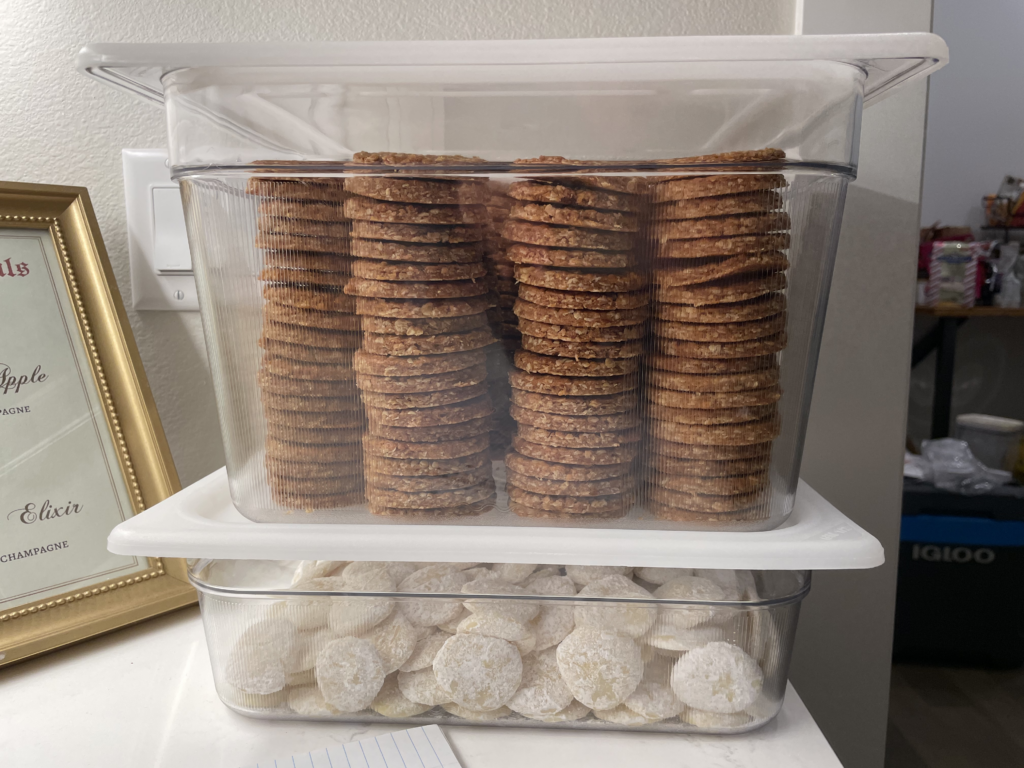
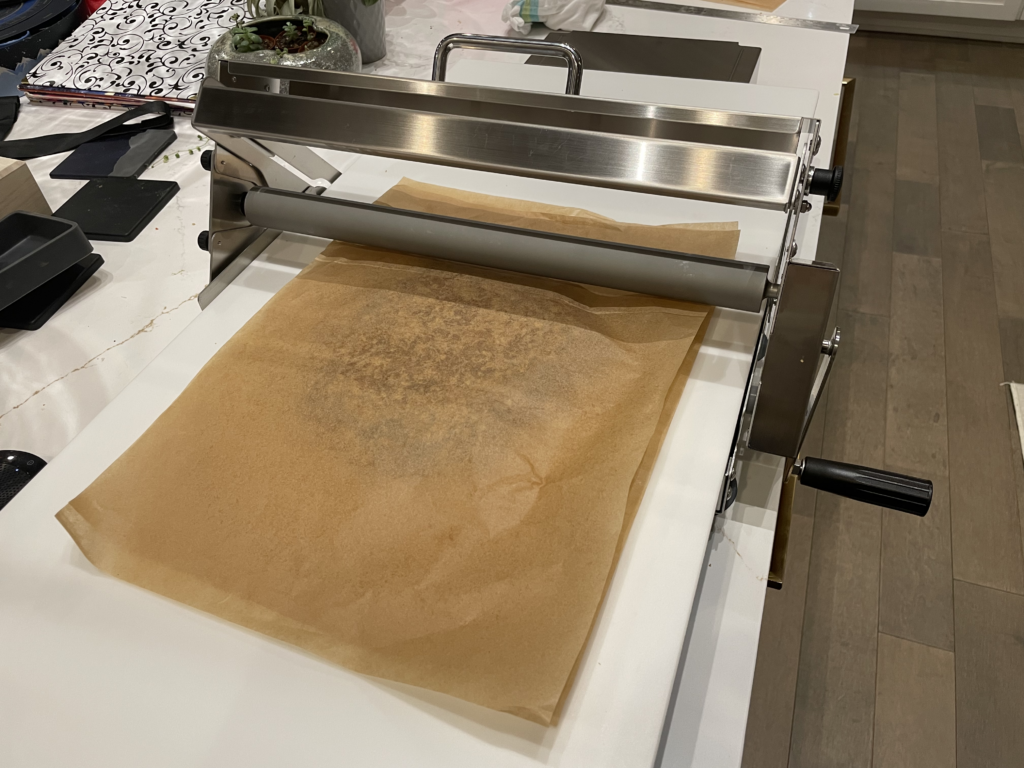
Since we’ve now settled into our bigger kitchen and I also recently treated myself to a Brod & Taylor Folding Dough Sheeter, I challenged myself to make a greater volume of cookies this year than before. I ended up making 552 holiday cookies in total – a personal record! 🤩
Most people tell me the hobnob is their favorite, so I make it every year. Even last year, when we’d just moved and the kitchen was barely set up, I managed to squeeze out a few hobnobs (and nothing else) for the holidays! I’m happy to be back to baking 3 types of cookies this year. 😊
This is the first year I included a savory cookie. I was actually originally going to make chocolate-covered toffee, but I neglected to buy chocolate in time and also didn’t feel like tempering it. 😅 I think it worked out, though, because the flavors in chocolate-covered toffee are similar to the crowd-favorite hobnobs…and I’m sure a savory flavor makes a welcome chaser for all the sweet treats holidays usually bring!
A peek in the kitchen
Hand-Dipped Chocolate Hobnobs
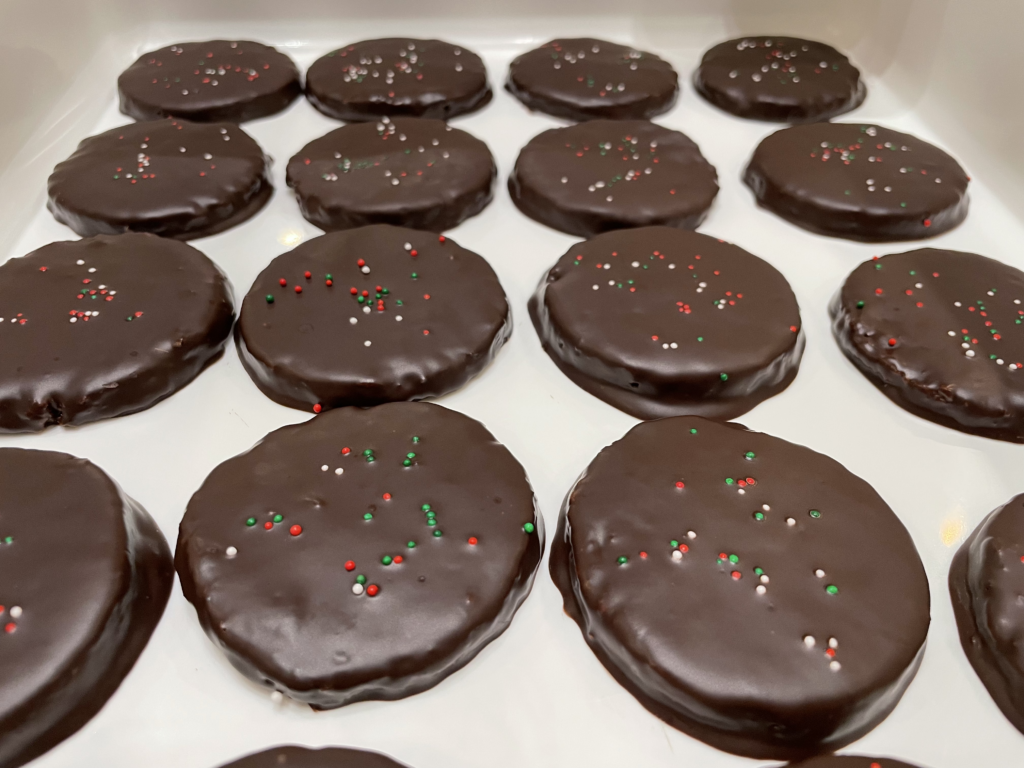
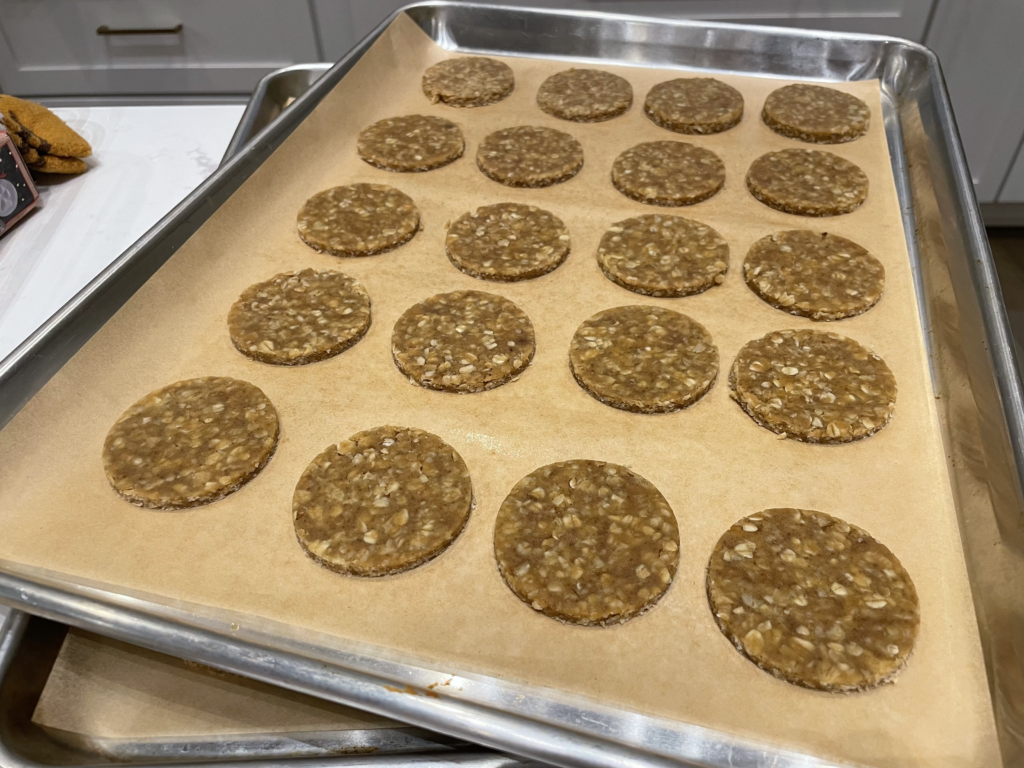
Ah, the annual favorite! I have yet to make another cookie that is as widely beloved as the chocolate hobnob. I’ve cherished this recipe, inspired by McVitie’s Hobnobs, ever since making it in pastry school. These cookies are irresistibly crunchy and oaty with a toffee flavor that pairs exceptionally well with chocolate. Every year, I dip them each by hand in a dark chocolate coating that is both delicious and serves to seal the cookies from air, keeping them crunchy for a long time.
The sheeter really helped speed these up this year. I had a lot of hobnob dough to roll out, and after cutting out the cookies, I always continue re-rolling and cutting until I only have enough left for scraps. I kept the sheeter set up and ready to go as I was cutting cookies, and that allowed me to go back and roll beautifully even 4mm-thick sheets of dough in seconds each time I gathered up all the scraps.
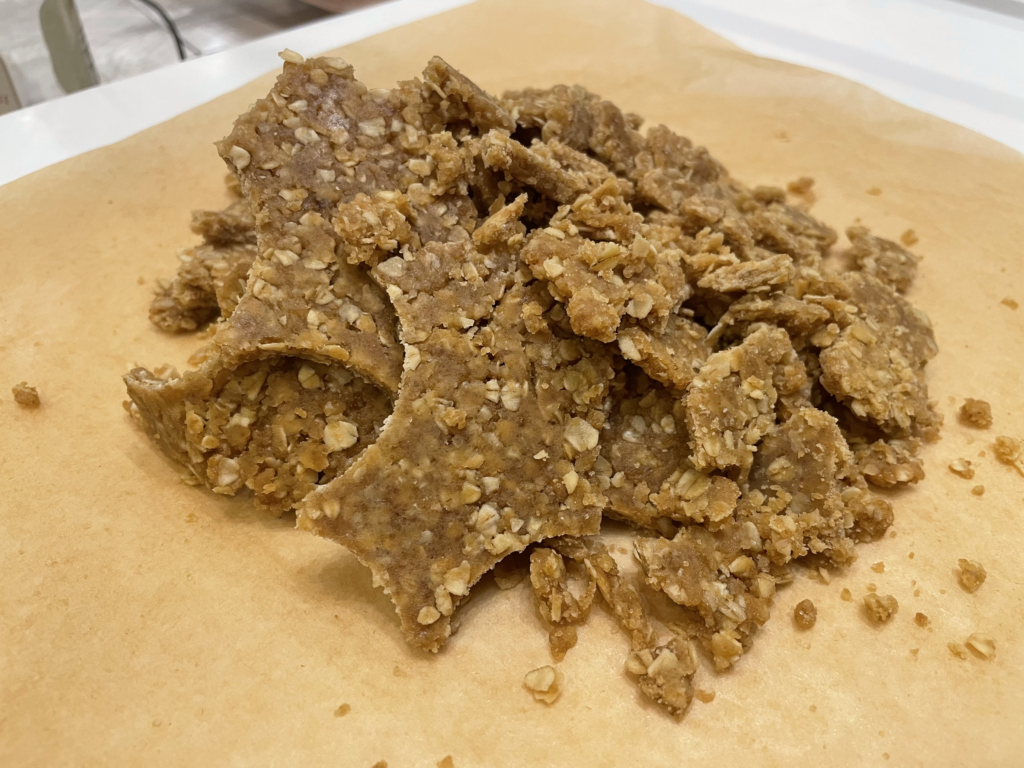
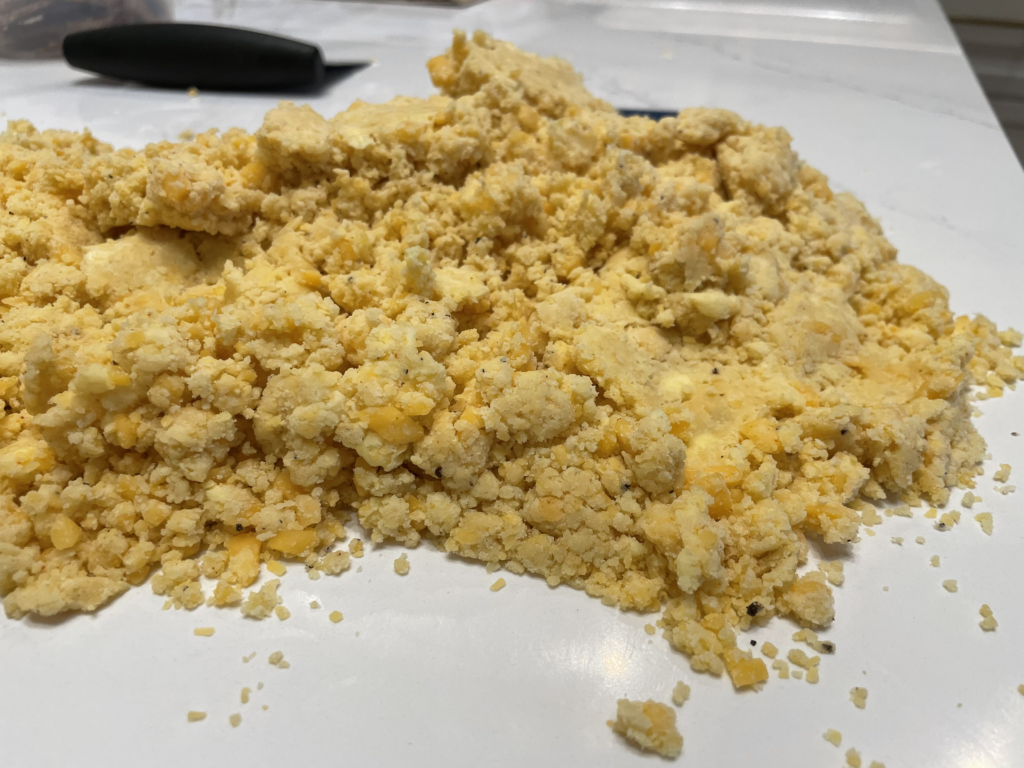
In school, we were taught only to re-roll twice. Each time you re-roll, you also work the dough further and the cookies will get tougher. I’ve also found that the scraps get progressively crumblier and harder to work with, because the oats get smaller and smaller from cookie cutting. To be honest, though, I still think they turn out delicious past the second rollout, so I often re-roll 3 or 4 times. The scraps and crumbles at the end are also a yummy treat for the baker at the end! 😊
The chocolate dipping is the most time-consuming part of making this cookie. I heat up dark coating chocolate (I use Cacao Barry Pâte à Glacer Brune) in a double boiler and follow this process for every single cookie:
- Carefully dip the cookie using a fork or chopsticks until it is completely covered.
- Hold the cookie vertically and let the excess drip off into the bowl of chocolate.
- Scrape additional excess off the bottom with a spatula.
- Lay the coated cookie on a silicone mat to set.
- Add a few festive sprinkles on top when the chocolate is half-set. (If you add them too early, they sink into the chocolate – but too late, and they won’t stick!)
- Once a tray is filled with coated cookies, pop it into the refrigerator to harden completely before peeling the cookies off and packaging them.
I have yet to find a way to significantly increase the efficiency of this process. The steps to remove extra chocolate are necessary to prevent chocolate from slowly pooling around the cookie while setting and forming a “foot”. I’ve considered draining cookies on a wire rack and then transferring them to the silicone mat afterward, but I wasn’t ready to commit to the extra step and cleanup. 😅 My best discovery this year was to use chopsticks to dip instead of a fork – I have a lot more dexterity with chopsticks, and that reduced instances of me dropping the cookies back into the chocolate while draining (which is super frustrating). 🥢 Let me know if you have any other tips to try!
Armenian Shortbread with Cardamom and Mahleb
This is another cookie that I first made in pastry school and immediately loved. The recipe is from Chef Sasha Piligian of Sqirl restaurant, and the recipe is publicly available if you’d like to try it yourself! These little medallions are tender, rich, and sweet. I love the bitter almond flavor the mahleb gives them.
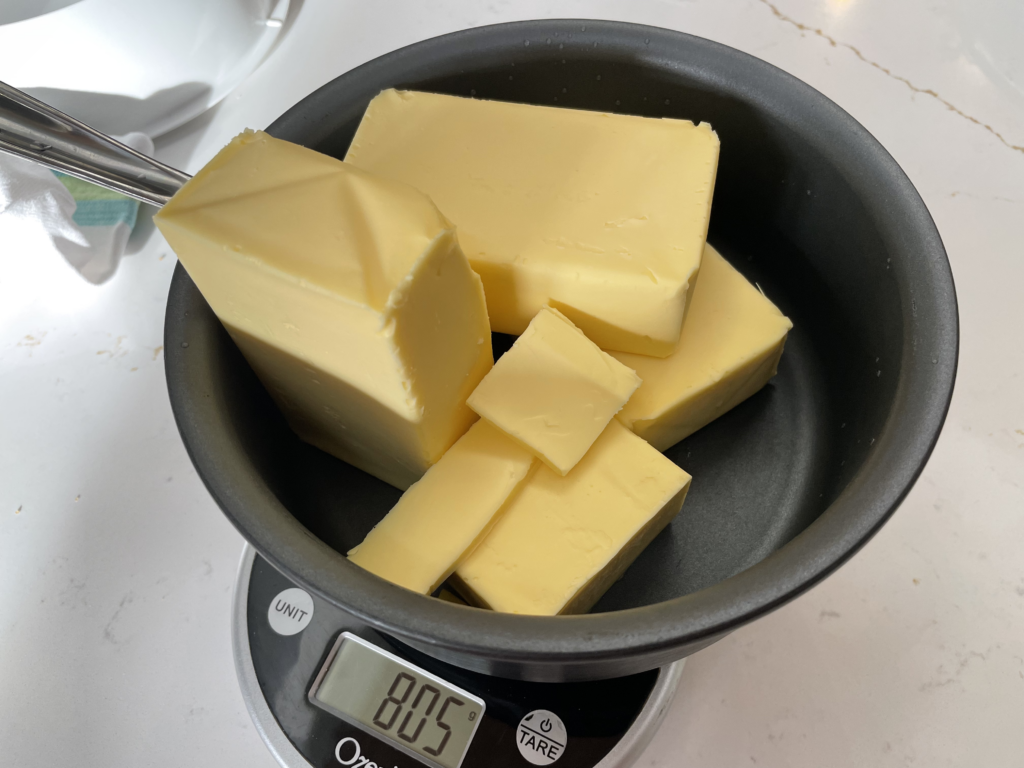
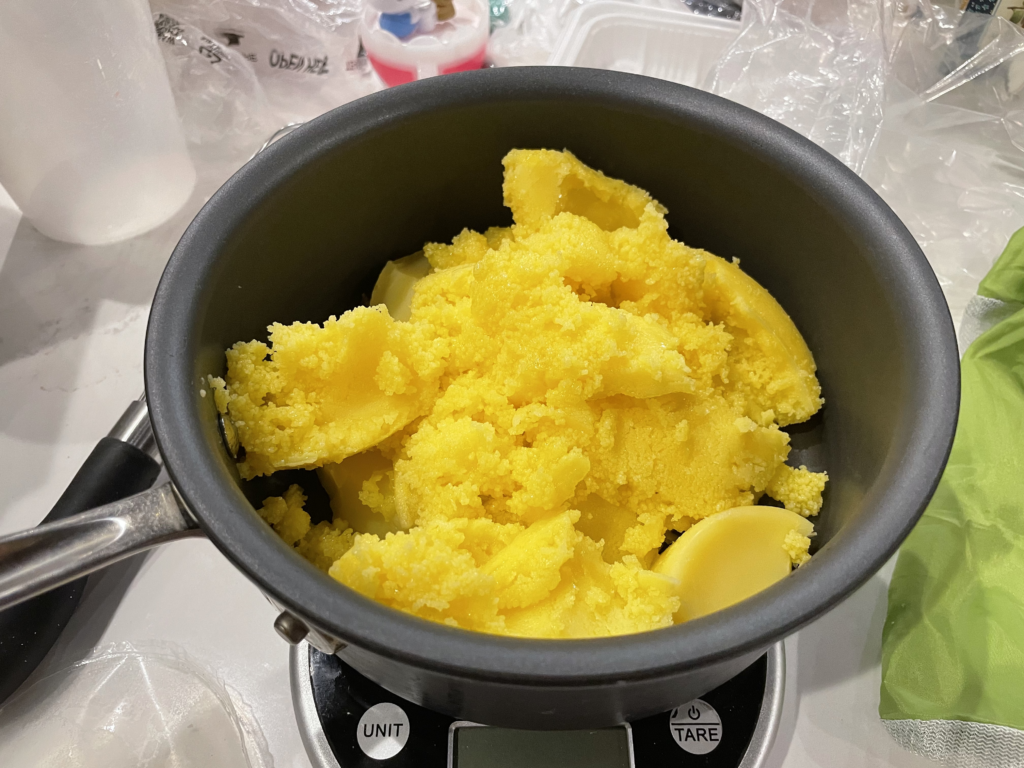
The recipe includes a step to clarify butter, but I simplified this for myself by using pre-clarified butter. Note that if you take this shortcut, you’ll probably want to reduce the amount of clarified butter you add to stay true to the recipe. In general, the guideline is that you lose about 25% volume when you clarify butter, so if the recipe calls for 1 cup of butter and clarifying it, you can try using ¾ cup pre-clarified butter.
That being said, for this batch of cookies, I used just a little bit less clarified butter than the butter it called for (definitely more than 75%), and they still turned out great!
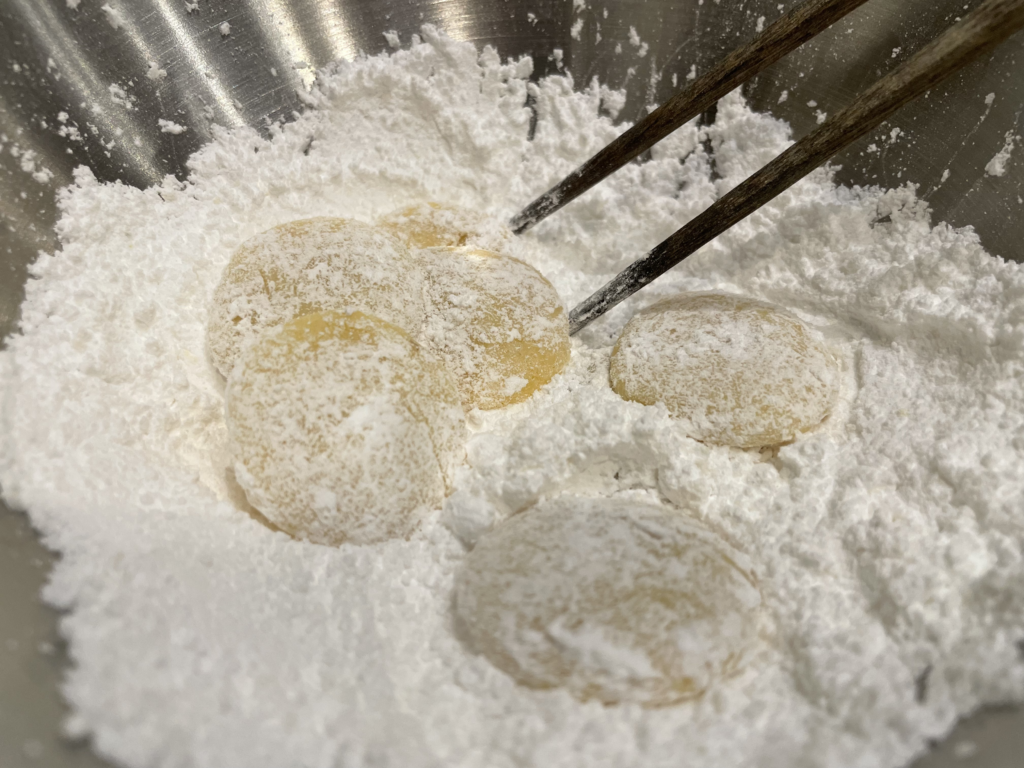
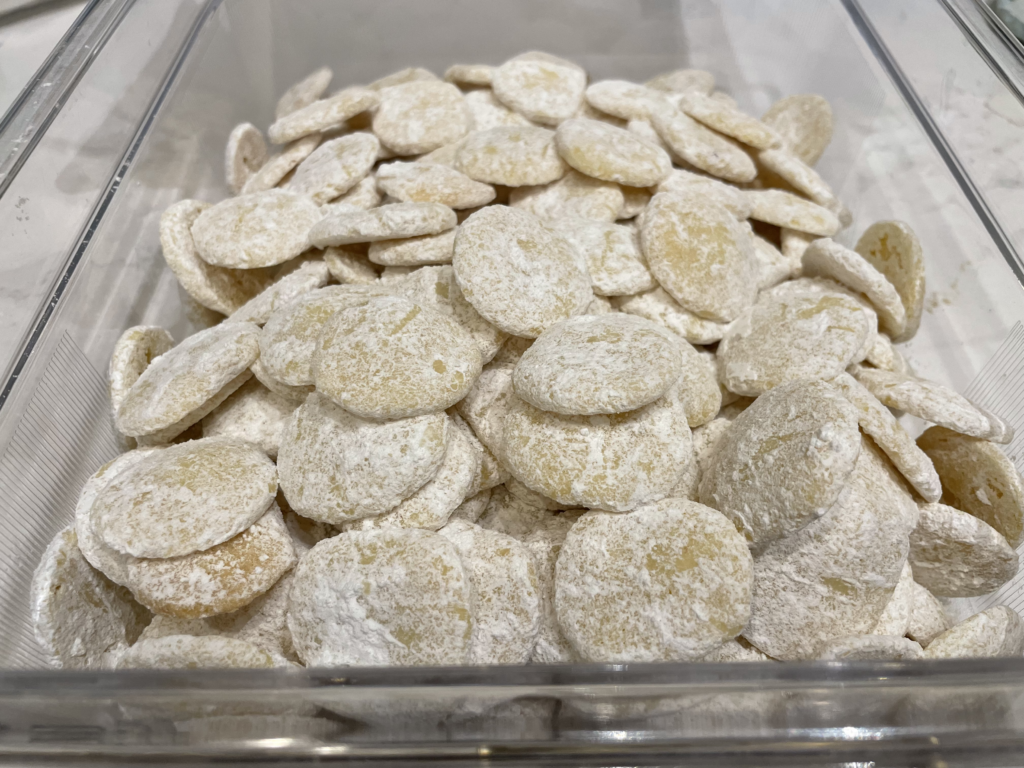
The recipe also calls for carefully tossing the finished cookies in powdered sugar by hand, but I found that process to be messier than I liked. I think just as much powdered sugar stuck to my fingers as to the cookies. 😅 Chopsticks to the rescue again! 🥢 I think a theme is emerging here! 🤣
Smoked Cheese Cocktail Cookies
I love savory snacks, especially cheesy ones! I found this recipe by renowned baker and cookbook author Dorie Greenspan on Food & Wine. The smokiness from the smoked gouda really comes through, and I love the touch of cayenne pepper that gives it a tiny bit of heat.
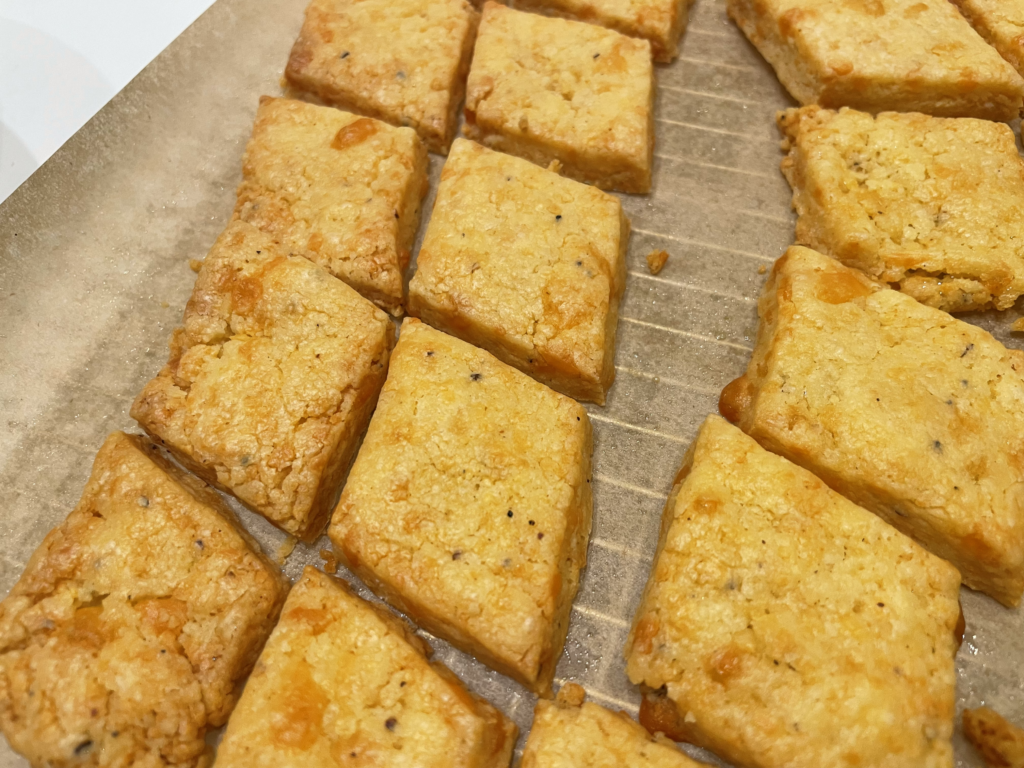
Since I already had two circle-shaped cookies in the mix, I opted to cut these into diamond shapes. I think it gives them an elegant presentation (as long as you cut reasonably evenly!) and I also appreciate the time savings I gain by there not being any scraps to re-roll between the cut shapes.
My only regret for this cookie is not making more of them! The yield on the recipe says 5 dozen 1.5″ round cookies, so I figured I’d get around 180 cookies if I made a 3x batch. Though I made my best effort to cut diamonds to comparable dimensions, I only ended up with 114, so each recipient only got a small handful to sample.
For reference: The recipe says to roll out the dough to 0.25″ thick, so I sheeted it to 6mm.
Packing & shipping
Packaging cookies in bags
I look for new cookie packaging options every year. I’m always trying to find a sustainable, cost-effective, and lightweight option that will keep the cookies fresh (and look cute!). In the past, I’ve done Ziploc bags, Bentgo meal prep containers, and mason jars, just to name a few! However, each option has tradeoffs. I’m still looking for that perfect packaging solution!
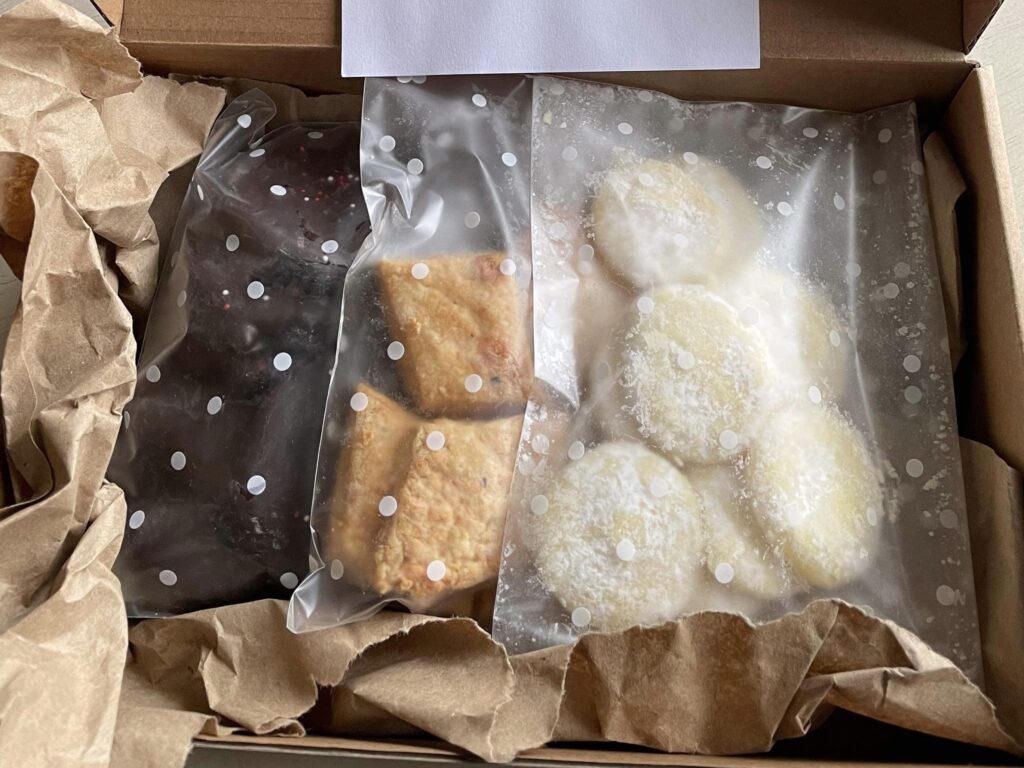
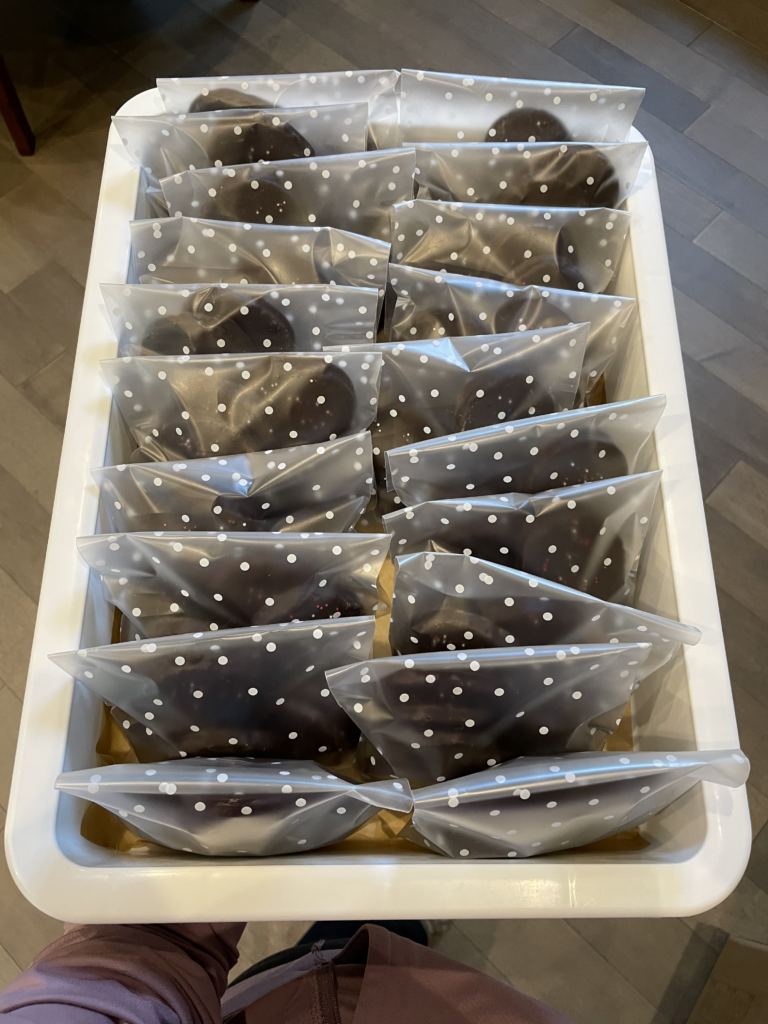
This year, I opted for polka dot self-adhesive plastic treat bags.

Though I felt a bit guilty using single-use plastic, I have to admit they’re really cute and get the job done on all fronts except sustainability! I’ll look again for more sustainable options next year, but for now, I’m happy with these bags. 🌱
I put each type of cookie in its own bag so the flavors wouldn’t meld together over time.
Shipping via USPS
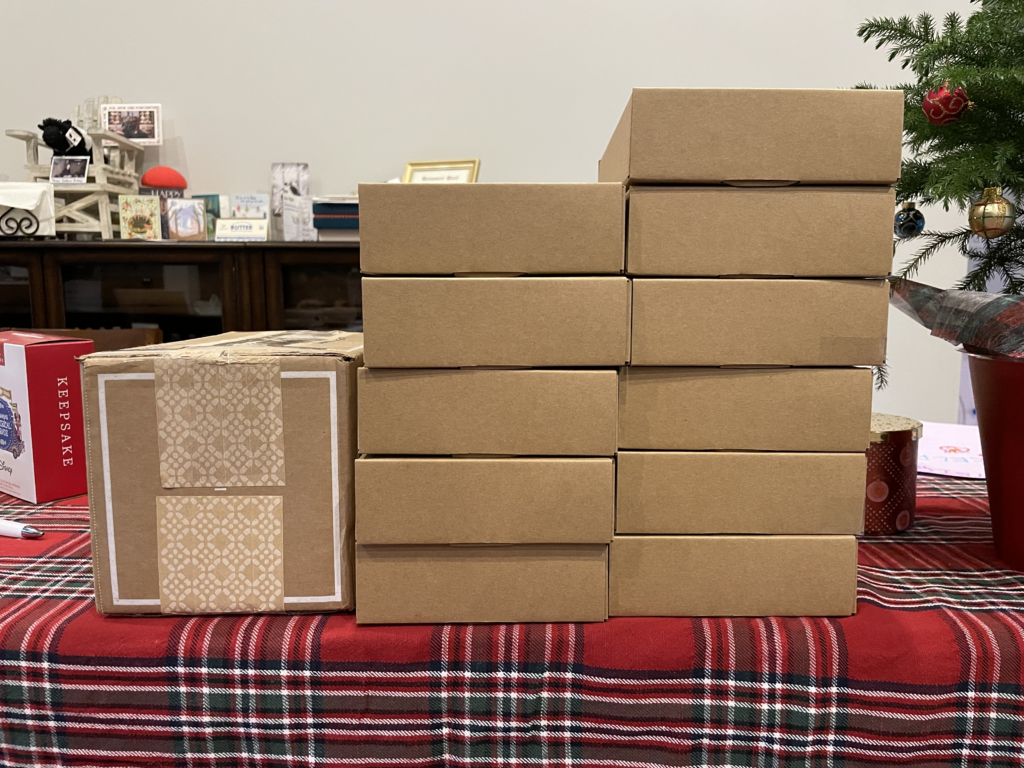
In past years, I’ve sent cookies out with USPS flat rate boxes. They’re convenient (you can pick up boxes at the post office for free!) and require no weighing, so you know in advance how much it’ll cost you to ship.
This year, I wanted to try using my own boxes because I’ve noticed that shipping by dimension and weight is often cheaper than the flat rate price since my cookies aren’t extremely heavy. I got 9″x6″x2″ cardboard boxes, which were perfect for the volume of cookies I sent to each recipient. I added paper or bubble wrap padding where needed to minimize breakage. (The hobnobs are very sturdy for shipping, but the shortbread and cheese cookies can be delicate.)
Shipping prices turned out to be cheaper using my own boxes for most deliveries, and comparable to flat rate for the heavier ones. Next year, I’ll try using Click-N-Ship for additional cost savings. 😊
It’s worth noting, though, that the flat rate boxes are shipped as Priority Mail, so they’ll get to their destination faster than regular ground shipping. That makes a big difference for boxes going to the other side of the country!
Notes for next year
Bake & store cookies in advance
My biggest note for next year is to start earlier! It’s always such a rush to get all the cookies made and delivered before we get too late in the month. I strive to pack them up and send them out immediately after baking so they arrive as fresh as possible, but this usually means I concentrate all the work into an intense two days of mixing, chilling, baking, chocolate dipping, and packing hundreds of cookies!
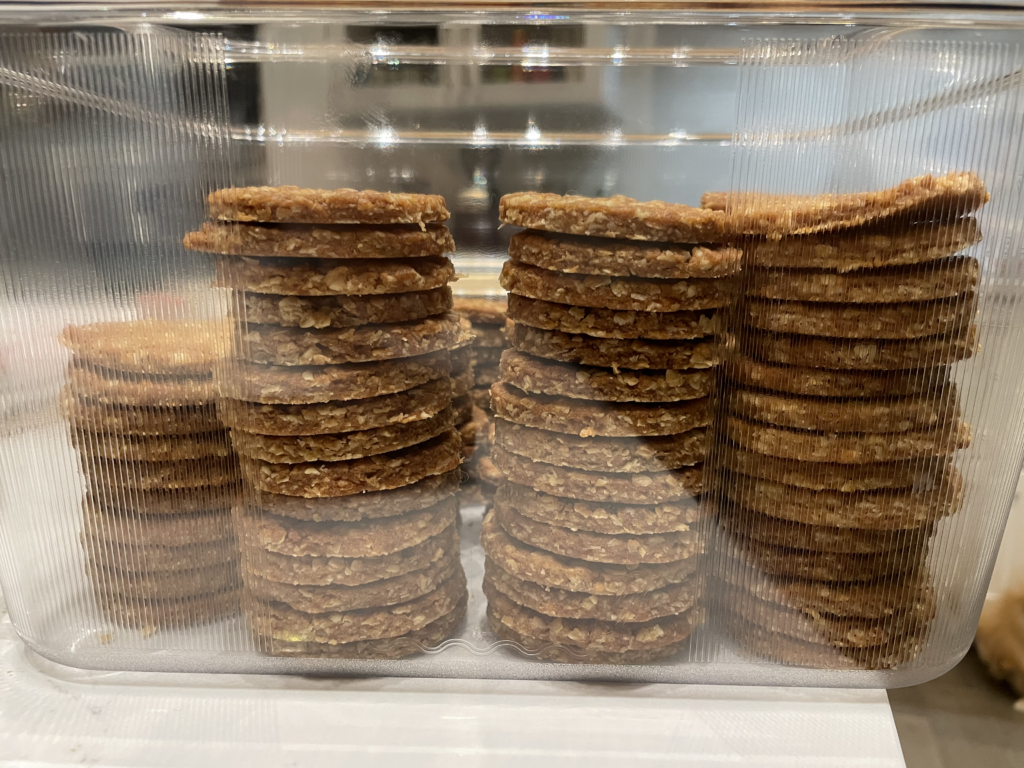
Many cookies can actually be stored for some time, especially in the freezer, without losing much quality. I’d like to plan ahead next year and try making the most storable cookies in advance, so I can spread out my baking and not feel rushed.
Get a speed rack
I’ve wanted a speed rack (aka bun pan rack or sheet pan rack) for ages. They’re space efficient, mobile, and heat-resistant so you can easily slide trays of baked goods onto them for storing, proofing, and cooling. You typically see them in professional kitchens and not so much in home kitchens, but without one, my cookie production days often end up with trays of cookies all over the counters.
I have tightened up my home baking process a bit so my sheet pans stay organized and stacked as much as possible, but a speed rack would really help with efficiency!
Keep an eye out for more eco-friendly packaging options
I’ll be honest…I love the convenience, price-effectiveness, and design options of disposable plastic packaging. I also realize that it’s not for me to dictate what my cookie recipients do with what I send them, and I don’t want to create more work for people to figure out what to do with my packaging. In many ways, it seems like disposable is still the way to go.
However, next year, I’d like to explore compostable, plant-based, or recyclable packaging products, so that if people do want to go the extra mile to dispose of packaging sustainably, they can!