Are you intrigued by sourdough but hesitant to start because maintaining a starter seems complicated? I used to be in that camp, too! In fact, I had to throw out my first starter because it grew mold…and I had no idea what I was doing wrong. 😫 It was super discouraging!
I’m happy to report, though, that after that failure, I’ve now successfully kept a starter for years! 🎉 All I needed to be successful was to learn some key concepts about keeping a starter that allowed me to adjust the care of my starter to my lifestyle. I’m confident you can do it, too!
Yes, using sourdough is a more nuanced baking experience than using commercial yeast. You can go down lots of rabbit holes and experiment to your heart’s content with different flours, hydrations, temperatures, and starter maturities to get different flavors.
But if you don’t want to do all that, you can still maintain a sourdough starter to bake with anytime you want, with minimal fuss and stress. Let’s bust a few sourdough-keeping myths – I’ll share my tips for keeping it stress-free as we go!
Myth #1: You have to keep (and feed!) a large amount
Typical instructions for sourdough starter usually involve maintaining 1-2 cups (227-454g) of starter. At that size, if you’re feeding twice a day like many sources recommend, you’ll be going through 2 cups of flour a day. That really adds up over time – imagine using 10 lbs of flour every 2-3 weeks just feeding a starter!
I don’t blame you if that sounds overwhelming (and expensive). 😮💨
The thing is, most of these instructions are written by people who bake a lot and own bakeries. They’re tried-and-true schedules and ratios to keep your starter strong and ready to be baked with every day. But a home baker who wants to enjoy a homemade sourdough loaf every once in a while doesn’t need to keep a big starter. A small one works just fine, too!
Tip: Keep a tiny starter and bulk it up when needed
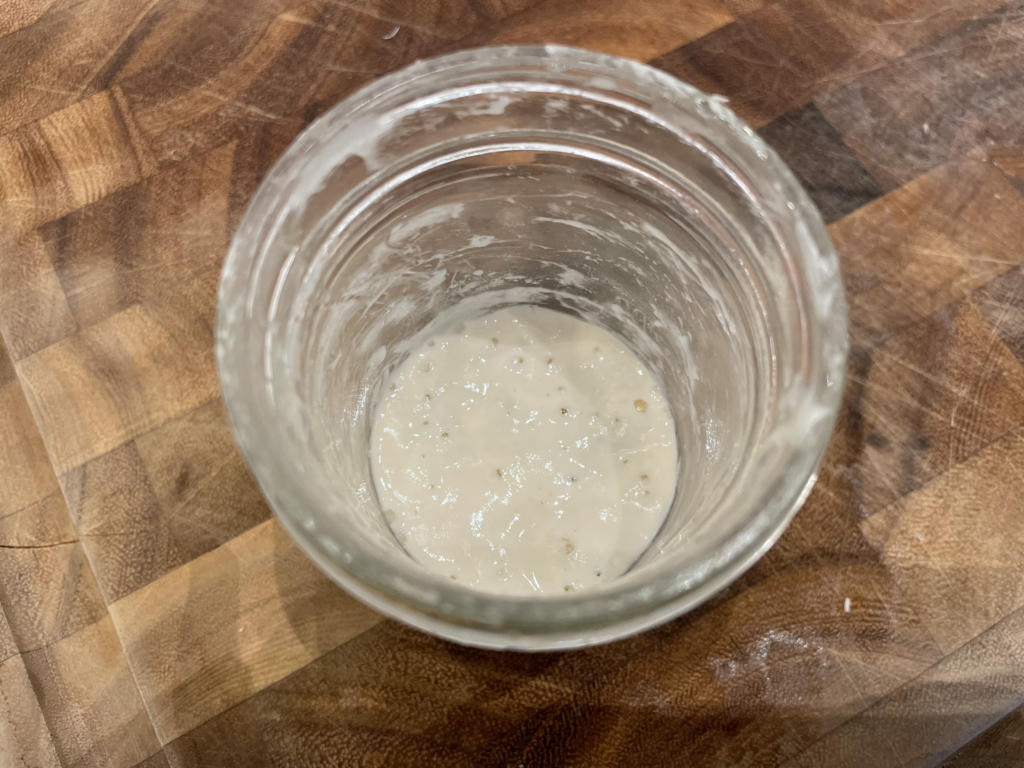
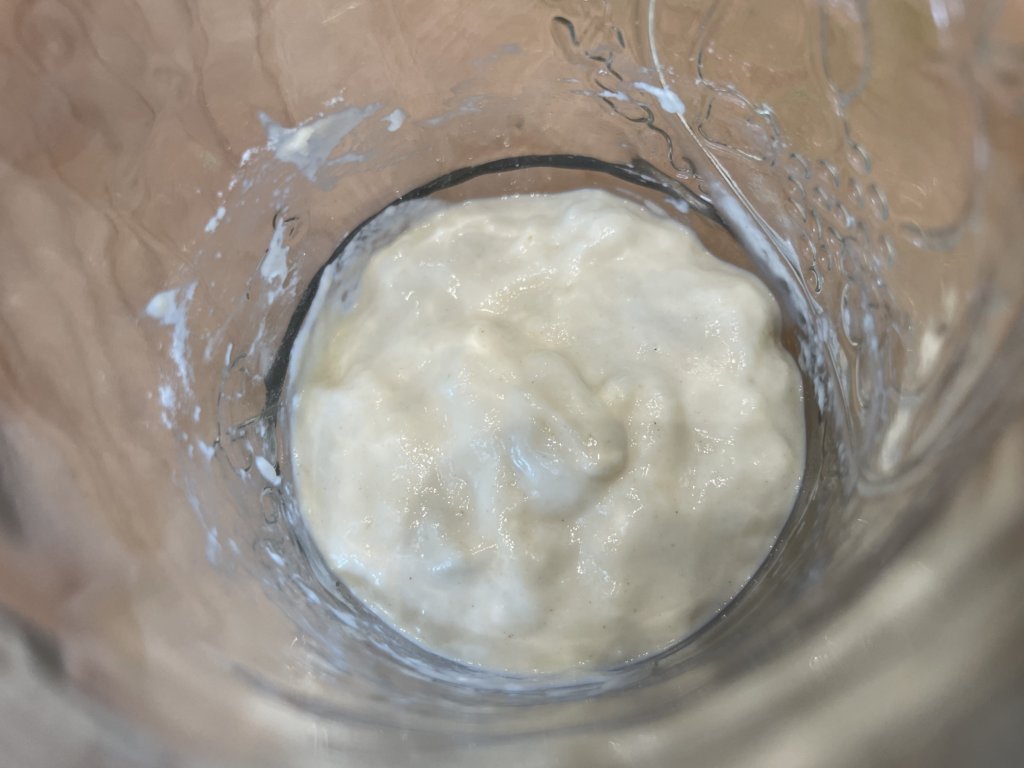
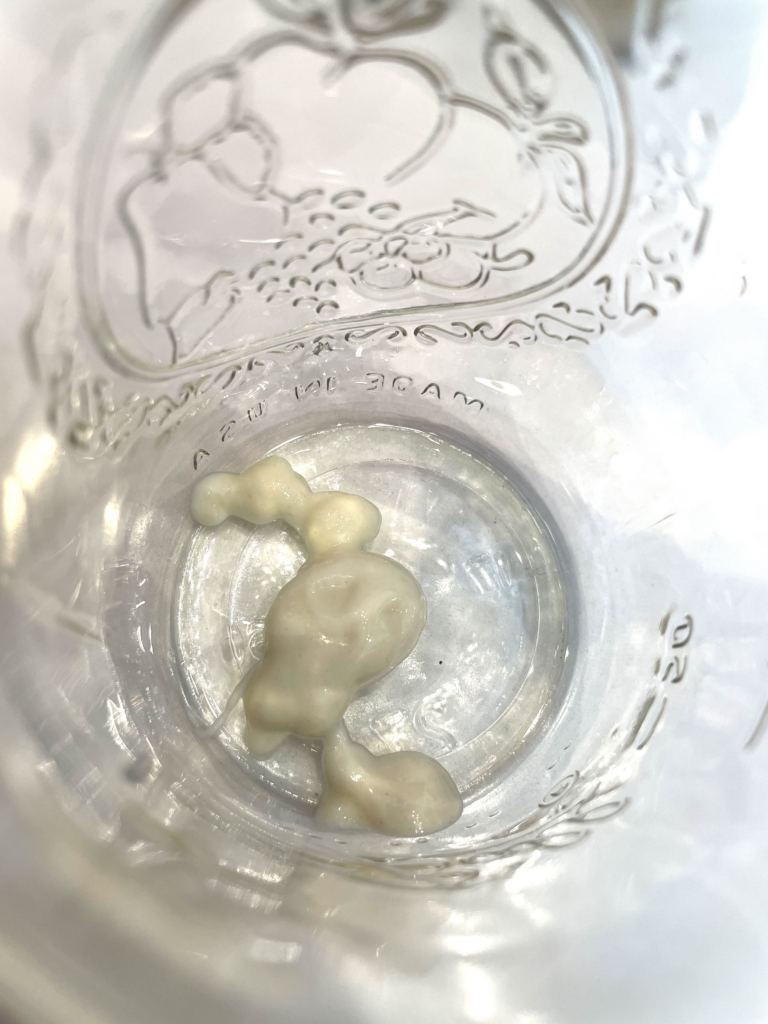
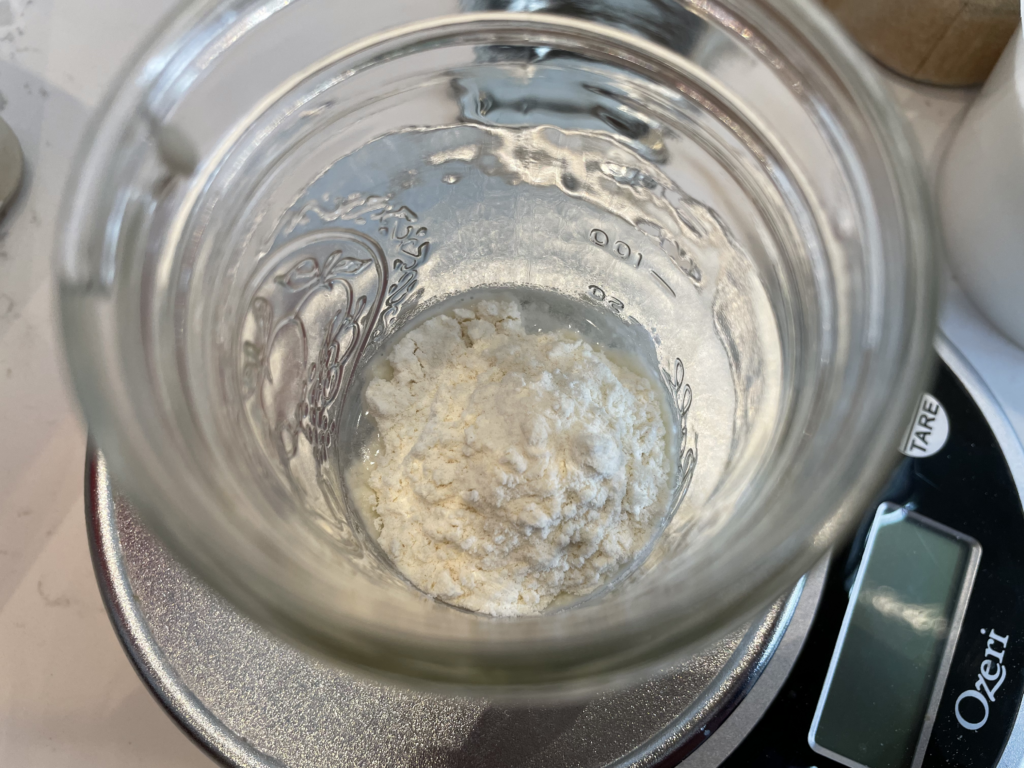
Unless I’m bulking it up for use in a specific recipe, I only keep around 30g of starter. That’s only about two tablespoons when stirred down, and it fits easily with plenty of room to grow in a half-pint (or even quarter-pint) mason jar!
Every time I feed, I take out my discard and add 15g water and 15g flour for a 100% hydration starter.
When I’m ready to bake, I add enough flour and water to my starter to create the amount needed for the recipe, with just a few grams extra so I’ll have some leftover starter to keep for next time. If I’ve thought ahead enough, I might even bulk up my starter gradually (i.e., not discard any) over the course of several feedings leading up to my planned bake.
Myth #2: It’s wasteful
If you’re keeping the 1-2 cups of starter mentioned in Myth #1 and not baking with it every day, you’ll be discarding around 1 cup of starter at every feed (up to twice a day)…no wonder it sounds wasteful! Even with the little 30g starter I keep, discards eventually add up.
Thankfully, “discard” doesn’t mean you actually have to throw it away!
Sourdough discard is still perfectly usable – it’s just flour, water, yeast, and some acid. Baked goods that typically use buttermilk, sour cream, or yogurt can often be adapted to use sourdough starter instead as the acidic component. Most likely, some things you already like to make or eat can be made with sourdough discard. What a great no-waste solution!
Tip: Keep your discards and have a few go-to discard recipes handy
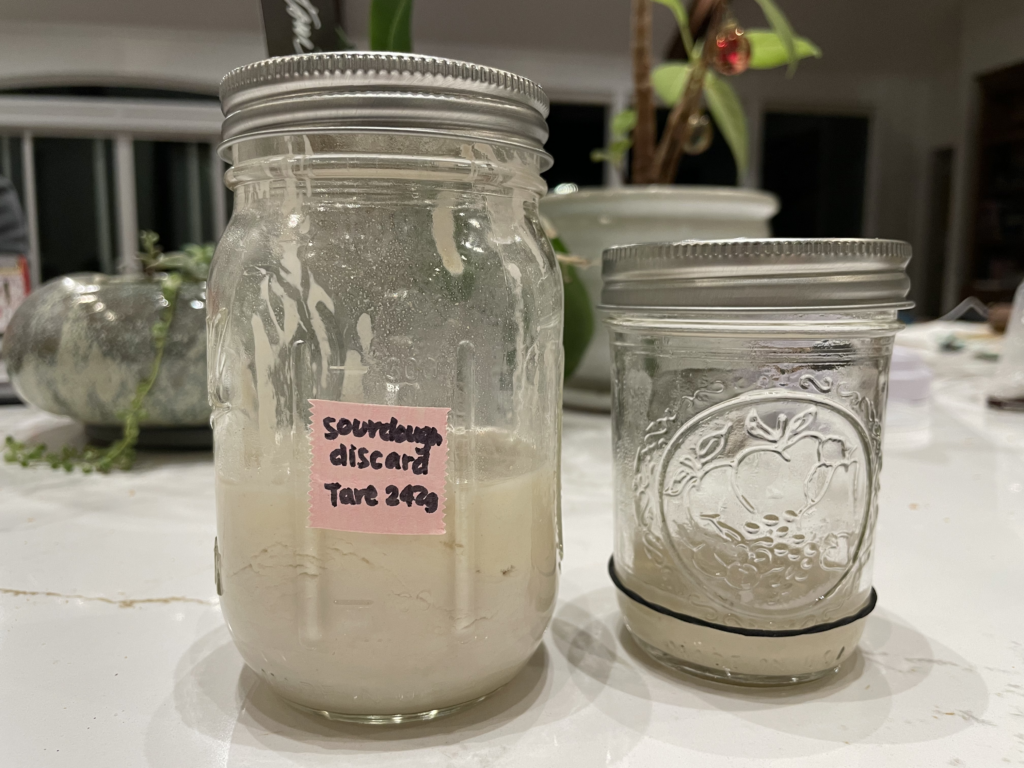
I keep a quart-size mason jar in my fridge labelled “Sourdough Discard”. I deposit discard into that jar every time I feed, until I’ve accumulated enough to make something with. It can take me months to build up that much discard – but no worries, it stays good for ages in the fridge! At that point, I’ll use it all up and start fresh again.
I recommend trying out some sourdough discard recipes and having a few go-to recipes you like on hand, so you know how much discard you need to build up before using it up.
Here are a few of my go-to discard recipes:
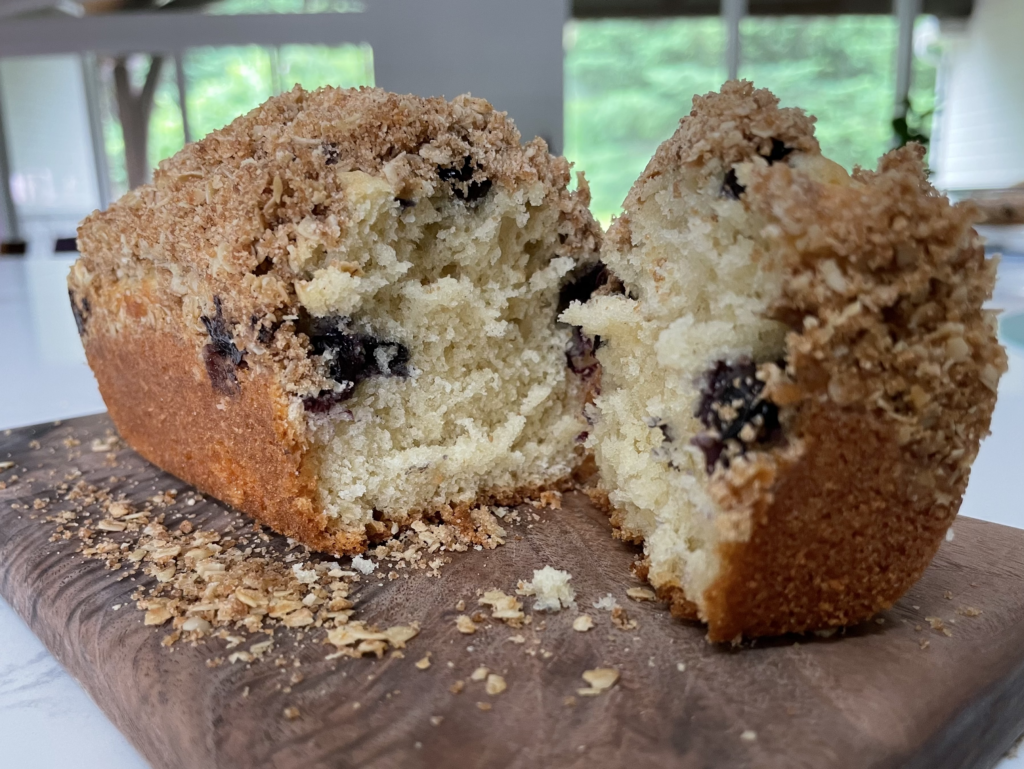
- Sourdough Cinnamon Crumb Cake by Susan Reid at King Arthur Baking Company (You can play with this one – I like to use my own streusel recipe and add fruit)
- Buttery Sourdough Biscuits by PJ Hamel at King Arthur Baking Company
- Sourdough Onion Rings by Irvin Lin at Eat the Love
Myth #3: It’ll tie you down to an inconvenient schedule
The last thing most of us need is more pressure and another commitment. You might have heard that starters need a strict schedule of feedings twice a day. I’ve seen other sources more generously propose once a day, or once a week. I don’t blame you if those options feel like too much commitment!
Back when I tried keeping a starter for the first time, I felt mystified and frustrated, getting unpredictable results while trying to follow a recommended schedule of feedings. I started getting stressed out by my doughy dependent, feeling pressure to keep up the feedings and be constantly baking with the discards.
But guess what? Now that I’ve realized the basic principles outlined below, when I don’t have plans to use my starter, I might not feed it – or even so much as think about it – for months at a time! (I think my longest stretch so far has been about 8 months. It bounced back to normal after a few days of regular feeding.) The rest of the time, I adjust my feedings and/or the starter’s environment to fit my needs, not the other way around.
Don’t become a stressed out sourdough caretaker – make your starter fit your lifestyle!
Tip: Think of your starter as a tiny community and adjust feedings to your schedule
My “aha” moment with maintaining sourdough starter came when I remembered what it really is: a tiny community of living organisms (yeast and bacteria!). With that lens, these basic concepts are super intuitive for me, and help me adjust my sourdough starter care for any situation:
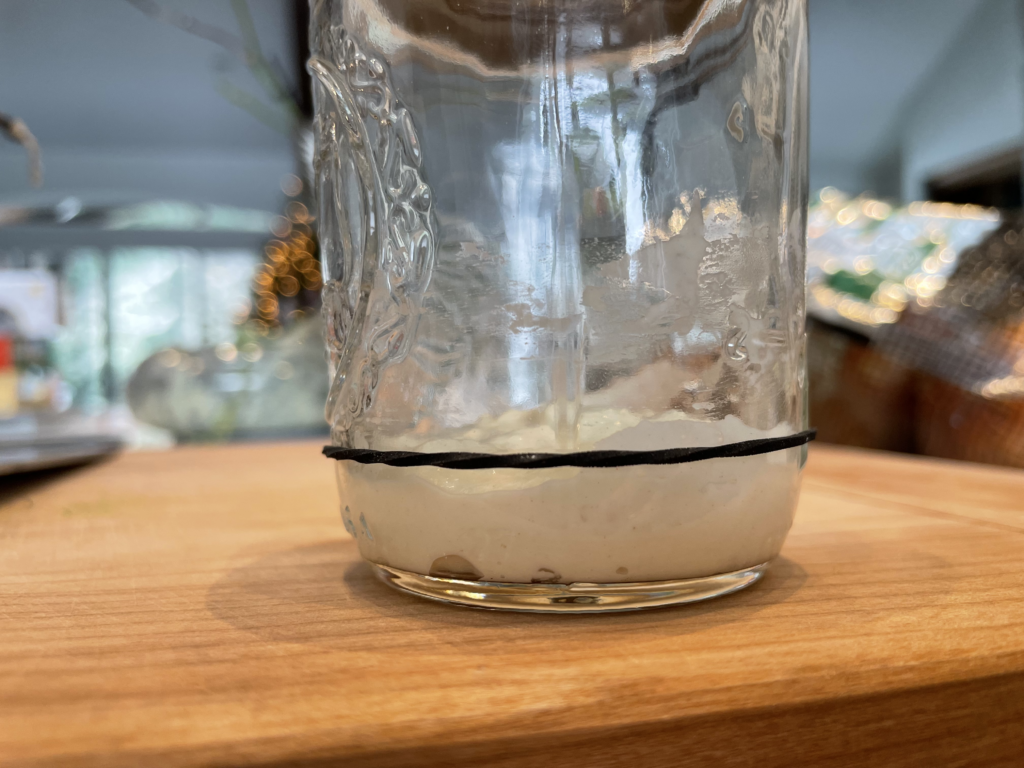
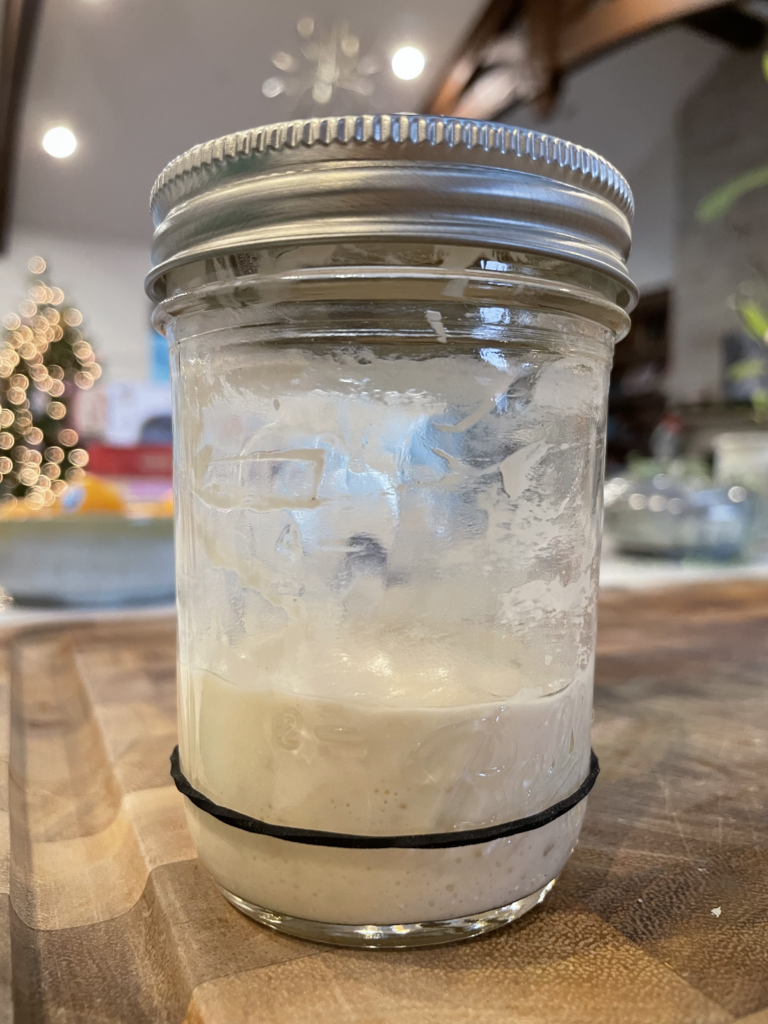
- The yeast community is strongest – and has the greatest population – when it has eaten just about all of its available food. (This is when the starter has doubled in volume or more.)
➡️ This is when it makes most sense to use the starter in a recipe or give it more food. - Yeast goes through food slower when it’s cold, and faster when it’s warm.
➡️ As you get to know your starter, notice how long it takes to double in size under different conditions. As you observe, you’ll naturally start getting a feel for its growth rate. - In the feeding process, you are reducing the population and providing the remaining members with more food.
➡️ The smaller the population of yeast is, the longer it’ll take to use up the food. A larger population will go through food faster.
Following these principles, reasoning about how to adapt your starter to your schedule starts becoming more intuitive. The actual feedings only take a minute or two, so owning your schedule is key to being stress-free!
| If I want my starter to… | …then here are some options! |
| Last longer before using or feeding again | Feed it more at once Discard more before feeding Put it somewhere colder |
| Be ready to bake with sooner | Feed it less at once Discard less before feeding Put it somewhere warmer |
| Be out of sight, out of mind for a long time | Put it in the fridge |
Myth #4: It grows mold or dies easily
Are you afraid you’ll kill your starter? Don’t worry, they’re actually pretty resilient once they’re established! (Extra tip: Getting a bit of established starter from a friend or a bakery gives you a head start over starting your own from scratch.)
Sourdough starter contains a whole microbiome including yeast and other microbes. (It’s fascinating – I highly recommend digging into The Science of Sourdough if you’re interested. You can even participate in a sourdough citizen science project!) When your microbe community is strong and healthy, your starter is very resilient against mold growth. As with most living things, staying clean and fed go a long way in keeping your starter healthy!
Tip: Clean your starter container each time you bake
You don’t need to transfer your starter to a clean container every time you feed. However, if you’re mixing directly in your container each time you feed like I do, your container will eventually build up little deposits of starter on the walls and rim (even if you do your best to scrape it down). These deposits are fine in general, but over time, they can become crusty or become potential spots for mold to grow as the yeast in those areas die out.
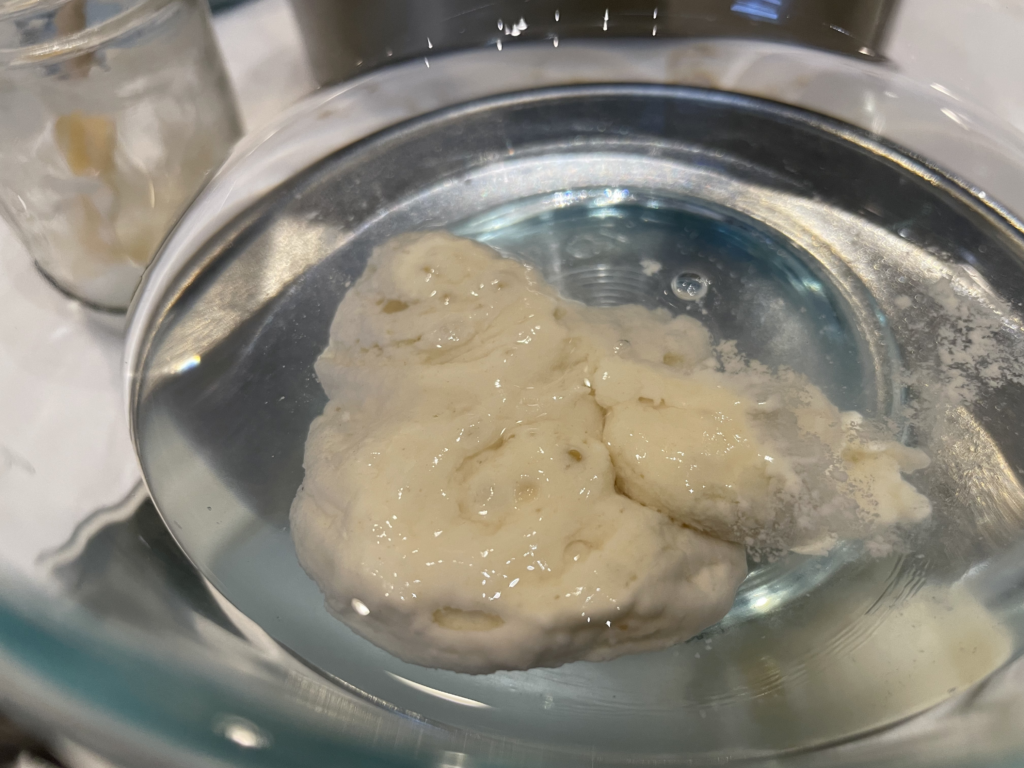
Since you’ll need to bulk up your starter in a bigger container when you bake, it’s a perfect opportunity refresh your starter container. I simply wash out my starter jar, and after I’ve mixed my bread dough, I scrape out the leftover starter from the starter-bulking container back into my clean jar and feed it. Super easy!
Tip: If you don’t want to keep feeding it, put it in the fridge
Putting your starter in the fridge won’t stop its growth completely – it’ll just slow it down so much that you can leave it to its own devices for weeks or months at a time. You’ll want to ensure your starter was recently fed before putting it away, so that it still has food to slowly munch on while you’re going about your life.
As long as it doesn’t run out of food, your starter should stay alive and mold-free until you take it out again!
Myth #5: You need specialized equipment
With all the specialized sourdough-keeping products out there these days – designated starter containers, temperature-controlled pods, and more – it may feel like there’s a whole world of stuff you need to get before you can start.
If you have some of these cool gadgets, awesome! But if you don’t, don’t feel like you need them to be a successful sourdough baker. In fact, you likely have most or all of what you need in your kitchen already.
Tip: You probably have everything you need
At a basic level, aside from flour and water to feed your starter, you really just need a container to keep it in and a tool to mix it with when you feed.
Here’s what I use:
- Half-pint mason jar for starter
- Pint mason jar for discard
- Thin rubber band for marking starter volume on my half-pint mason jar after feeding so I can easily track its growth
- Small spatula for mixing
- Small spoon for adding small amounts of flour
- Small measuring cup for adding small amounts of water
- Digital scale for measuring exact amounts of flour and water
I’m willing to bet you can probably find similar items in your own home without spending a penny! The one thing you’re more likely to need to buy is the digital scale – and if you plan to do a lot of baking, you won’t regret getting one. 😊 (If you’re in the market for a kitchen scale, this Ozeri scale is inexpensive and has lasted me years. The OXO Good Grips 11-Pound Scale is pricier, but great for larger, heavier recipes.)
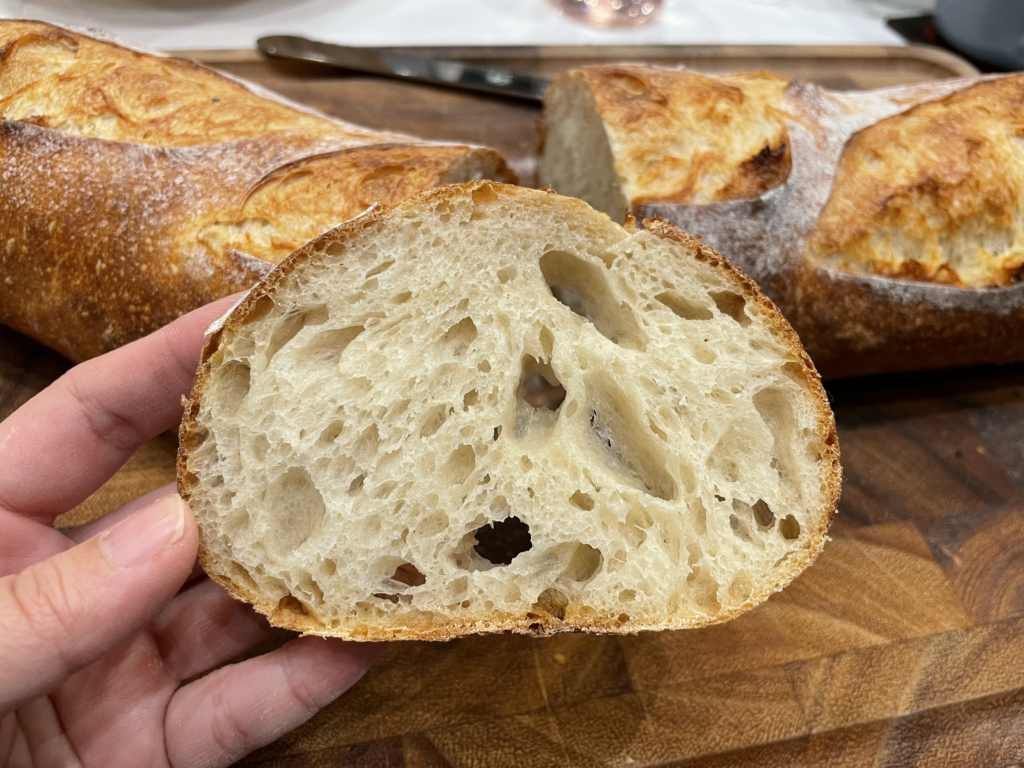
I hope these tips have helped make keeping sourdough starter feel more approachable! Go forth and make bread – you’ve got this! 🥖✨
Post Updates
Feb. 16, 2024: Fixed mason jar measurements which previously referred to a half-pint mason jar as pint-size and pint-size as quart-size.