I had popovers for the first time many years ago at Wayfare Tavern in San Francisco. Though it’s been years since I’ve eaten there, I still reminisce about the delicious steak tartare they served with crisp, quartered popovers drizzled in olive oil. (It looks like the menu has changed since then – as of writing, they now serve a “Prime Beef Tartare” with potato chips.) Yum! 😋
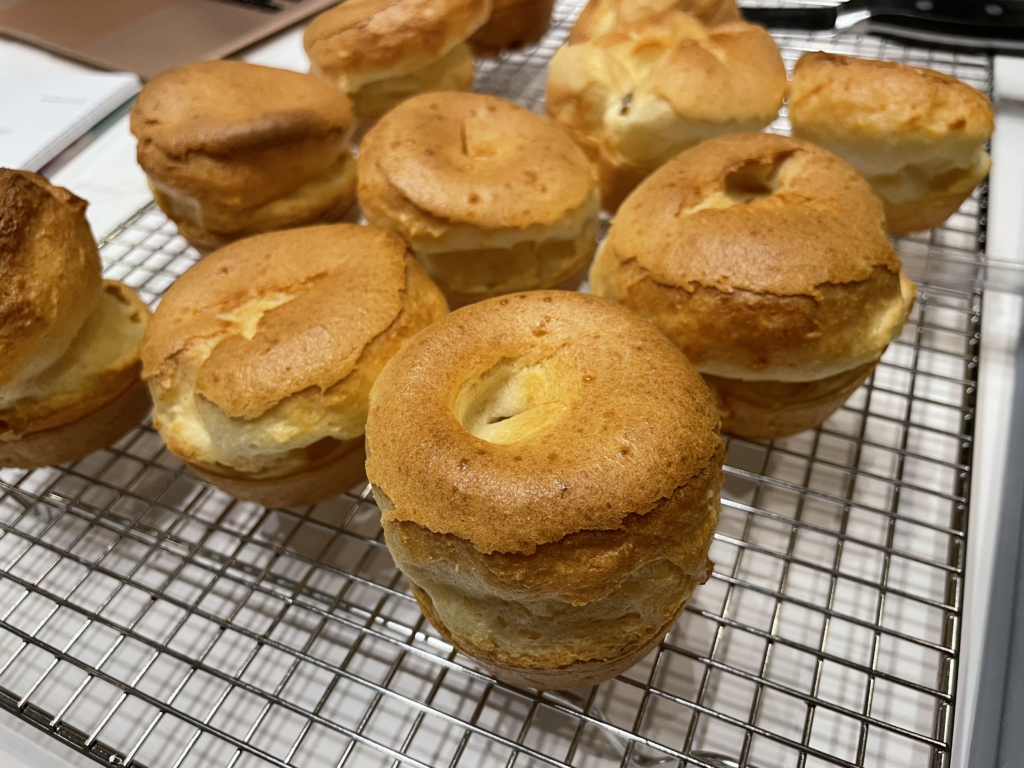
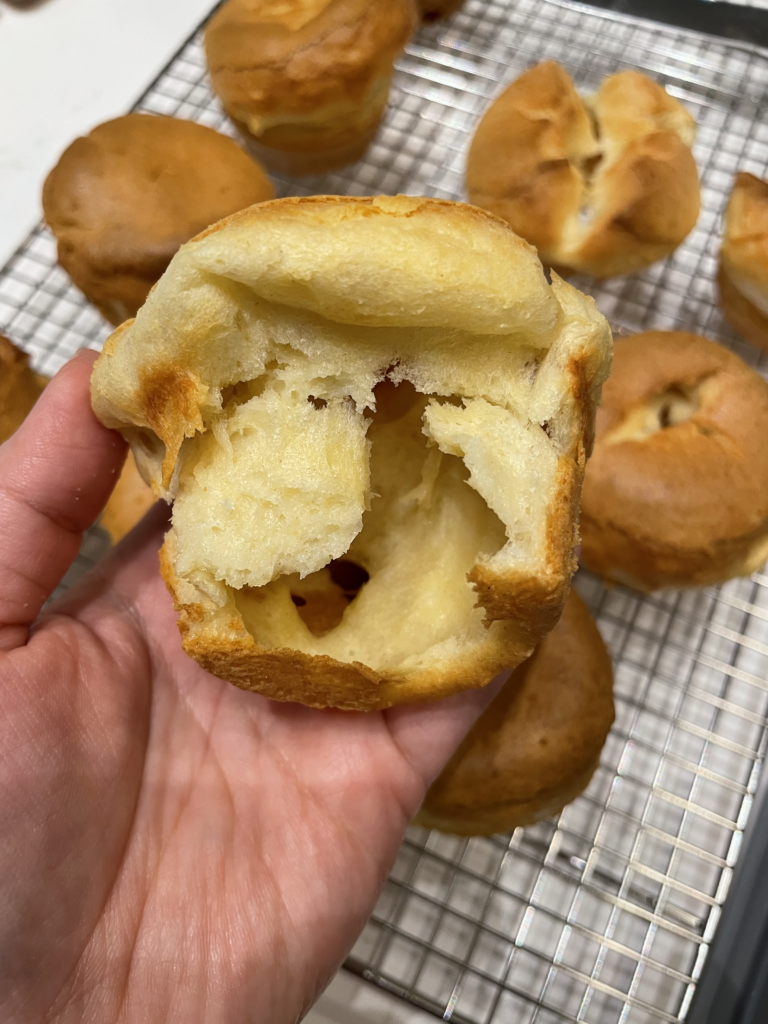
I loved everything about my meal there, but for my bread-loving self, the popovers were the star of the show. They were crisp on the outside, bouncy and tender on the inside, full of air, and addictively eggy. On top of that, they had such a whimsical billowing shape that I’d never seen before!
For years after I discovered popovers, I considered buying a popover pan so I could make them myself at home. I had a hard time committing to yet another specialized baking pan, so I was delighted to find that this recipe from King Arthur Baking Company works perfectly in a regular muffin tin. You won’t get the classic tall popover shape using a muffin tin, but they still taste good! (With how easy and yummy this recipe is, though, I might just get that pan after all – it would probably get lots of use!)
If you love choux pastry or egg waffles, you’ll definitely love these popovers, too.
Mixing the batter
I highly recommend preheating the oven first thing with this recipe, because the batter comes together so quickly that you’ll end up waiting a long time for the oven to get up to 450ºF if you start the preheat later.
Mixing this popover batter is as simple as it gets, especially if you use a blender. I used my Vitamix blender and it took just a couple of minutes to get all the ingredients together, add them to the blender, and blend it all up. I did need to scrape the batter down once to get it all incorporated.
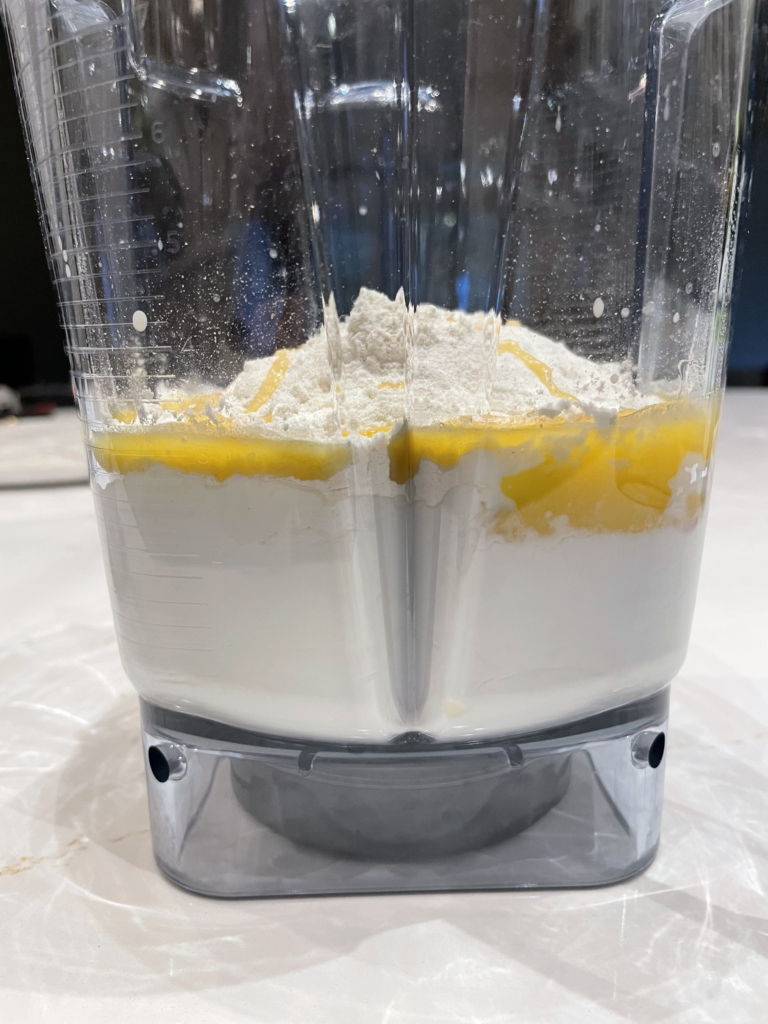
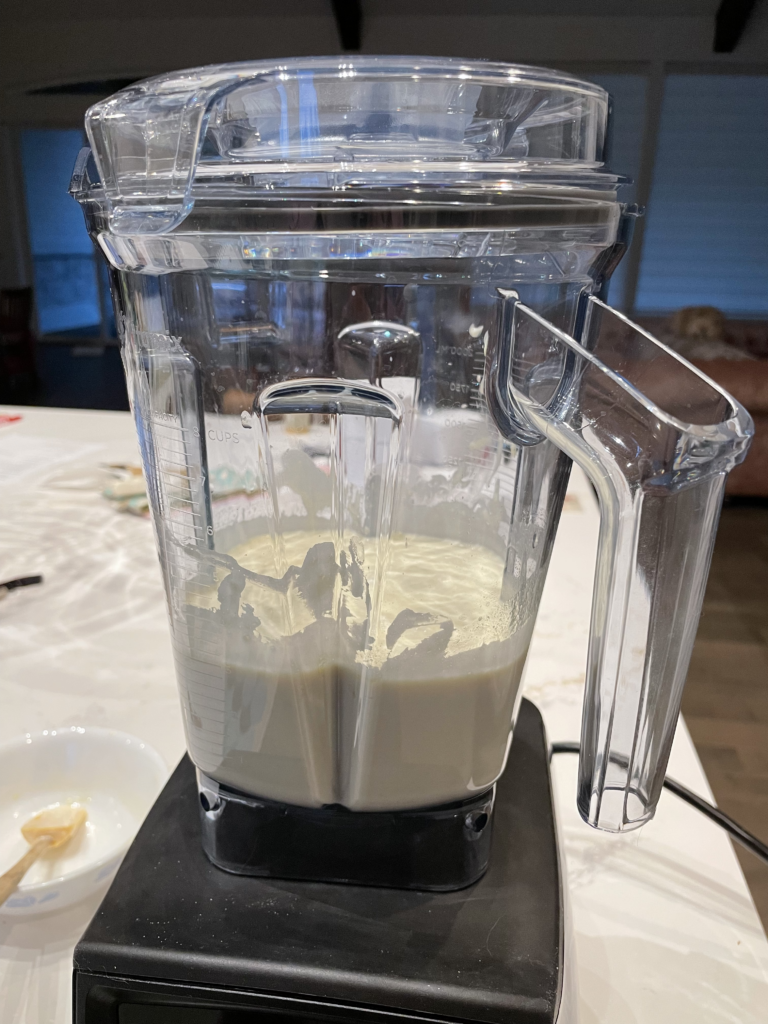

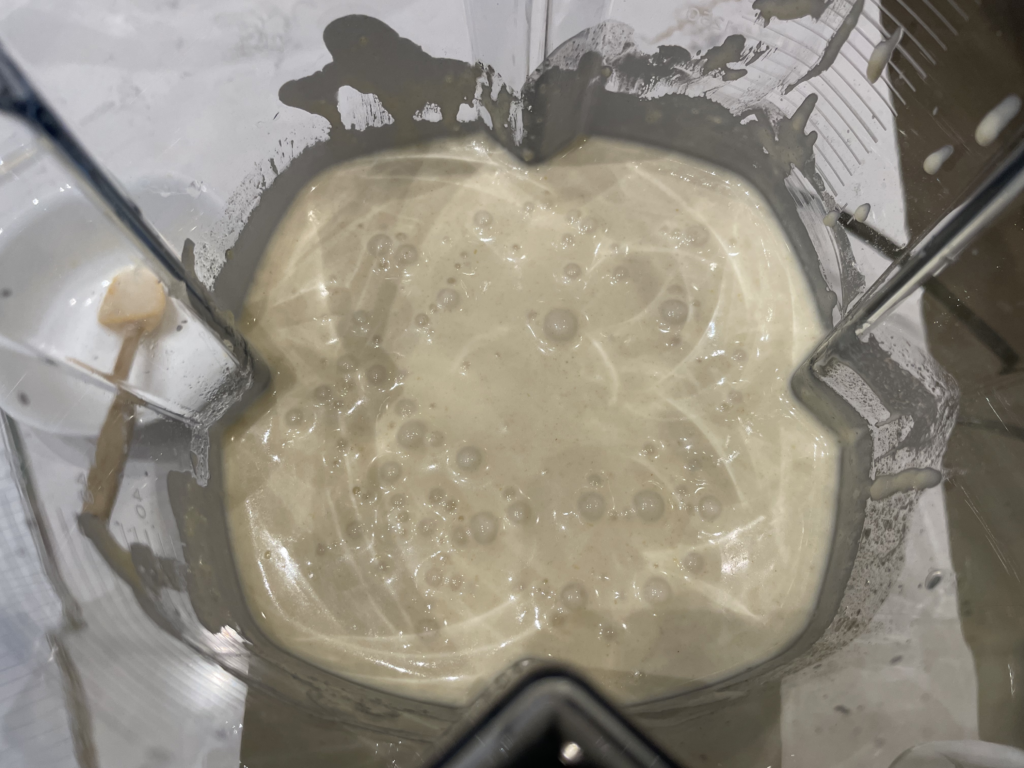
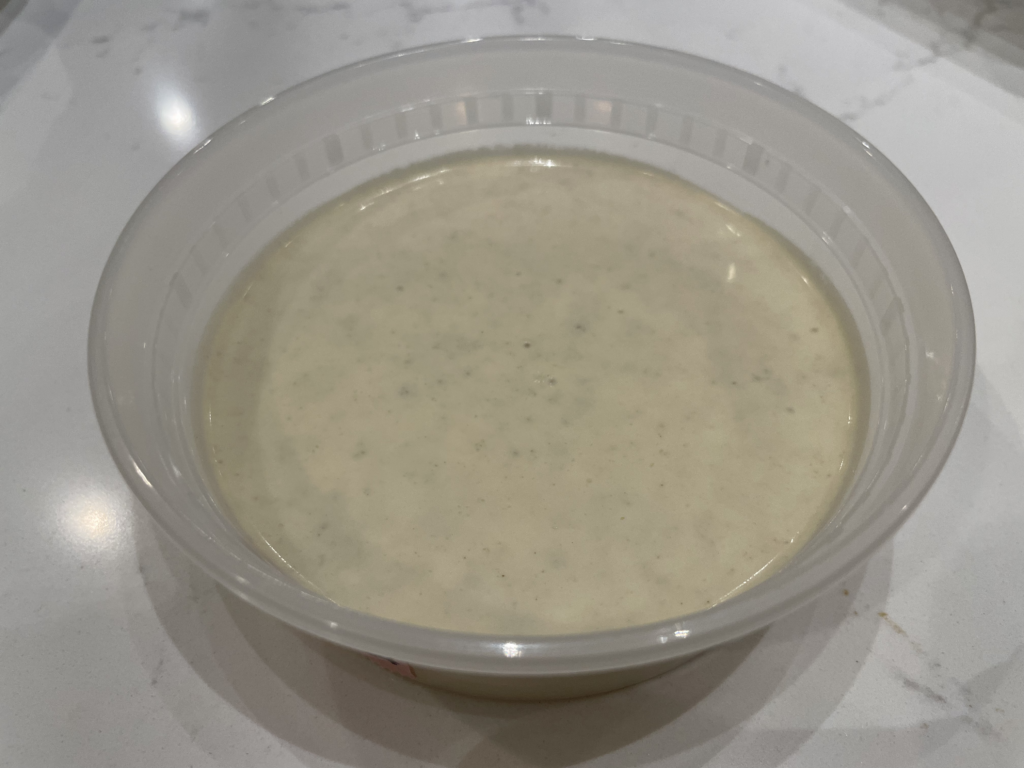
After about 30 total seconds of blending on speed 1, I had a very smooth, uniform batter.
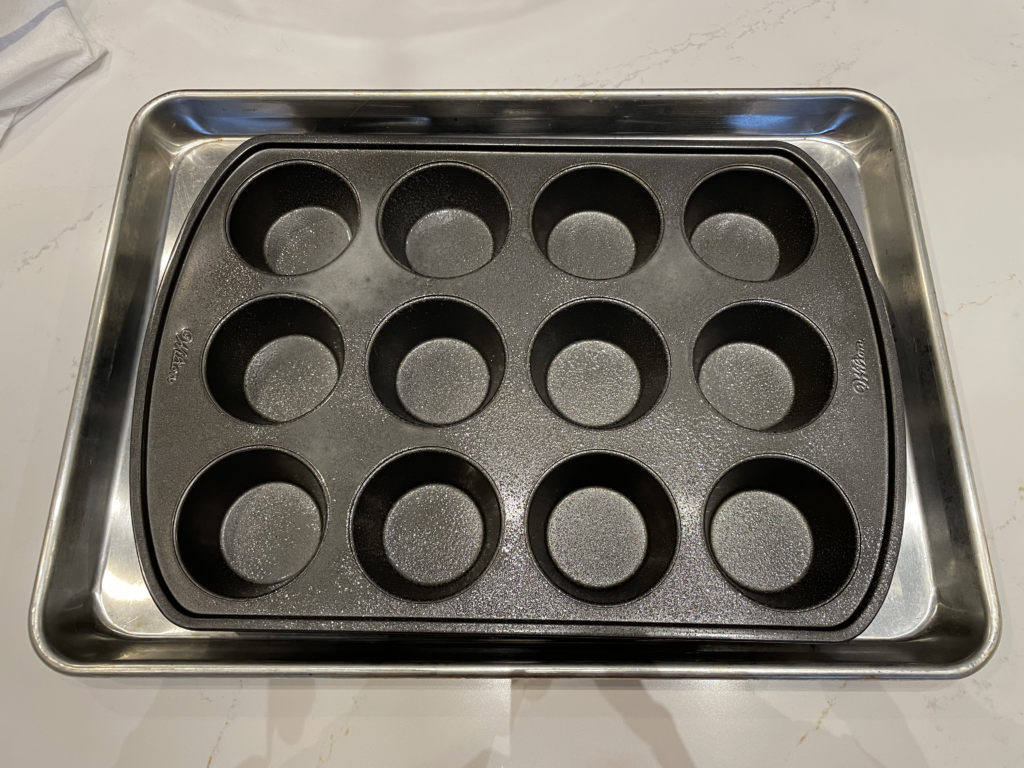
The recipe says to let the batter sit for 15 minutes at this point. This is a perfect time to grab a muffin tin and grease it very generously while waiting for the oven to finish preheating. I used Vegalene spray on my pan.
Baking & eating
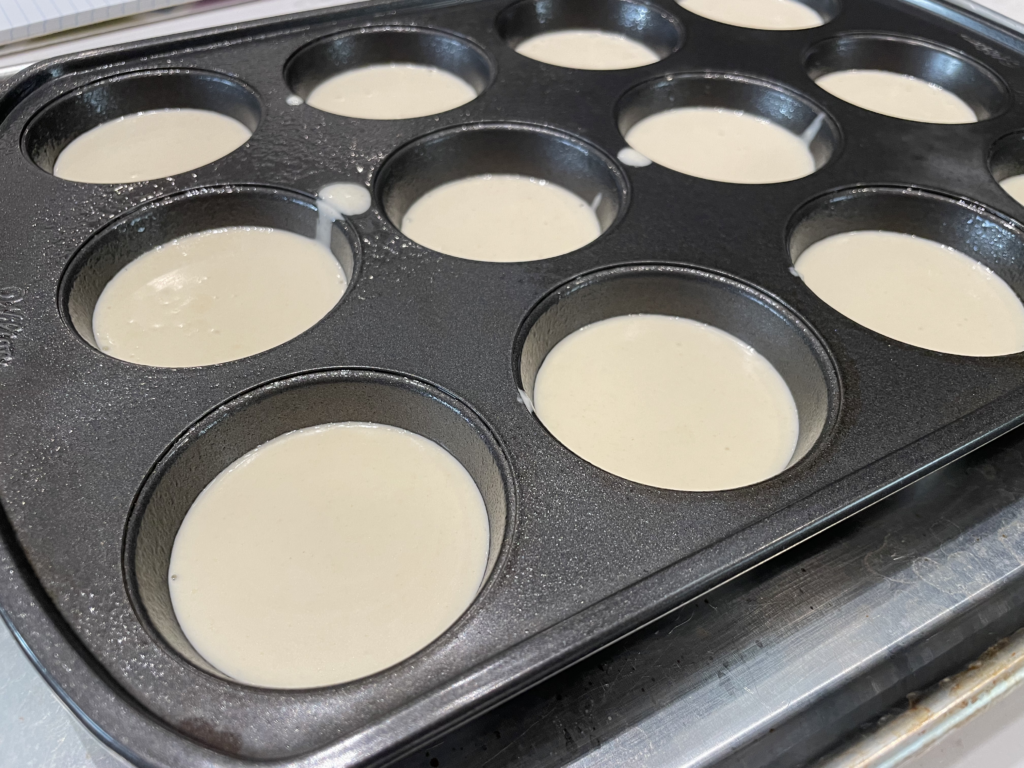
Getting the batter into the muffin cups was relatively mess-free, thanks to it already being in a blender pitcher with a pour spout. I tried my best to fill the cups 2/3 full as stated in the recipe, and between eyeballing the volume and having varying control of the flow from the pitcher, I ended up with cups ranging between 2/3 full to 3/4 full.
I faithfully followed the stated baking parameters of 450ºF for 20 minutes followed by 350ºF for 10 minutes, excitedly watching through the oven window as the popovers puffed and crisped up. Despite there being slightly different amounts of batter in some cups, they all baked up nicely in the same amount of time and none of them overflowed to the point of touching a neighboring popover.
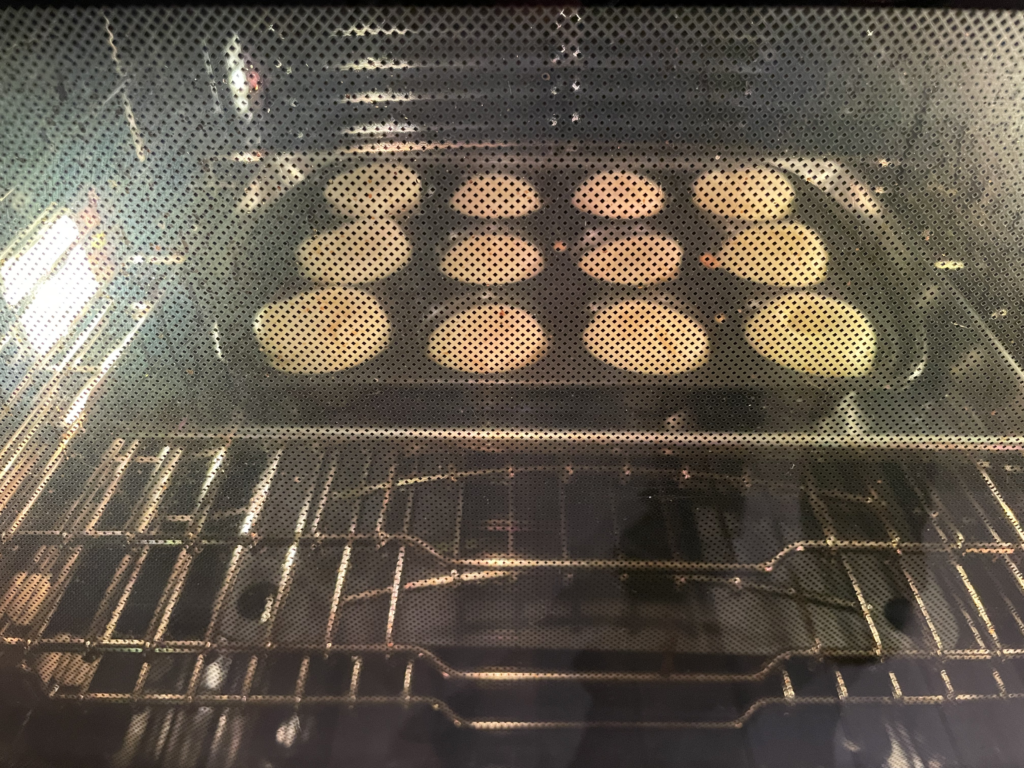
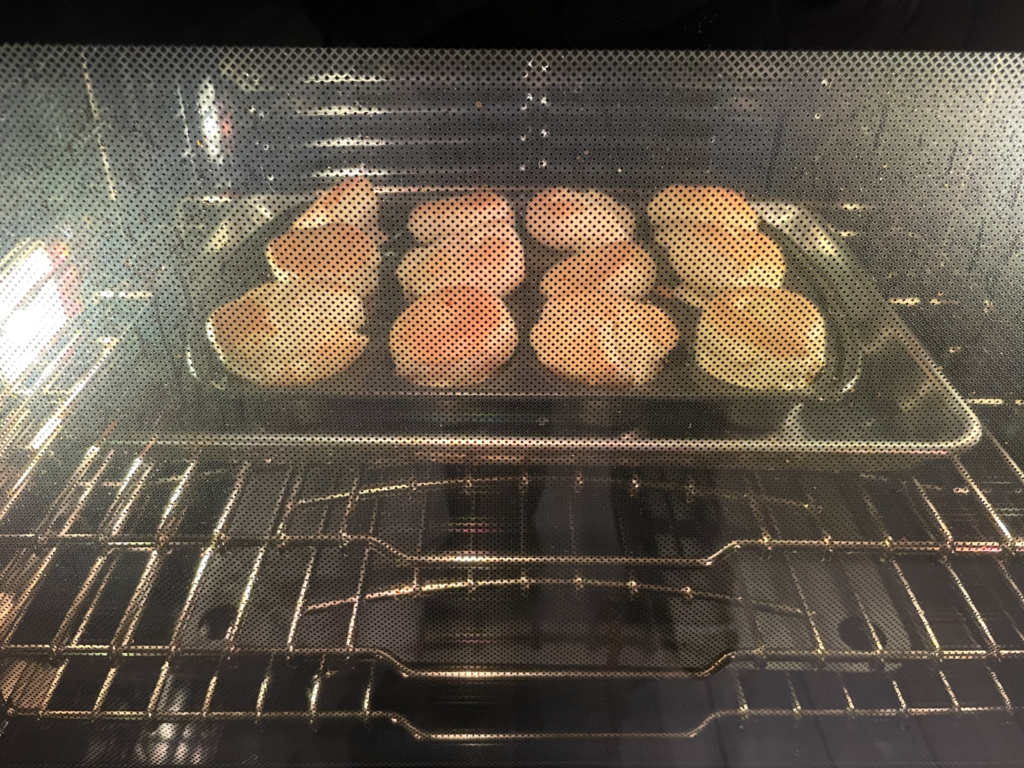
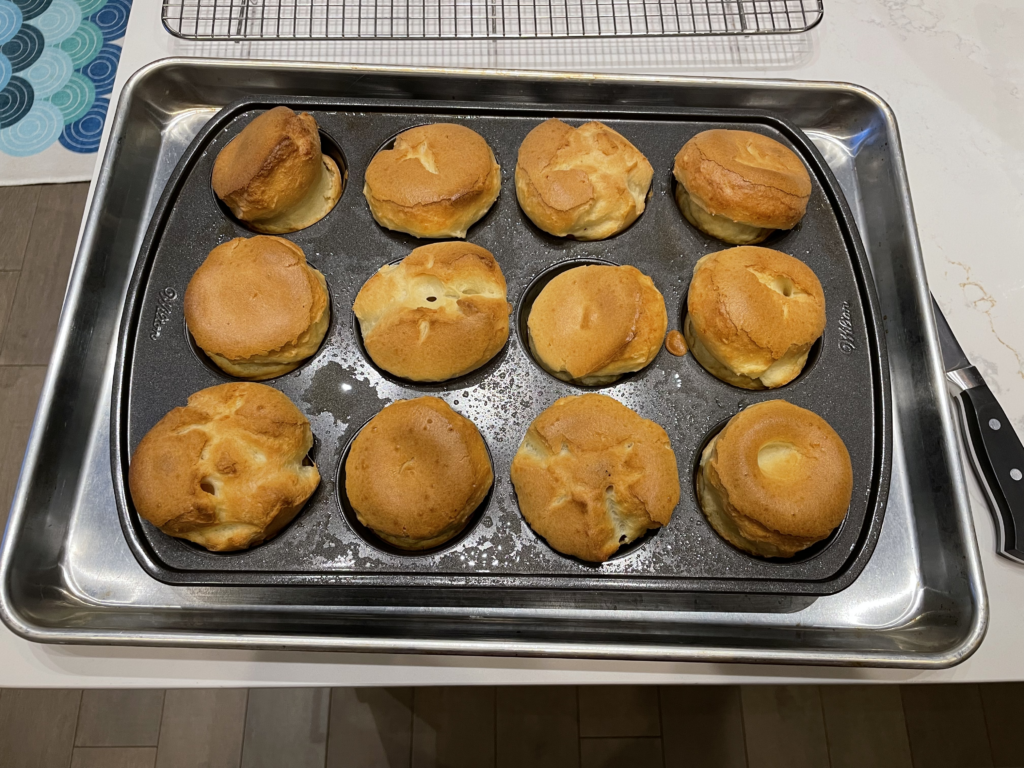
The recipe explicitly instructs not to open the oven door at any point during baking. I wondered if the popovers would bake unevenly since they couldn’t be turned partway through, but they actually came out pretty evenly baked across the entire muffin tin! The oven temperature and timings were spot-on for my oven, too.
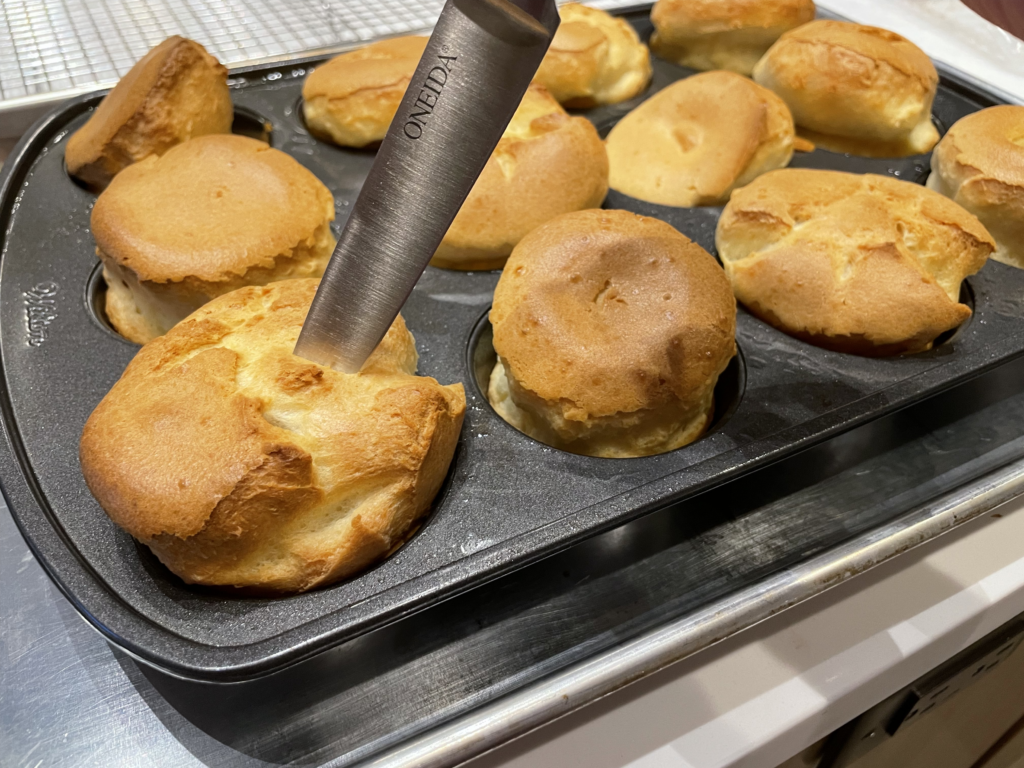
I found it super satisfying to poke the top of each finished popover with a knife and watch the steam escape. And of course, I couldn’t resist eating a couple right away…these are definitely best right out of the oven! 🤤
I think this recipe is simple enough for any beginner baker to create successful results, and it’s delicious enough to keep advanced bakers coming back. When yeasted bread can take hours to make from scratch and biscuits require multiple steps of mixing, cutting, and chilling, it’s wonderful to have a quick, mess-free option for a yummy homemade roll. 🥚 Give it a try and let me know how it goes!
My tips for making this recipe
Grease your pan very thoroughly
Make sure to grease your pan generously on all sides of each cup before you add your batter to the pan!
My first time baking these popovers, I sprayed a light-to-moderate layer of oil over the entire pan. I figured that between the pan’s nonstick coating and the oil, the popovers wouldn’t have an issue unmolding. Unfortunately, some of them did stick!
Baked popovers are delicate because they’re hollow inside, so it is challenging to remove a stuck popover without ripping it up entirely. I was able to get the majority of mine out by very carefully running a knife around the stuck parts, but I would not recommend this since you can easily damage the pan’s nonstick coating this way. It’s much easier to prevent sticking in the first place by making sure your muffin cups are well greased on all sides!
Make-ahead option 1: Mix batter and bake later
Make-ahead options are always great to have in mind so you can adjust meal prep to fit into your schedule. Though popover batter is super quick to whip up, I was still curious to see if the batter could be made ahead, refrigerated, and baked later – it could at least save blender cleanup on future days!
Because the recipe ended up making more batter than I needed to fill my 12 muffin cups, I saved the extra in a deli cup to try baking up the next day. Since the batter doesn’t contain any leavening agents, I surmised that it should be able to keep for some time with no adverse effects.
When I took the batter out of the fridge about 24 hours later, it had some slightly gray spots where it had oxidized. It baked up just fine, though!
If you’d like to try making a big batch of batter to bake fresh popovers later, here are some alternative options that I think would work, but haven’t yet tried with this recipe:
- Freeze the batter (you could even freeze in individual portions if you have a silicone muffin mold!)
- Refrigerate the batter in a piping bag to prevent contact with air (+ easy piping into your muffin tin later!)
- Refrigerate the batter with plastic wrap directly against the surface to prevent contact with air
PJ Hamel at King Arthur Baking Company recommends keeping popover batter refrigerated no longer than overnight, letting it come to room temperature, and giving it a quick mix before baking the next day.
I’ll update here with the results if I get a chance to test any of these methods!
Make-ahead option 2: Freeze baked popovers
Like with most bread, you can also store baked popovers well-wrapped in the freezer, and reheat later in a warm oven. Don’t forget that they are hollow and delicate, though – enthusiastic vacuum-sealing or placing other items on top may crush them! On the plus side, since they’re mostly air, they reheat very quickly.
No milk? Try substituting!
I’ve substituted the milk in this recipe for half heavy cream and half water, and it worked great.
Other substitutions that may work, but I haven’t yet tried with this recipe, are:
- Sour cream (or sour cream thinned with water)
- Plain yogurt (or plain yogurt thinned with water)
- Beer (I’ve used this as a vegan milk substitute in Making a Vegan T85 Burger Bun)
- Water
If you try a substitute, let me know how it goes!