You really don’t need much equipment to make a lot with crochet!
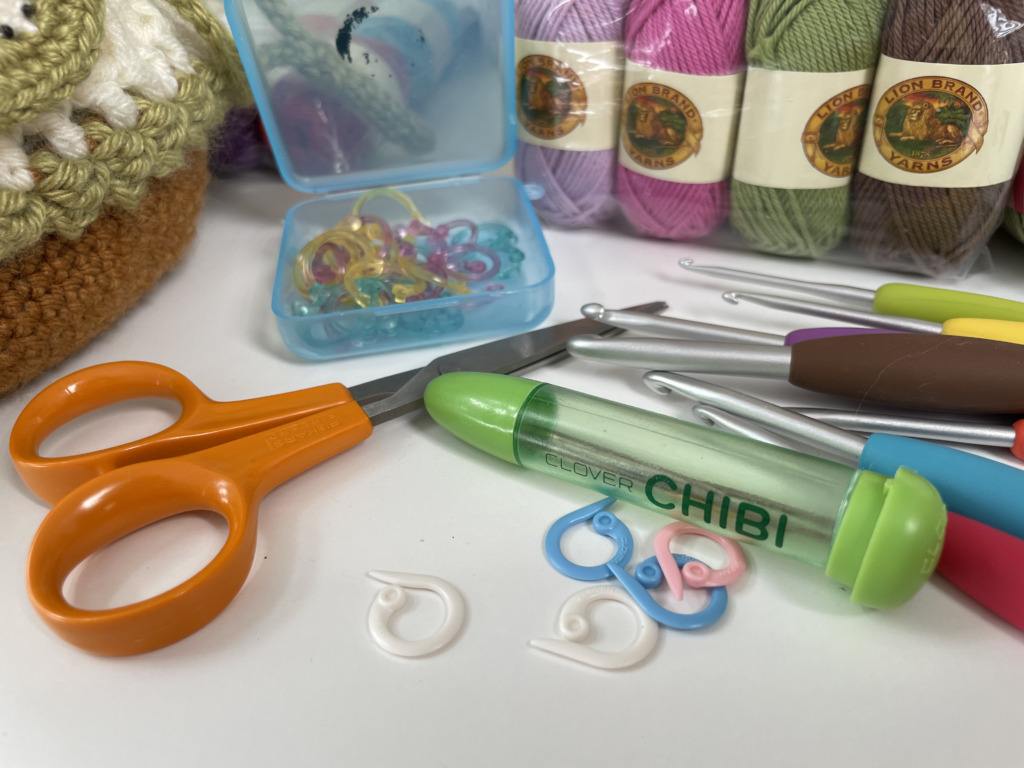
Over the years, I’ve found that I use these 5 tools on almost every crochet project, and I rarely need anything else. All you need are these tools and the materials for your project (yarn, stuffing, safety eyes, etc.) and you’ll be ready to go!
If you’re a crochet beginner, I hope this list will give you a curated toolbox to start with that will set you up for success as you learn. 😊 You don’t have to break the bank to start – getting all my favorites listed below will set you back about $75 via Amazon (based on prices as of March 2024), but you can easily get started for much less by investing in fewer tools to begin with and getting creative with what you have on hand. I have some suggestions below on how to do that, too!
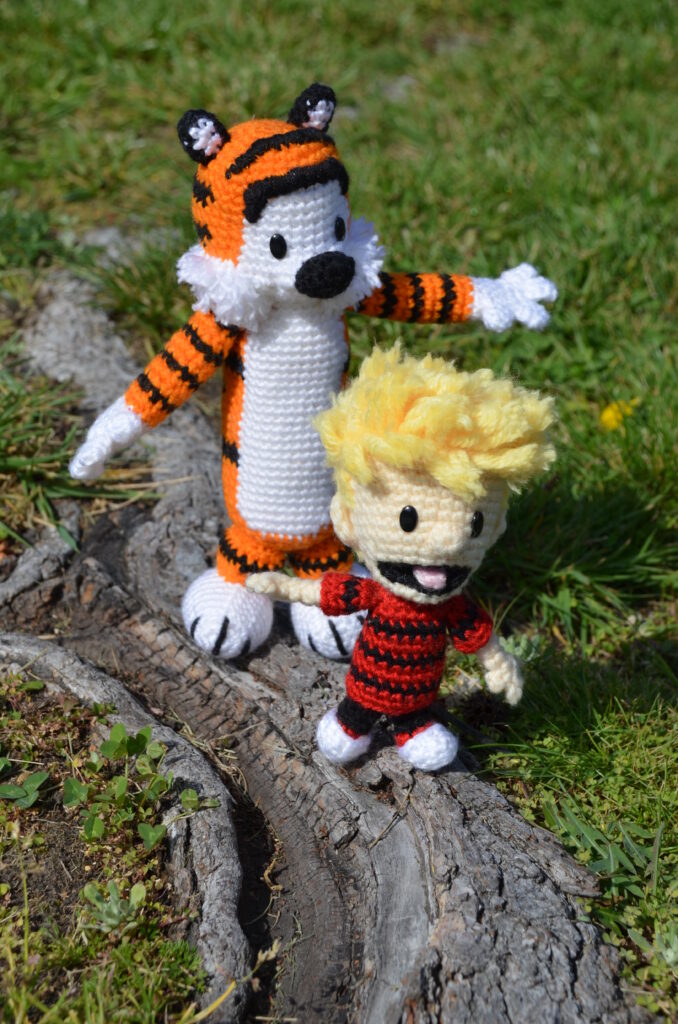
I specialize in amigurumi (stuffed dolls), so I’ll provide context from that perspective on my recommendations below. That being said, I think this top 5 essential tool list applies to any kind of project you want to crochet!
My personal favorites, in a nutshell
Looking for a quick list of my personal recommendations? Here’s what I use in my day-to-day crochet. I’ve used all of these products for many years and genuinely love them.
- Clover Amour Crochet Hook Set
- Clover Darning Needle Set
- Fiskars Stitcher Scissors (No. 5)
- Clover Split Ring Markers
- Boye Jumbo Stitch Markers
You don’t have to blindly go with the exact products I use, though – feel free to read on for more context on what I use these tools for, and make your own list of personal favorites!
#1: Ergonomic crochet hooks
Crochet hooks, of course, are the #1 essential tool for crochet! 😂
Beyond that simple fact, though, there are actually many brands and styles of crochet hooks, ranging from simple aluminum hooks to works of art like these handmade wooden Furls Alpha Series crochet hooks. I personally started out with inexpensive Boye aluminum hooks, and then started buying “fancier” hooks as I got more experienced and serious about crochet.
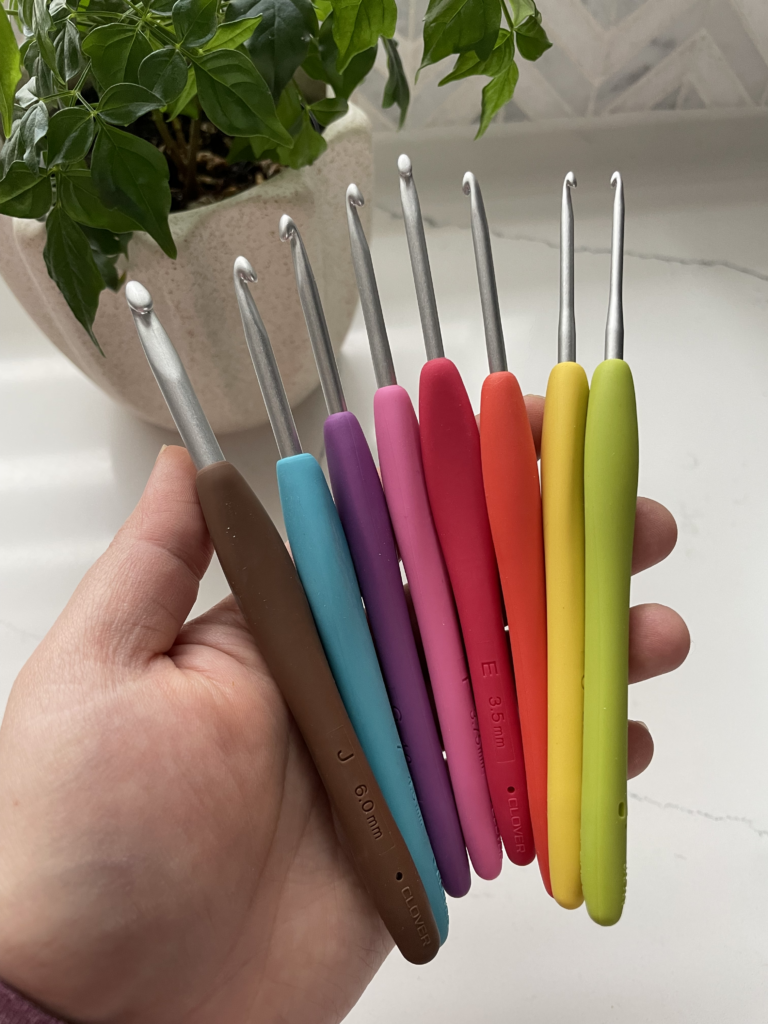
If you’re a beginner just looking to get your first hook(s), don’t let the choices scare you! It’s perfectly fine to start with a simple, inexpensive option. However, if you do have the flexibility to invest a little, I recommend getting a set of ergonomic crochet hooks. Your hands can easily get cramped while crocheting, especially stitching tightly (which I usually do for amigurumi). A soft, ergonomic grip may not get rid of the hand cramps entirely, but it certainly helps!
I currently use this Clover Amour Crochet Hook Set as my main set of hooks, and they are my favorites so far! I love their fun colors, soft texture, and comfortable grip. (I haven’t yet had a chance to try a Furls hook myself, but I’d love to see one in person one day. 😀)
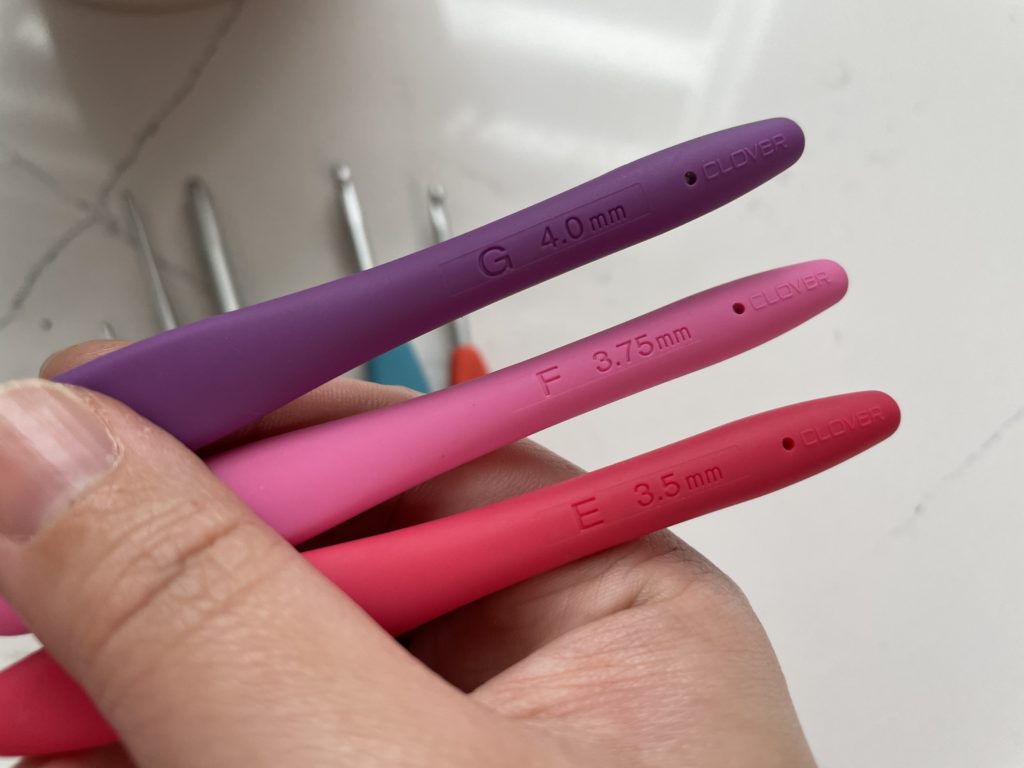
I like having a whole set of hooks so I’m prepared for a wide range of projects, but if you’re a beginner wanting to start with just a few, I suggest checking the recommended hook sizes for a few patterns you’re interested in before you choose which ones to buy! For reference, sizes 3.5mm, 3.75mm, and 4mm are my most-used hooks for making amigurumi with medium-weight yarn.
If you’re still not sure what to get as a first hook, you may want to consider a larger hook (5mm or larger) since it will create larger, looser stitches than a small one. Bigger stitches tend to be easier to see and learn with, and less tiring on your hands – perfect for beginners!
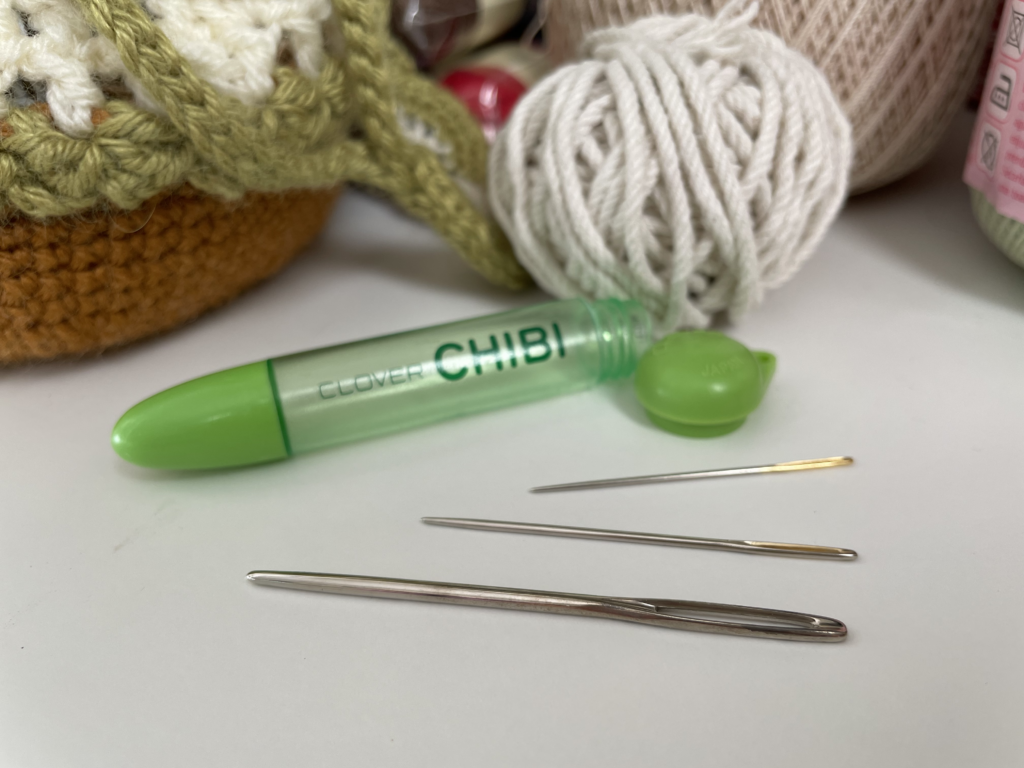
#2: Tapestry or darning needles
Every crochet project has at least one yarn end that has to be finished off and woven in somehow! If you make amigurumi, you’ll likely also be sewing pieces together and and embroidering features like mouths, eyebrows, or eyelashes. Tapestry or darning needles are essential for these tasks!
I love my Clover Darning Needle Set because it includes three sizes (No. 13, 17, & 20) in a convenient carrying case. These three sizes cover the vast majority of my needs for crochet projects, and having all three handy means I can choose the one that best fits the requirements of my project.
If you’re a beginner looking for just one needle to start with, I’d suggest the large one (No. 13). This is a great all-purpose needle if you plan to use medium weight or thicker yarn. However, if you plan to use lighter weight yarn or crochet very tightly, you may have difficulty getting the No. 13 needle through your stitches. In that case, you’ll want to size down to a smaller needle.
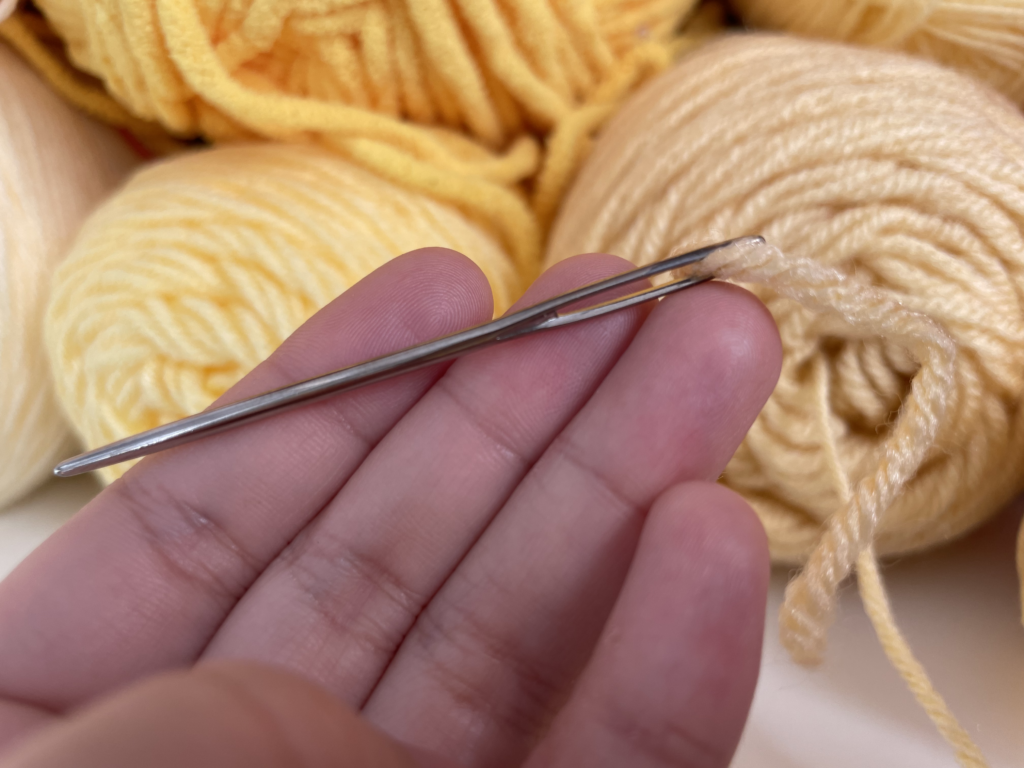
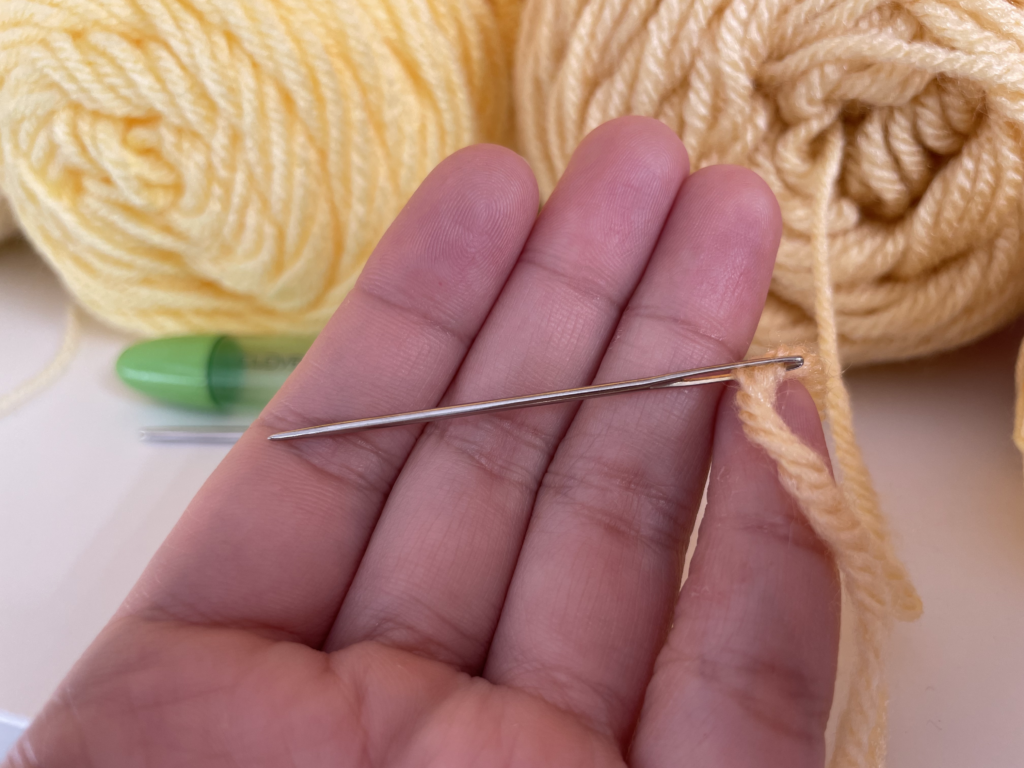
For most of my amigurumi projects, I use medium weight yarn and I crochet somewhat tightly. I prefer to use the medium needle (No. 17) when I can manage to get the yarn through the eye, because the smaller size is easier to weave through tight stitches. That being said, the bigger No. 13 is much easier to thread and hold!
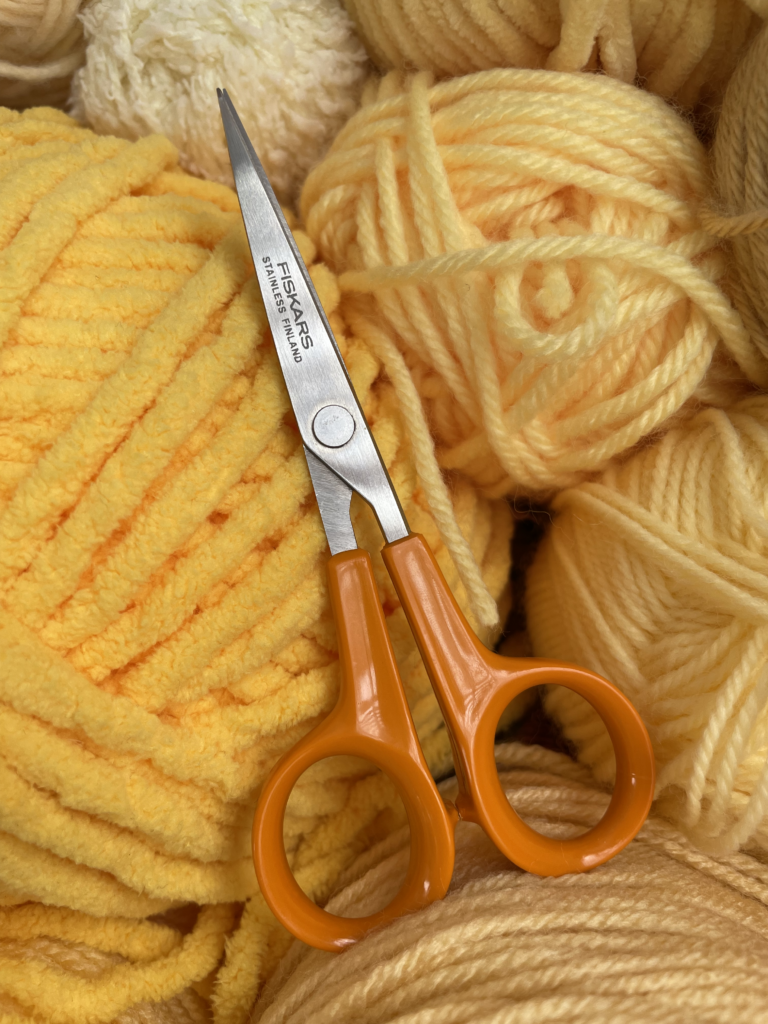
#3: Sharp precision scissors
I highly recommend having a pair of sharp, small scissors with a fine tip. They’ll cut through yarn easily, and also allow you to do detail trimming work. I use Fiskars Stitcher Scissors (No. 5), and I love them! (Note: The Stitcher scissors may be be a previous version of these Fiskars Micro-Tip Scissors (No. 5) – while you can still buy Stitcher scissors online, they don’t appear on the official Fiskars website.)
If you don’t want to buy a new pair of scissors just yet, regular scissors will also work for many projects, as long as they’re decently sharp. Dull scissors will often cut only partially through a strand of yarn, leaving a frustrating raggedy yarn end that you may have to re-trim later.
I especially love using my fine tip scissors to:
- Cleanly snip off finished yarn ends
- Trim and shape amigurumi fur or hair
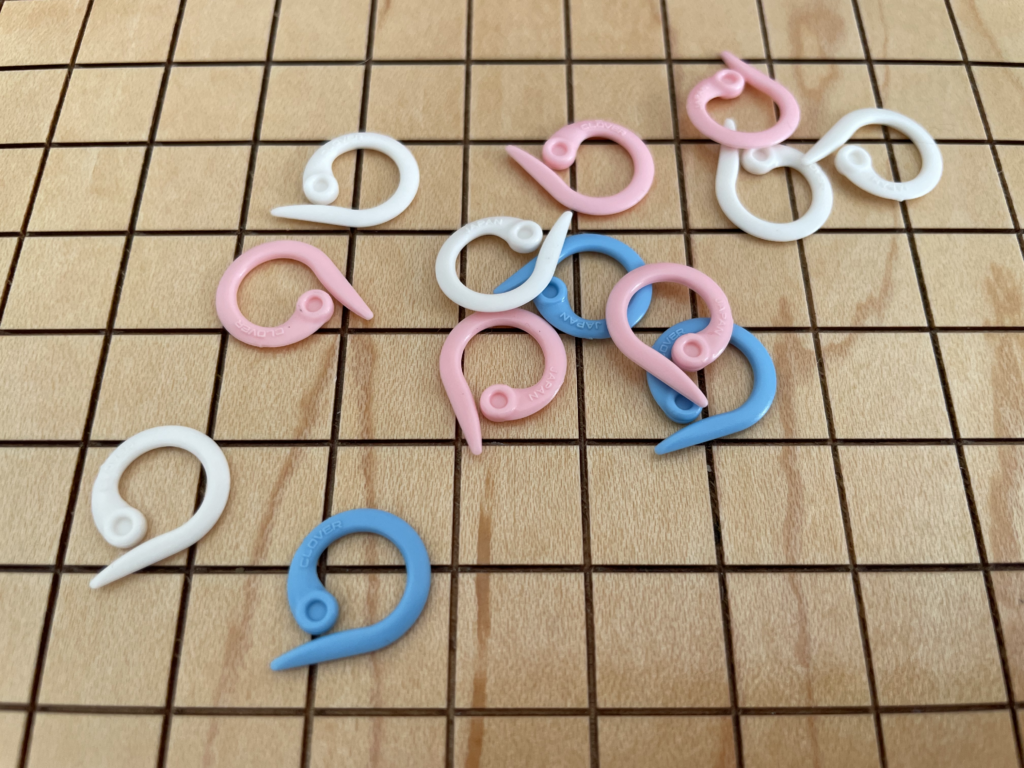
#4: Split ring stitch markers
Stitch markers help you keep track of important spots in your crochet project, usually at the beginning of a row or round, or a spot where the pattern changes. Split ring stitch markers are usually rigid and have an opening with a pointed end that you can slip into a stitch.
Stitch markers may not be necessary for simple, flat projects. I find them especially useful for projects crocheted in the round (like most amigurumi!) because they provide a quick and easy way to tell when I’ve completed a round.
They’re a great visual cue to check for mistakes, too – if I reach my stitch marker and I’m a stitch short or a stitch over, I know I’ve made a mistake somewhere and I can go back, count stitches from the beginning of the round, and fix the error! Without it, I’ve had times when I’ve gone on stitching and not noticed that something didn’t match up until several rounds later, when it had become much harder to fix.
I like my Clover Split Ring Markers because they’re cute, sturdy, and super easy to insert and remove in one movement.
If you want to stay super minimal, you can also opt for rigid locking stitch markers (as in #5 below) and use them for both purposes. They aren’t quite as easy to slip on and off, but they’ll still work! You can also try some creative solutions from around the house, such as:
- Paper clips
- Earrings
- Wine glass charms
Note: If you simply search for “stitch markers”, you’ll likely see a lot of results for closed ring stitch markers like these, which have no opening. They are used in knitting and can’t be used as crochet stitch markers. Make sure you get split stitch markers!
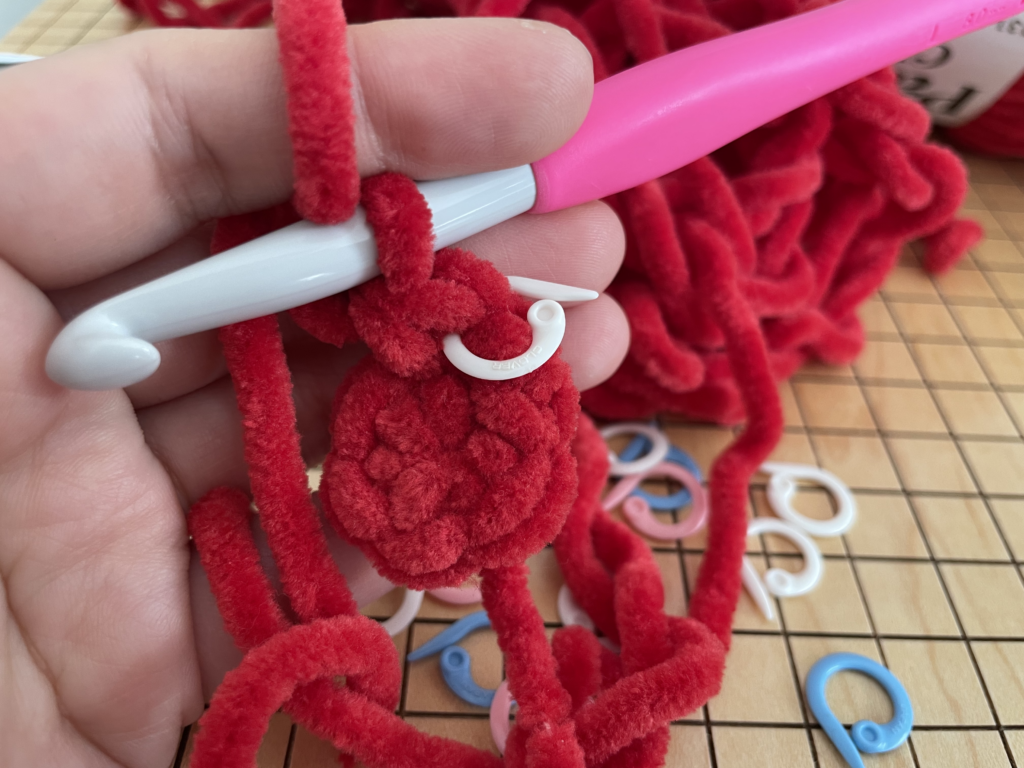
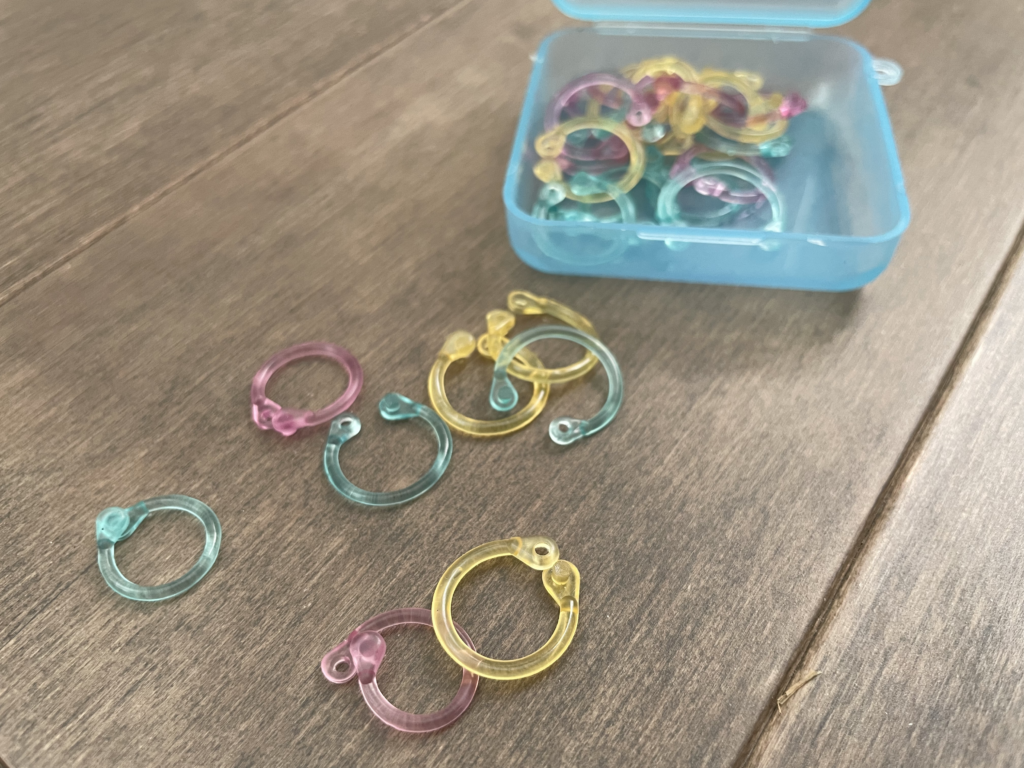
#5: Closeable or locking stitch markers
How often have you put a crochet project aside, only to find later that part of your hard work has unraveled? And now, not only do you have to redo it, you also have to figure out where the project unraveled to so you can resume it at the right place! 😫
It used to happen to me all the time, when I’d either put an unfinished project in a drawer for later, or when I was traveling with a project in my backpack. The moment your crochet hook comes out of the yarn loop on an unfinished project, a quick tug can take everything back apart in no time. It’s a great feature for undoing mistakes, but not so much for saving a project in progress.
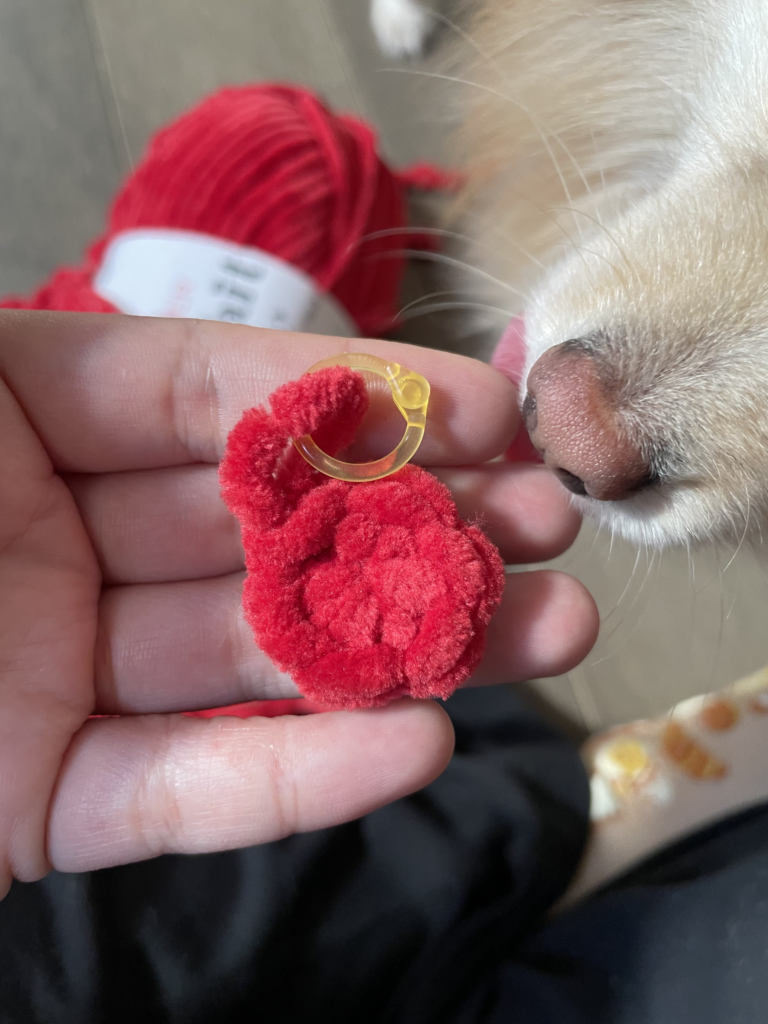
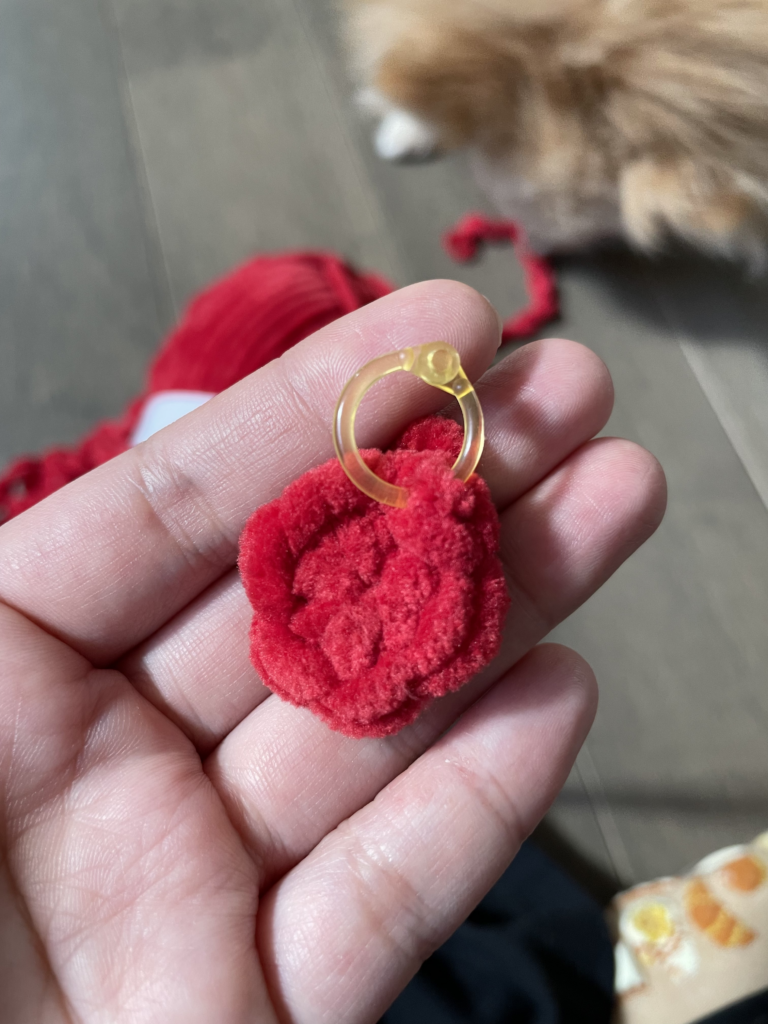
Once I realized I could use a closeable or locking stitch marker to keep my stitches from coming apart, that issue became a relic of the past. 🎉 When you’re ready to take a break, all you have to do is insert the stitch marker into your yarn loop and close it. No amount of tugging will pull the stitch out. It’s simple, inexpensive, and effective!
I use Boye Jumbo Stitch Markers. They’re inexpensive, soft, and easy to open and close.
Alternatively, you can use rigid locking stitch markers like these Clover Locking Stitch Markers, or get creative with similar items you might have lying around at home already, like:
- Bulb pins / safety pins
- Keychains
- Charms
- Carabiners
- Closed back earrings
Note: If you’re working with really big yarn, you’ll want to use a proportionately large marker that can’t be pulled through the stitches.
Branch out to create your own set of favorite tools!
That’s it – these 5 tools are all you need to get started and make all sorts of crochet projects! 🧶 I think this list is a solid foundation for any beginner, and these tools will last you for many years if you want them to. I can personally vouch for the quality, durability, and joy of use of all the products I’ve recommended in this post.
Of course, each crocheter is different, so as you continue on your crochet journey, I encourage you to go out and discover your own favorite set of tools. 😊 Let me know what your personal recommendations are!