
Milk bread is one of my favorite breads: pillowy soft and slightly sweet with a crumb that tears apart into satisfying bread-flakes, it’s perfect on its own or as a base for all sorts of delicious Asian breads (or sandwiches!).
I’ve made it many times with great success, so imagine my surprise when I recently made the Bolo Bun recipe (which uses a milk bread base) from Kristina Cho’s book Mooncakes and Milk Bread, and it just tasted…flat. To my great dismay, there was none of the delicious bready fragrance (best expressed, in my opinion, in Chinese as 香味) that makes eating bread so delightful.
Disappointed, but curious, I immediately set out to deduce what had happened that caused the bread to taste so flat.
The milk bread recipe in Mooncakes and Milk Bread is different from the one I usually use, but not by much, so I suspected the issue had to be something else. Then, it dawned on me that ever since moving to a new home with fancy new ovens, I’ve been using my oven’s “Proof” setting which proofs bread at a toasty 85ºF, instead of my previous methods of:
- proofing at room temperature (could be anything between 60-90ºF since we were saving energy on heating and cooling 🤣), or
- proofing in my turned-off oven with a pan of boiled water for steam and heat (no idea what temperature that ended up being).
Knowing that proofing time and temperature can play a huge role in flavor development, I figured my proofing conditions could be a likely culprit. So, what follows is my only-slightly-scientific home experiment on how proofing time and temperature affects the flavor of milk bread. Let’s take a look!
The Plan
I decided to try out 3 variations using the same recipe. Each loaf would be the same size, made with the same ingredients, and start with a bulk ferment at room temperature (66-69ºF) followed by shaping and proofing in their individual locations as follows:
- Oven on proof setting (85ºF)
- Kitchen counter at room temperature (66-69ºF)
- Refrigerator (38ºF)
I wasn’t sure exactly how long each loaf would take to proof, but I figured I’d leave them each in their respective locations until they looked ready. Each loaf would then get an egg wash and bake at 350ºF until done with an internal temperature of 200ºF.
After each loaf cooled, I would slice and taste it, then wrap and freeze the rest to taste again later.
The Experiment
I have a confession to make.
Right at the beginning of the experiment, as I was mixing the dough, I apparently dropped a piece of eggshell into the mixer and didn’t notice. So, to my horror, I was picking out bits of eggshell from this bread throughout the ENTIRE process up until baking.
I have never made this blunder before, but it served as a painful reminder not to crack eggs straight into a running mixer full of dough, because you never know when a piece of shell will sneak its way in. 😭 In any case, I figured it would not have an effect on the experiment, and it would just be me and my husband eating the final product, so I forged ahead with my extra-calcium-fortified dough.
I bulk fermented the mixed dough in an oiled container on my kitchen countertop at room temperature (~69ºF). It doubled beautifully in 1 hour.
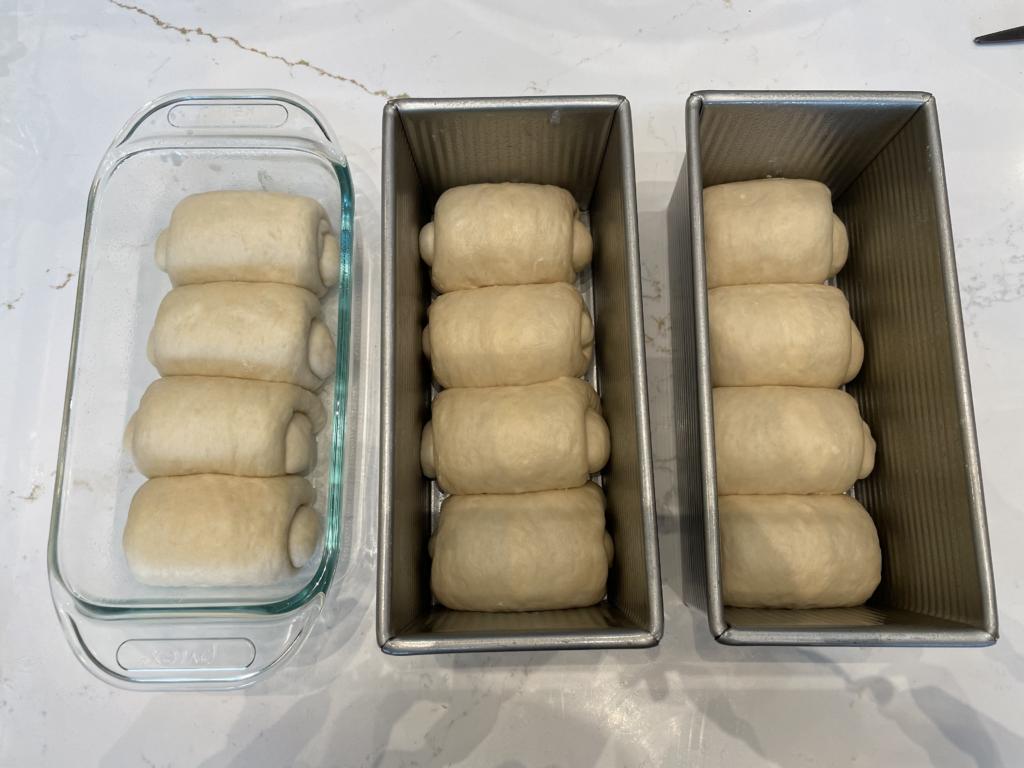
After that, I shaped the three loaves, and off they went to their designated locations.
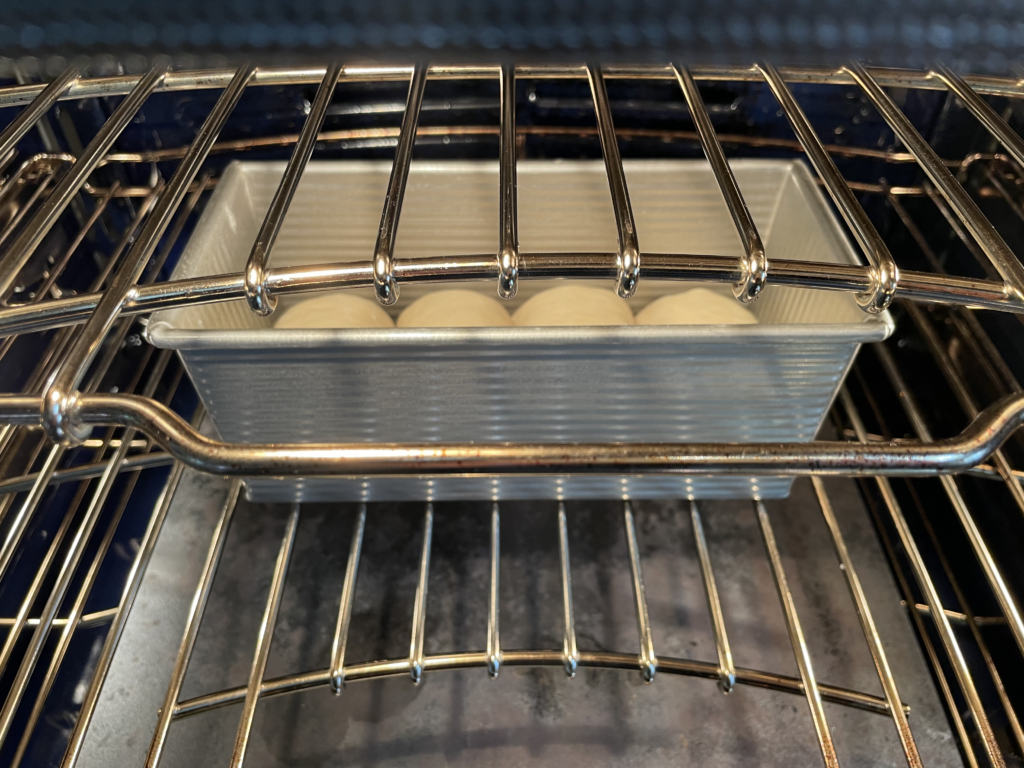
Loaf A went to the oven on the proof setting (85ºF) in a metal Pullman pan, with the cover on just to keep it from drying out. Close to the end of proofing, I uncovered it because it was starting to rise above the edge of the pan. (If you look at my photo of the baked loaf farther down in this post, you might spot a blemish on top where it actually touched the lid before I took the lid off – oops!)
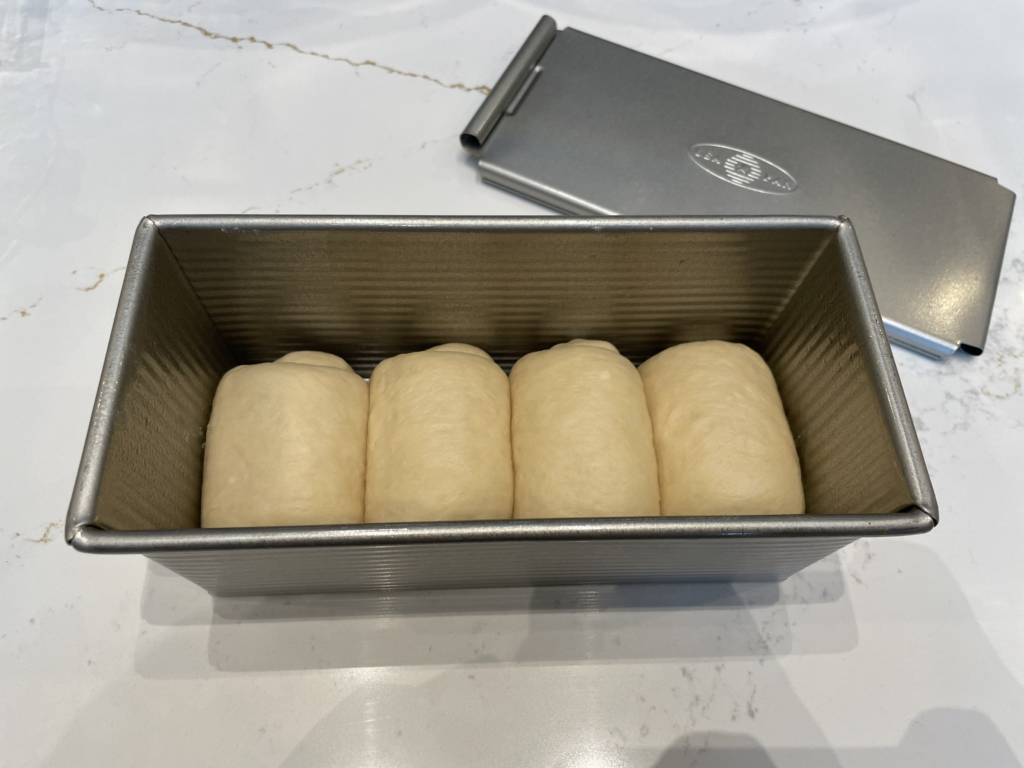
Loaf B sat on the kitchen counter at room temperature (69ºF), also in a covered metal Pullman pan. Learning from how much Loaf A rose, I later also uncovered this pan and instead put a loose plastic bag over it to keep it from drying out.
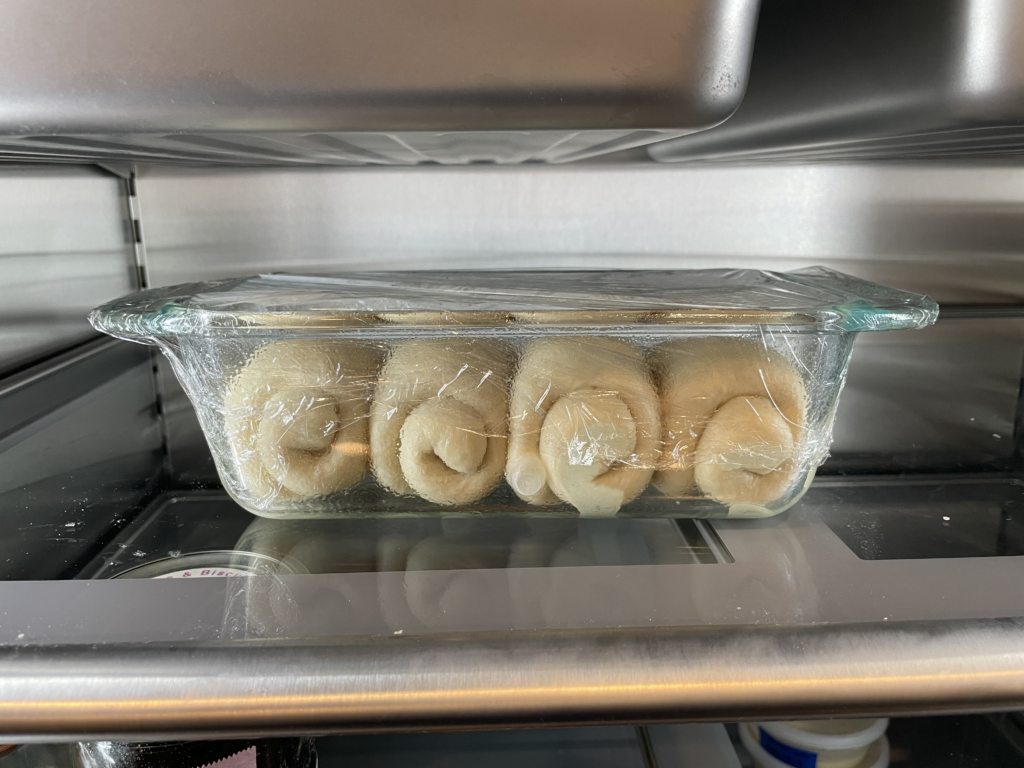
Loaf C went to the fridge (38ºF) in a Pyrex glass loaf pan covered in plastic wrap, which I later replaced with a loose plastic bag to allow more room for rising.
Here’s a summary of each loaf’s journey:
| Loaf A | Loaf B | Loaf C | |
| Bulk Ferment Temp | 69ºF | 69ºF | 69ºF |
| Bulk Ferment Time | 1h 10m | 1h 10m | 1h 10m |
| Proof Temp | 85ºF | 69ºF | 38ºF |
| Proof Time | 1h 45m | 3h | 17h |
| Bake Temp | 350ºF | 350ºF | 350ºF |
| Bake Time | 35-40m | 35-40m | 50m |
The Results
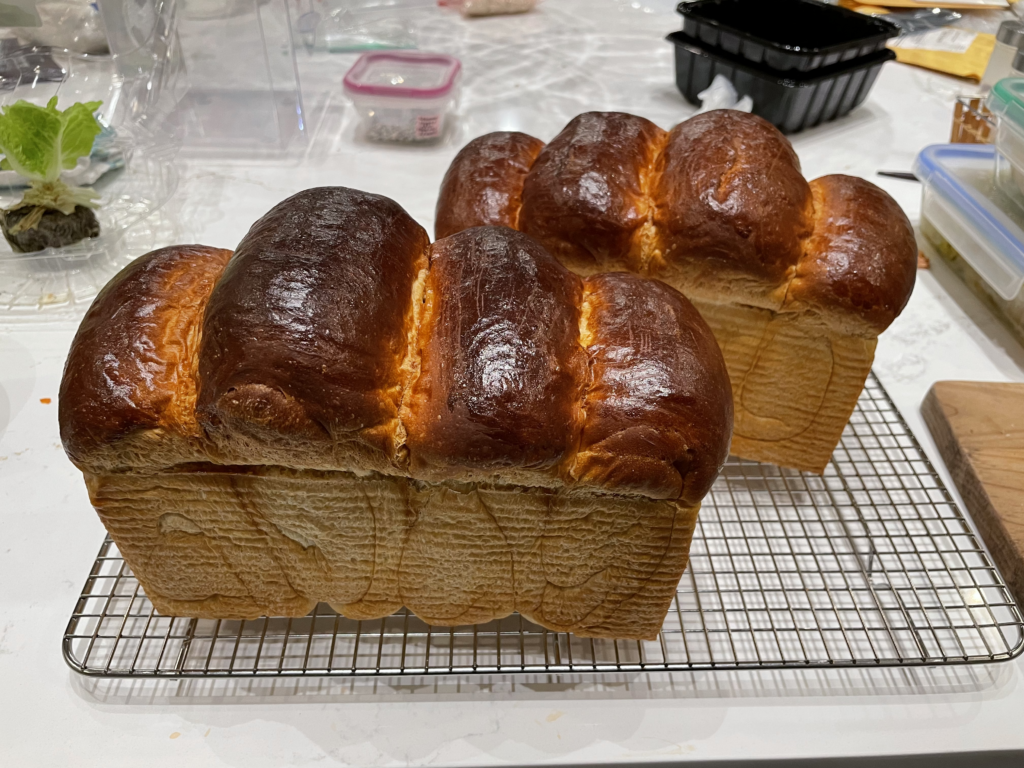
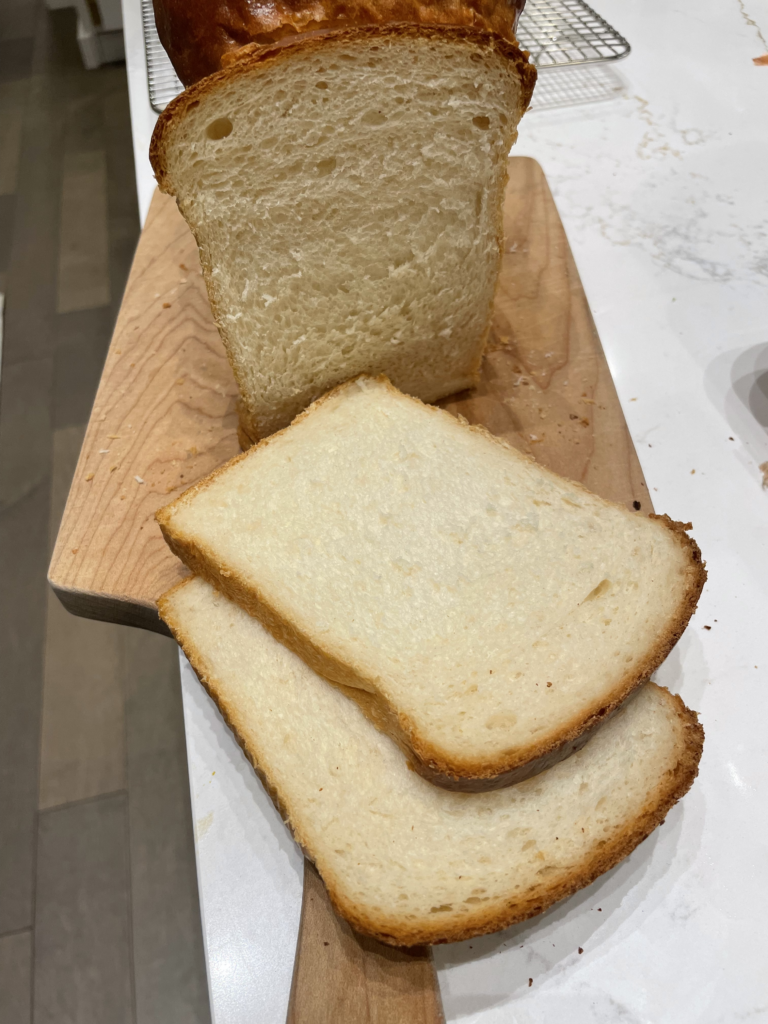
All three loaves turned out looking delicious, with a nice soft texture when cut into. We tasted Loaves A and B at the same time on the first day after they had both cooled, and Loaf C the next day after it had baked and cooled. We then tried each one again a few days later, lightly toasted from the freezer.
As I hypothesized at the beginning, the oven-proofed Loaf A turned out tasting flat. The sweetness and butteriness were there, but the flavor was very simple and faded away quickly. It didn’t taste bad, but I didn’t feel compelled to eat more of it.
Room-temperature-proofed Loaf B actually did taste better, with more flavor and lingering fragrance that I could still taste after eating it. However, it wasn’t as irresistibly fragrant as I wanted it to be (more thoughts on that later). I also noted that this loaf seemed potentially softer, but I couldn’t be sure whether that was due to its proofing conditions, or some other variance between the loaves.
I had high hopes for the refrigerator Loaf C since it had significantly more time to build flavor, but it actually tasted kind of strange. I was most surprised by this one, because I was actually expecting to like it the best! It did have more flavor, but not of the kind I was looking for – it’s hard to describe, but it tasted a little more “fermenty” than I wanted.
Loaf C also didn’t rise in the oven to the same lofty height that the other two did. I’m wondering if that was due to either 1) the squatter Pyrex pan, or 2) it going into the oven still a bit chilled from the fridge. 🤔
Despite all these critical observations, we did enjoy eating all 3 loaves toasted up for breakfast over the following weeks! 😋 The differences in taste between the loaves became less noticeable to me after freezing and toasting (and especially after adding butter or jam!), but if I was being really picky, Loaf B was still the winner.
Caveats and More Questions
It’s worth noting that the bread flour I used to make all of these loaves (including the original disappointing bolo buns) is, well…kind of old. It’s been kept in an airtight stainless steel container, and it’s not rancid! But it is a couple of years old and has also moved across states on a moving truck in the heat, so I wouldn’t be surprised if it’s lost some flavor by now. I think it still works to compare the three loaves to each other since they all used this same flour, but the old flour could be why I didn’t think any of the loaves tasted especially delicious. I’d love to update with a follow-up after getting a chance to make another loaf with fresh flour!
As mentioned before, the refrigerator loaf was proofed and baked in a Pyrex pan, whereas the other two were in uncovered metal Pullman pans. I don’t think that inconsistency would make a big difference here, but I would’ve liked to put them all in the same pans if I had enough to go around!
Even though the refrigerator loaf didn’t end up winning this experiment by the resounding margin I had suspected it would, I’m still curious whether a longer ferment could result in a yummier milk bread. Stay tuned – I’ll be doing a part 2 to this experiment trying a cold bulk ferment!
One Response
Hi there, chanced upon your site as I was doing my research as well. I understand that the material to bake the bread in matters a lot. Bakers call them the ‘oven spring’. Metal catches heat way faster than pyrex. Maybe that is why the cold loaf didn’t have the oven spring, i.e. height / loft you seek. If you are doing this test with fresh flour again, I would love to hear if you get a different result for the cold loaf in the pullman tin. 🙂