I love scones as a delicious and comforting breakfast or tea time treat! These simple quick bread triangles are the perfect canvas for any flavor of spread you like, and the scones themselves can be infinitely customized with all sorts of flavorings and add-ins such as fruits, nuts, and spices.
For a recent tea time with friends, I opted to try this Cream Tea Scones recipe from The All-Purpose Baker’s Companion because I was short on time to prepare. The recipe is super easy, only requiring a brief mix by hand before gathering the dough together to cut and bake. I went the simplest route by making plain scones, with no currants or other add-ins, and they turned out great!
Are you skeptical because all the scones you’ve had so far have been disappointingly dry and crumbly? I completely understand! I’ve sadly had many a tough, mouth-drying scone, even from upstanding establishments. 😞 However, I urge you to give these cream tea scones a chance – they’re super easy to whip up and turn out beautifully soft and fluffy on the inside, with a delicately baked crust. They’re a bit like a cross between a biscuit and a cake, and not dry at all.
Mixing the dough
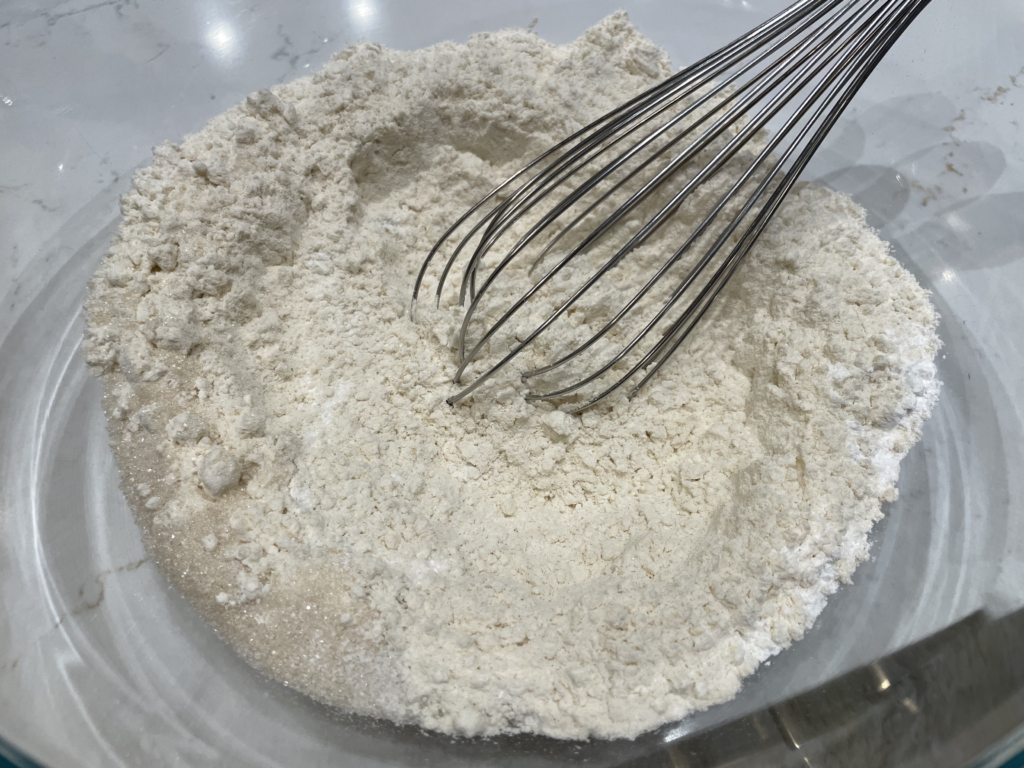
The basic process for mixing this dough is super simple: you mix the dry ingredients and the wet ingredients separately, then gently combine them until they form a cohesive dough.
I went with the less sugar option (50g sugar). Since a type of salt was not specified, I used sea salt and 1 tsp came out to 5g. (Note: The online version of this recipe specifically says to use table salt.)
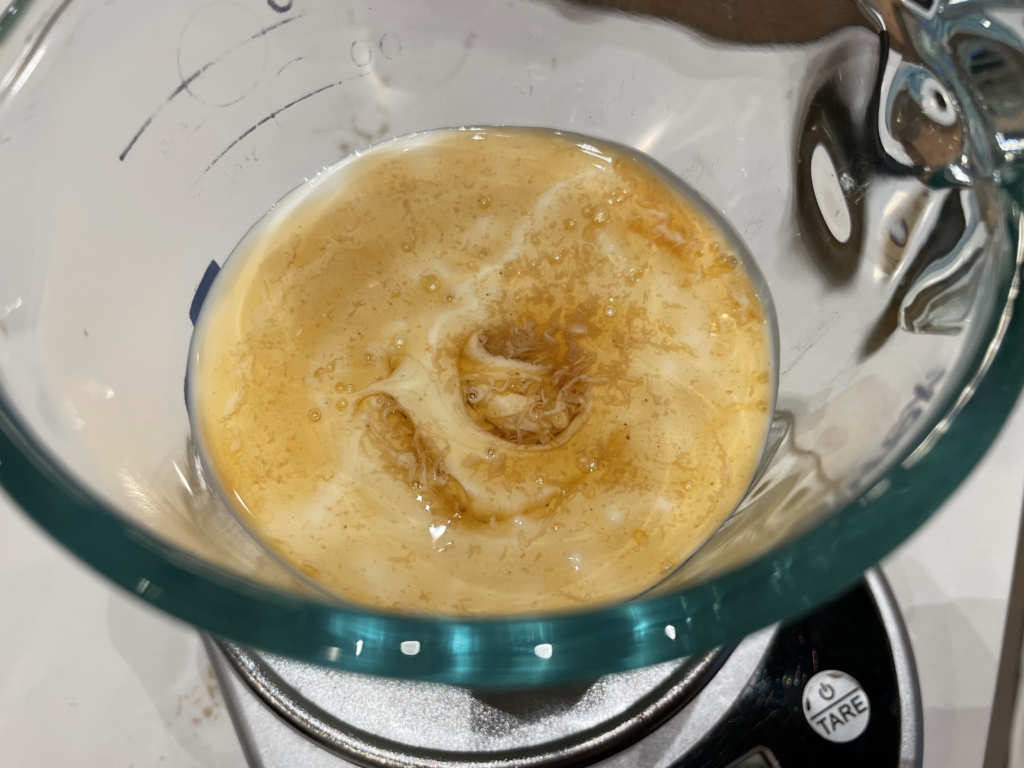
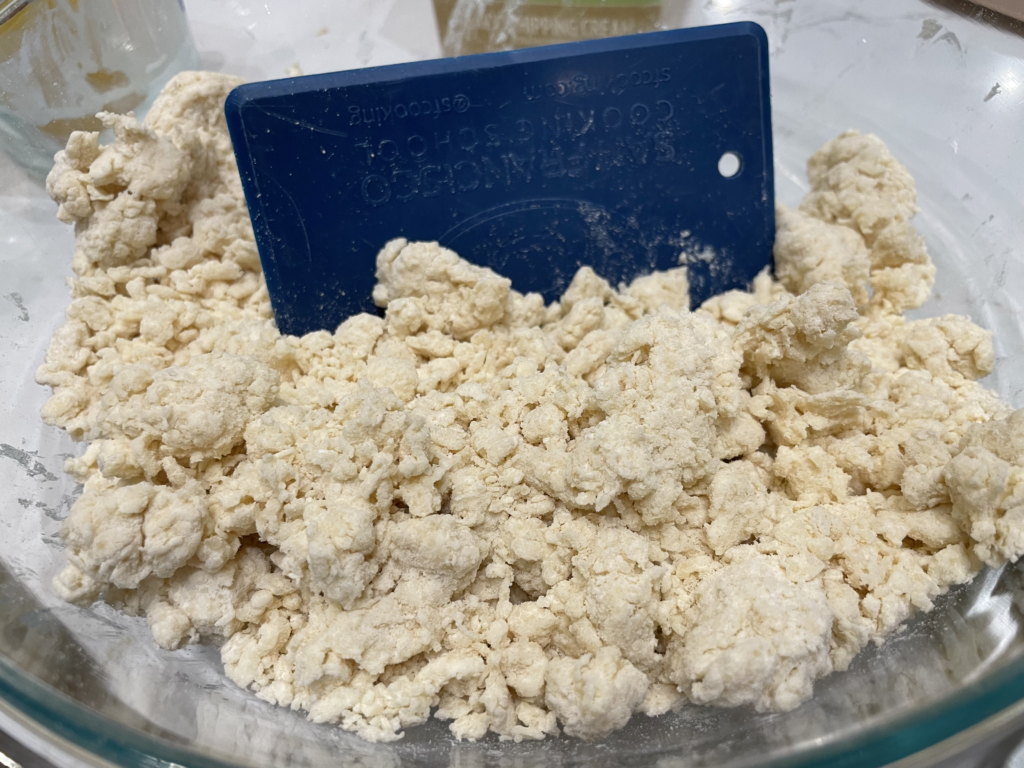
I drizzled the cream and vanilla mixture into my dry ingredients while gently tossing with a spatula, just to get everything combined with as little mixing/kneading action as possible so the dough would not become tough. After the dough started coming together, I switched to a stiff bowl scraper to flip and cut through the dough. I recommend this method because it helps distribute the moisture without kneading and toughening the dough – we want tender, moist scones! 😋
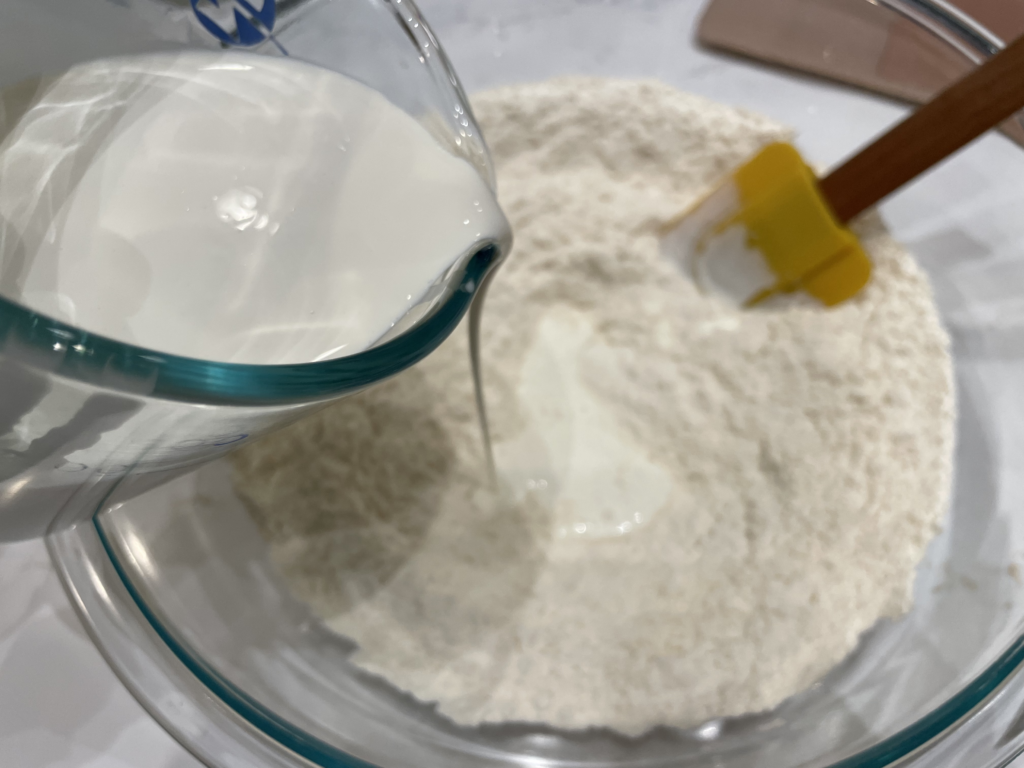
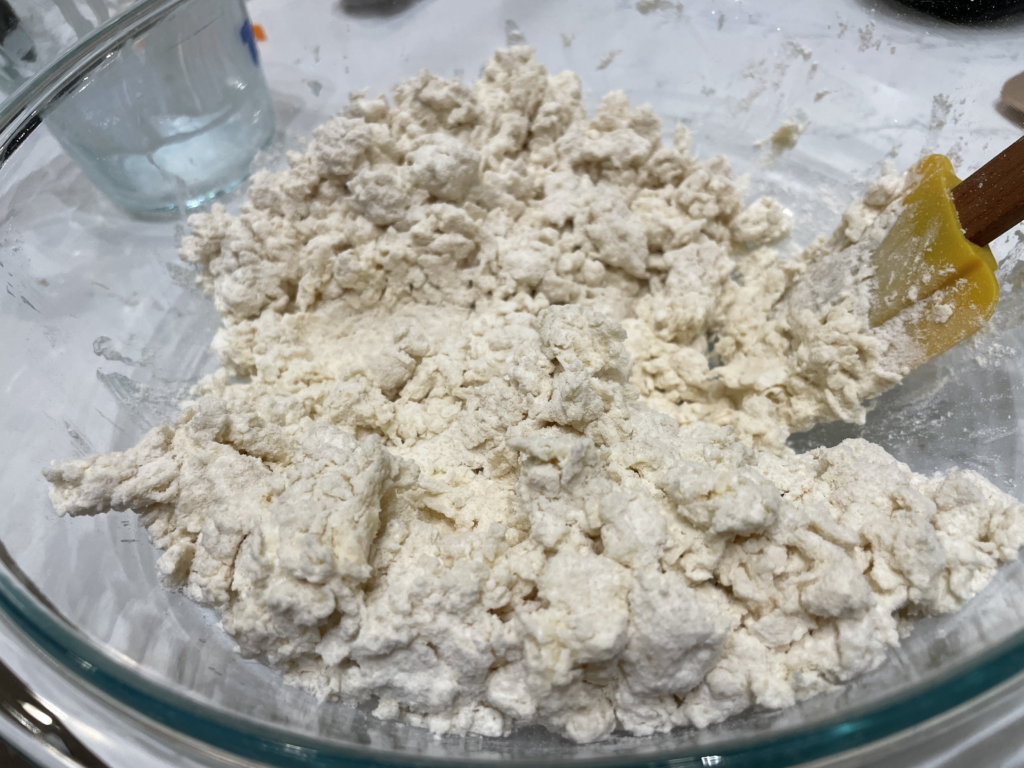
The recipe provides an amount of cream to start with, after which you can add “up to 3 tablespoons” (39g, according to the ingredients list) more as needed to get the dough properly hydrated. My dough still looked very dry after the initial liquid was added, so I gradually drizzled more cream on the spots that looked dry, cutting and tossing as I went, just until there was no dry flour remaining.
I actually ended up having to add a little more than 39g of extra cream – it took me a total of 42g extra cream to hydrate everything.
Since many factors can affect how much liquid you need in your specific case, I’d recommend using the following guidelines to reach the right hydration:
- If there are obvious wetter clumps of dough, use your bowl scraper to cut through them and toss them together with the dryer bits of dough. This will help distribute moisture.
- Once you’ve done that, if no powdery dry spots remain, you’re done!
- Otherwise, if the dough still has dry areas (look for powdery flour and bits that definitely won’t stick together even if pressed together), drizzle a tiny bit of cream in one of the dry spots.
- Toss and cut the dough with your bowl scraper and repeat from step 1.
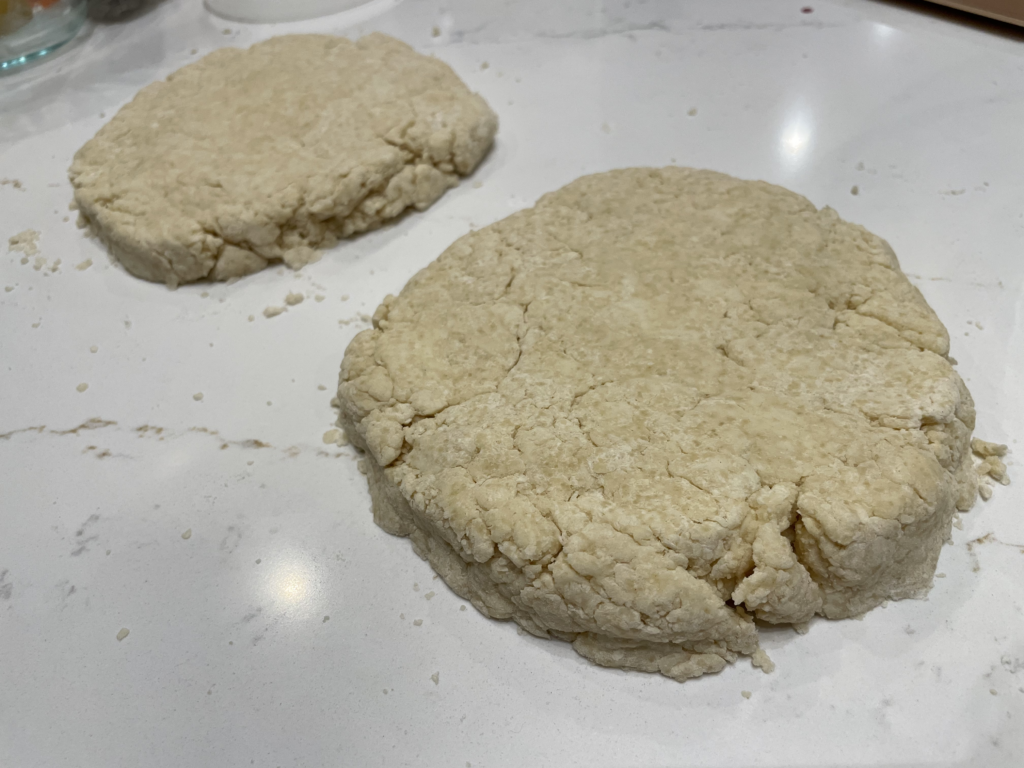
Once my dough was ready, I formed it on the countertop into two rounds, about 5½” diameter and ¾” thick. With any biscuit or scone, I typically pat the dough bits together just until they stick in a cohesive shape – it’s ok to leave some cracks and uneven spots as long as it all sticks together. Excessive kneading or crushing to get a more uniform appearance will work the dough further and create a tougher scone, so I try to touch it as little as possible. (I personally like the character of the bumps and cracks, too! 😊)
Since the dough was still fairly dry, I did have some crumbles on the edges that didn’t want to stick. If this happens with yours, no worries! You can just push the crumbles against the sides before baking, or pick them up and lightly press them into the dough somewhere.
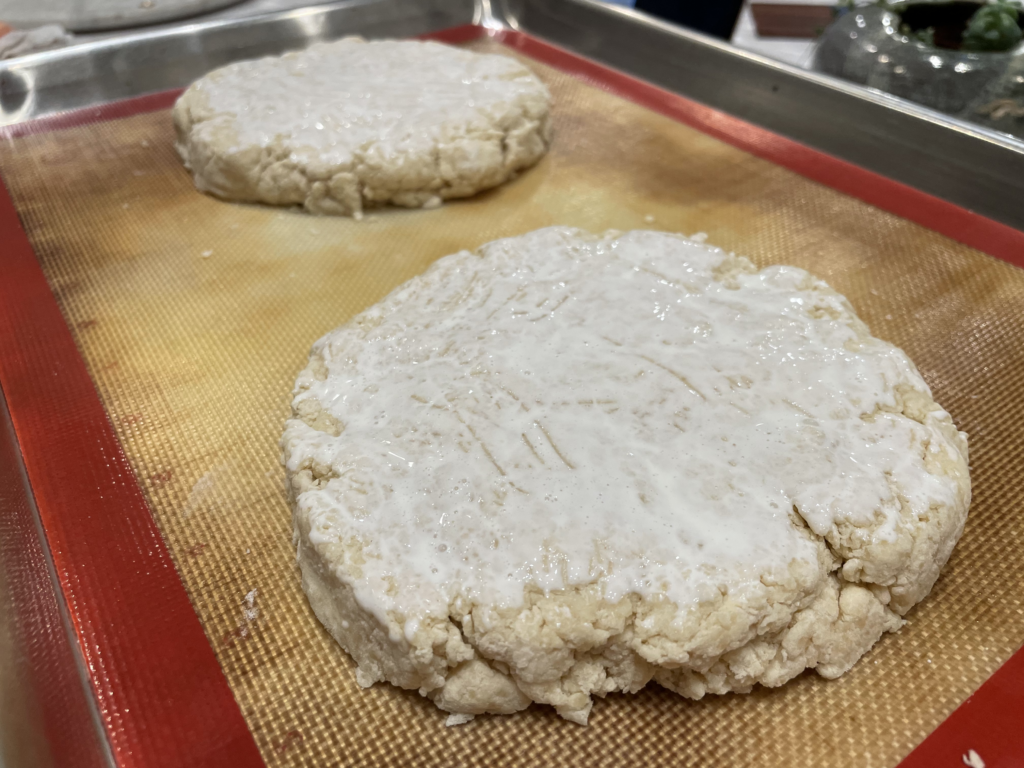
I lined a half-sheet baking pan with a silicone mat and transferred each round onto it by carefully sliding my bowl scraper under it and supporting with my other hand. This can be a bit delicate, and I honestly wasn’t sure there was a lot of value in forming the rounds on the countertop first and transferring after…next time, I might just form the rounds directly in my sheet pan!
Baking & eating
I cut the dough rounds into 6 wedges each with the straight side of my trusty bowl scraper. (I love how a single tool can serve so many purposes in this recipe!) All 12 scones fit perfectly on a half-sheet pan with an inch of space in between the pieces.
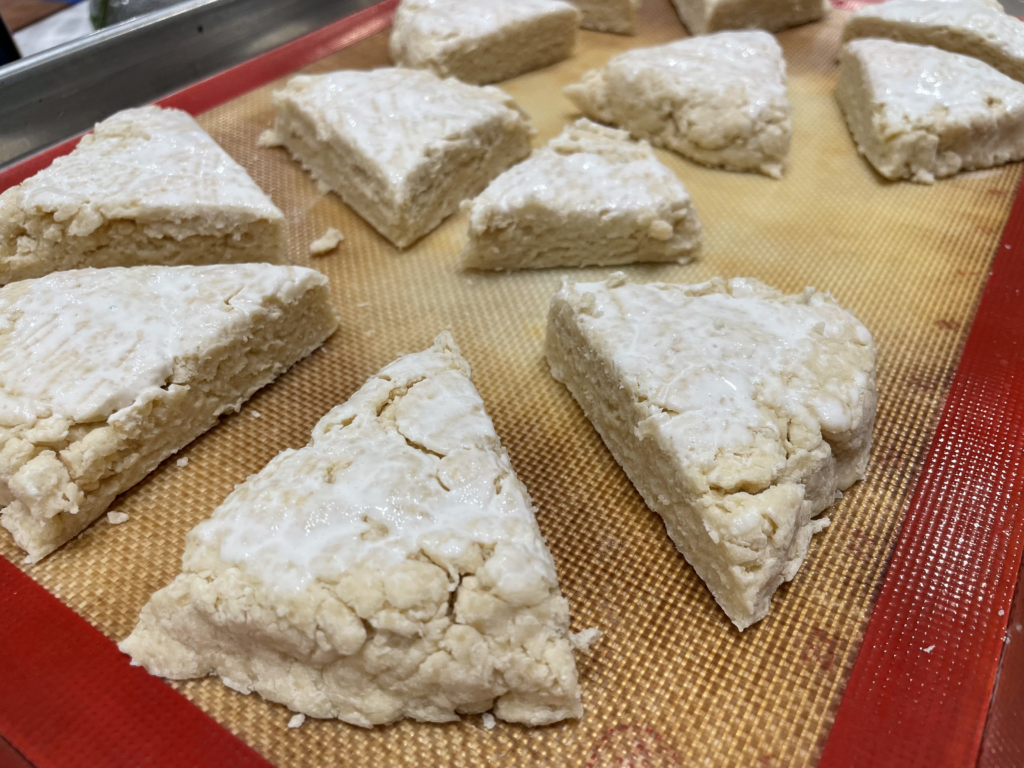
As recommended in the recipe, I popped the whole pan of unbaked scones into the freezer while I waited for the oven to preheat. I’m lucky to have a large freezer that can fit a half-sheet, but if you don’t have the freezer space, you can probably also keep them cold in your refrigerator.
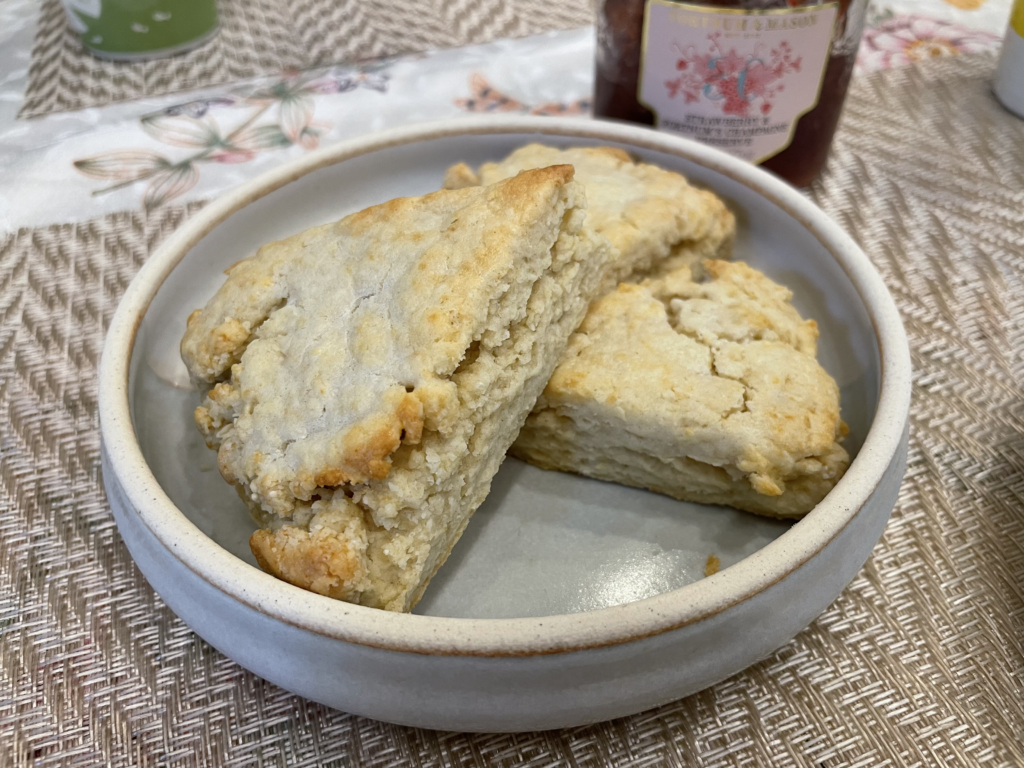
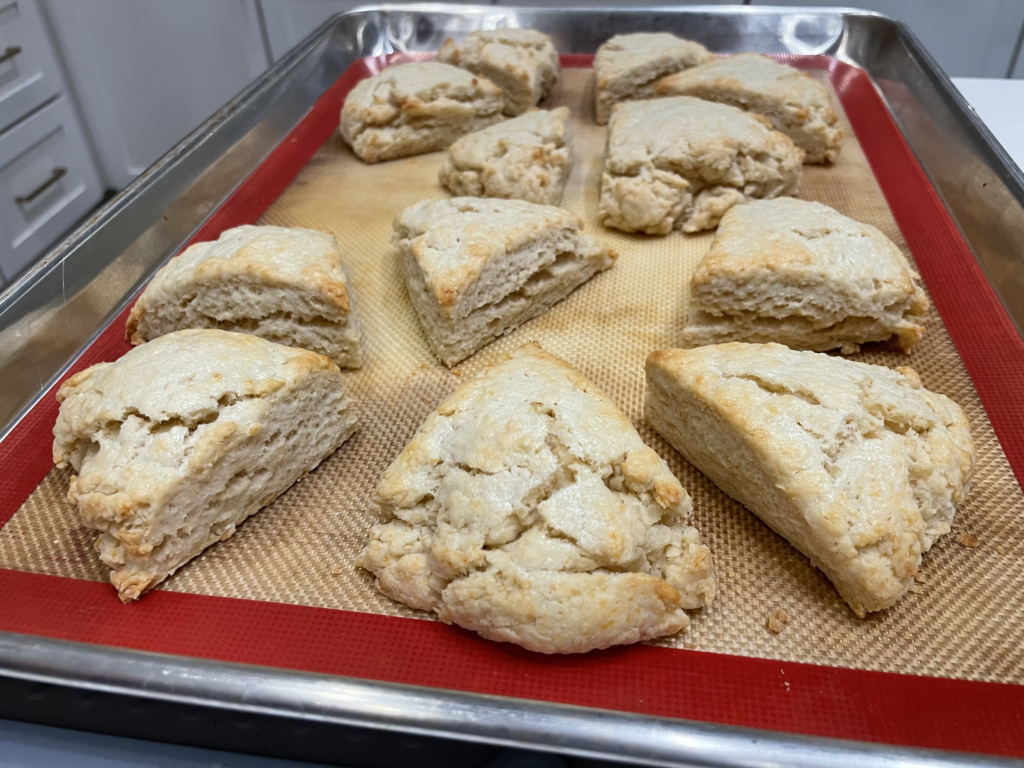
I had to try a warm scone straight out of the oven, and it did not disappoint! It came out with a delicately baked, dry exterior and a tender, fluffy interior. Eaten on its own, the scone had a pleasantly creamy taste, not too sweet, with just a hint of salt. The mild sweetness makes these scones perfect as a base for jam without becoming over-the-top sweet.

We loved eating our scones with Fortnum & Mason Strawberry & Champagne Preserve – so delicious! 🍓
My tips for making this recipe
Keep the dough cold and handle it gently
For the most tender scones, I always keep two guidelines in mind: keep everything as cold as possible, and be gentle with the dough.
This means it’s a good rule of thumb to touch your dough as little as possible! Touching transfers heat from your hands and also contributes to working the dough, which will gradually form more gluten and make it tougher. You’ve probably noticed I use my stiff bowl scraper a lot to avoid touching and working the dough.
My bowl scraper (similar to these Ateco bowl scrapers) is flexible, but stiff enough to cut with. It has a curved side which I use to cut dough and scrape in bowls, and a straight side which is great for scraping, lifting, or cutting dough on a countertop. Its versatility helps you do a lot with your dough without directly touching it. Given how affordable they are, I recommend having at least one in your kitchen!
A cold dough ensures the fat in the cream stays solid. Solid fat traps water that then becomes steam in the oven, helping to create air pockets and rise in your scones. If your dough ever starts getting warm, you can always pop it into the fridge or freezer for a few minutes to chill back down before continuing!
Make-ahead option 1: bake and freeze
These scones are an excellent candidate for making ahead and freezing for later! If you plan to eat them within the next week or so, you can just toss the baked and cooled scones into a freezer bag, squeeze out the air, and put them in the freezer. For medium-term storage of several weeks to months, I’d opt for vacuum sealing in reusable vacuum bags.
To reheat, depending on how much time I have, I’ll choose from one of these options (listed from least to most thinking ahead):
- Microwave for 1 minute straight from the freezer, then pop them into the toaster oven for a few minutes to finish off
- Go straight from the freezer to the “keep warm” setting on my toaster oven at 200ºF for 15+ minutes
- Take out from the freezer to thaw for an hour, then toast briefly in the toaster oven
Make-ahead option 2: freeze unbaked and bake later
I’ve found that reheated frozen scones are pretty much just as wonderful as freshly baked, but if you want the ultimate freshly-baked experience, you can freeze unbaked scones, too!
Just follow all the steps of the recipe up until the baking, freeze the scones solid, and wrap them up for later. When you’re ready for your fresh scones, just bake them directly from frozen and add a couple of minutes of baking time if needed!
If this option is up your alley, you might enjoy reading this informative article at King Arthur Baking Company on how to freeze scones and bake them later. According to their testing, unbaked scones will last about 3-4 weeks in the freezer before they start losing quality. If you plan to go longer than that, you might want to try option 1 of freezing the baked scones!