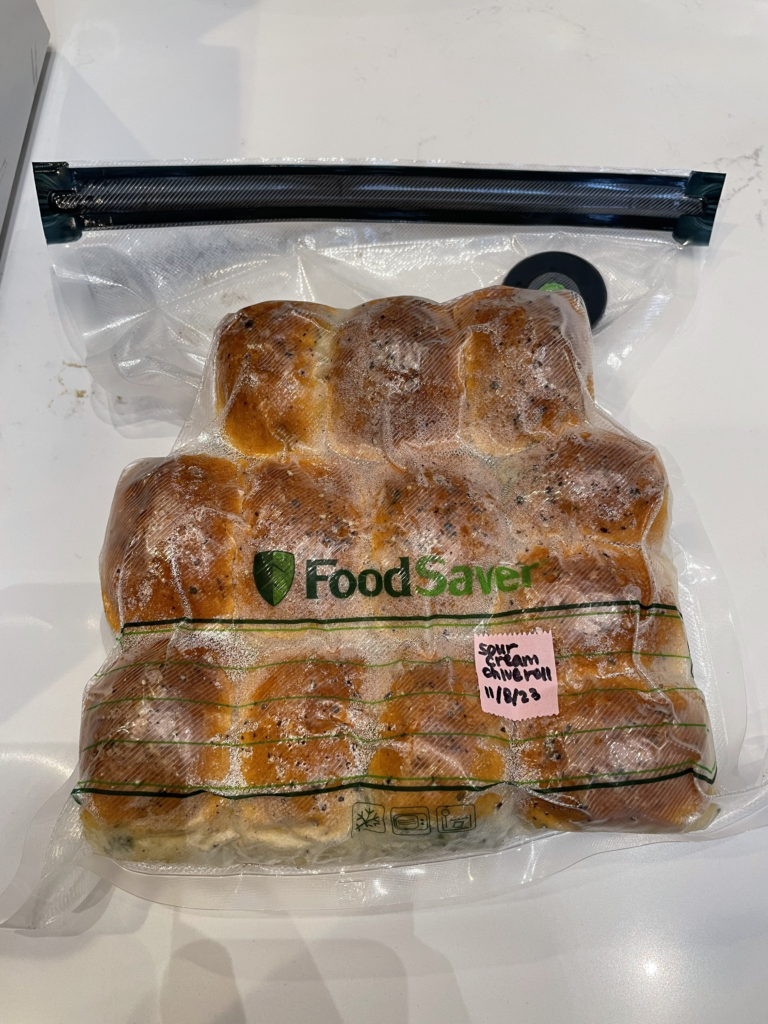
I like to freeze any baked goods I’m not planning to eat the day they’re made (or bought). As long as they’re sealed as airtight as possible, most baked goods can be stored in the freezer for at least a few weeks, even months, without much loss in quality. That includes bread, laminated pastries, muffins, cake, and cookies – just thaw at room temperature or in a warm oven, and you’re set. No more stale or moldy treats, and no pressure to eat them quickly, either…it’s a win-win! 😀
Keeping frozen food fresh while reducing waste
Before getting a vacuum sealer, I would wrap each piece (or bundle) of food in plastic wrap or aluminum foil and then put that in a Ziploc bag. I’d then squeeze as much air out of the bag as possible before sealing it and putting it in the freezer. This method works fine, but it’s not as airtight as it could be, and I kept feeling guilty for creating plastic waste. (I wash and reuse whenever I can, but it’s often hard to reuse plastic wrap!)
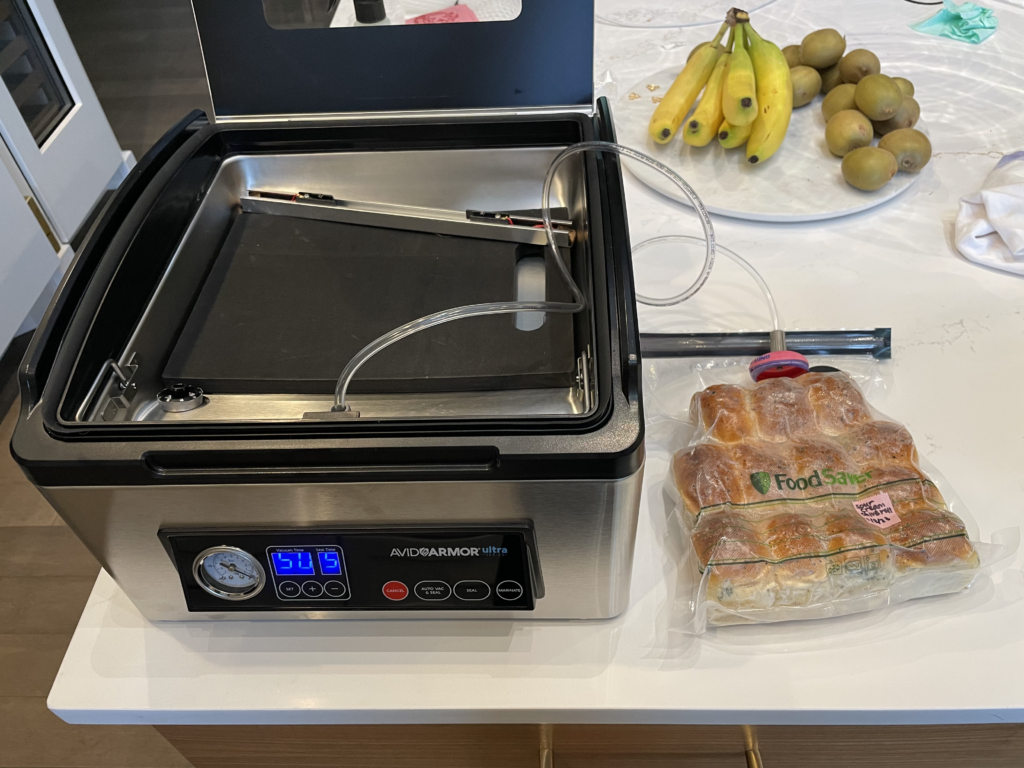
After much research and hemming and hawing, I finally bought an Avid Armor Ultra Series Model USV32 Chamber Vacuum Sealer. I’ll spare you the in-depth details of my decision-making process here, but in short, this model checked the boxes on my list for a reasonably affordable, durable, home-use chamber vacuum sealer with an accessory hose and adaptor. The accessory hose is a crucial piece for vacuum sealing anything you want to seal outside the chamber, such as mason jars, resealable vacuum bags, or vacuum-seal containers.
If you’re wondering if you can use the Avid Armor accessory hose with FoodSaver resealable bags, the answer is yes*!
*But not right out of the box – keep reading to see how I’ve gotten this to work. 😊
Using Avid Armor USV32 with FoodSaver resealable bags
Officially, Avid Armor only states that its accessory hose is compatible with Magic Vac accessories. Unfortunately, neither Avid Armor nor Magic Vac produce resealable vacuum bags, nor do they recommend any other manufacturer’s resealable bags for use with the Avid Armor vacuum sealers. (Disclaimer: I didn’t reach out to Avid Armor directly to ask; I just looked for the information on their website.)
I Googled and read through tons of comments on both Amazon and the Avid Armor website, looking for information shared by users on using the USV32 with resealable bags, and found almost nothing. The only tip I could find was a review by Lynnea H. on the Avid Armor Vacuum Sealer Accessory Hose, which simply states, “It seals the Food saver [sic] vacuum port bags just dandy.”

Armed with that single vote of confidence, I took a chance on the FoodSaver Reusable Vacuum Zipper Bags, which come in both gallon size and quart size. (Read below for more info on this choice.)
You need an adaptor
The first time I tried to use the Avid Armor accessory hose with the FoodSaver bags, I had no experience with either, and I tried to just line up the end of the hose with the slit in the bag where the valve was. It did nothing. 😅😂
It seems obvious to me now, but it turns out you need suction over the entire valve area for the air to get vacuumed out. Using just the small connector fitting that comes with the accessory hose won’t work.
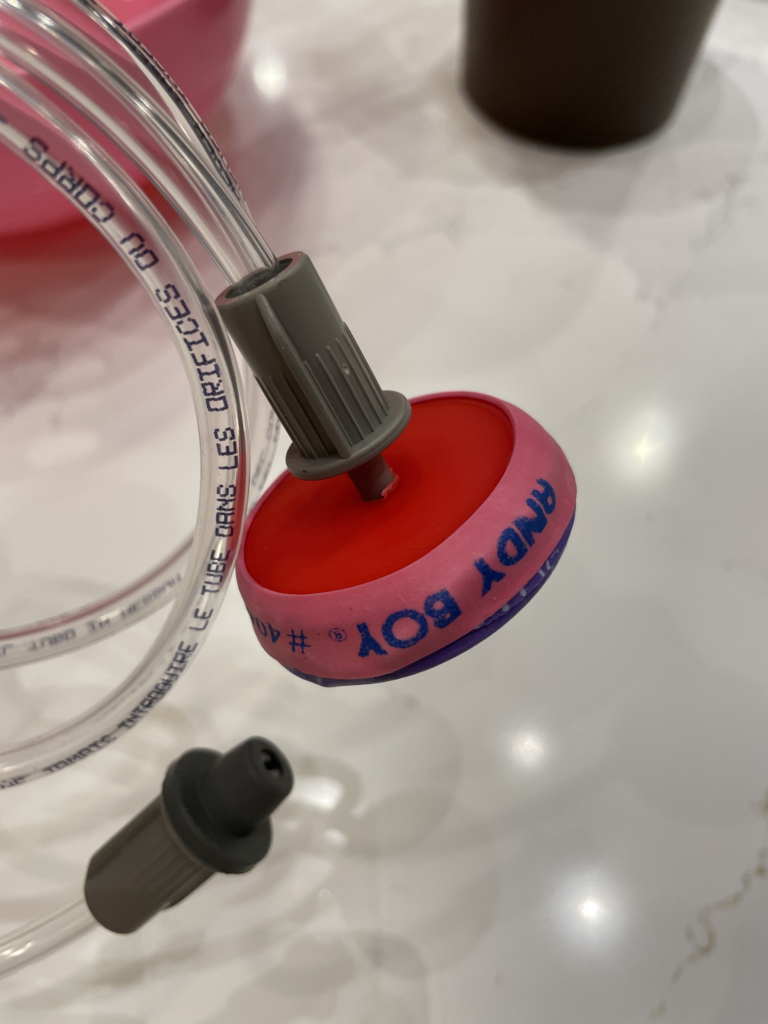
Luckily, my inventive sister was visiting at the time, and she devised a DIY adaptor on the spot using materials we had right there in the kitchen: a plastic bottle cap and rubber bands. 🛠 We drilled a hole just big enough to fit the accessory hose connector into a bottle cap large enough to cover the valve, wrapped a couple of thick rubber bands around the bottom to act as a gasket, and BAM! It worked! 🎉
I don’t particularly recommend making one of these yourself – there’s an actual FoodSaver Handheld Sealer attachment you can buy – but to be honest, I love our MacGyvered one and I’m still using it. 😂 I can’t personally speak to the FoodSaver attachment and its compatibility with the Avid Armor machine, because I’m holding on to this one (and fond memories of my sister hacking it together!) for as long as I can. 😊
Which FoodSaver zipper bag is best for freezer storage?
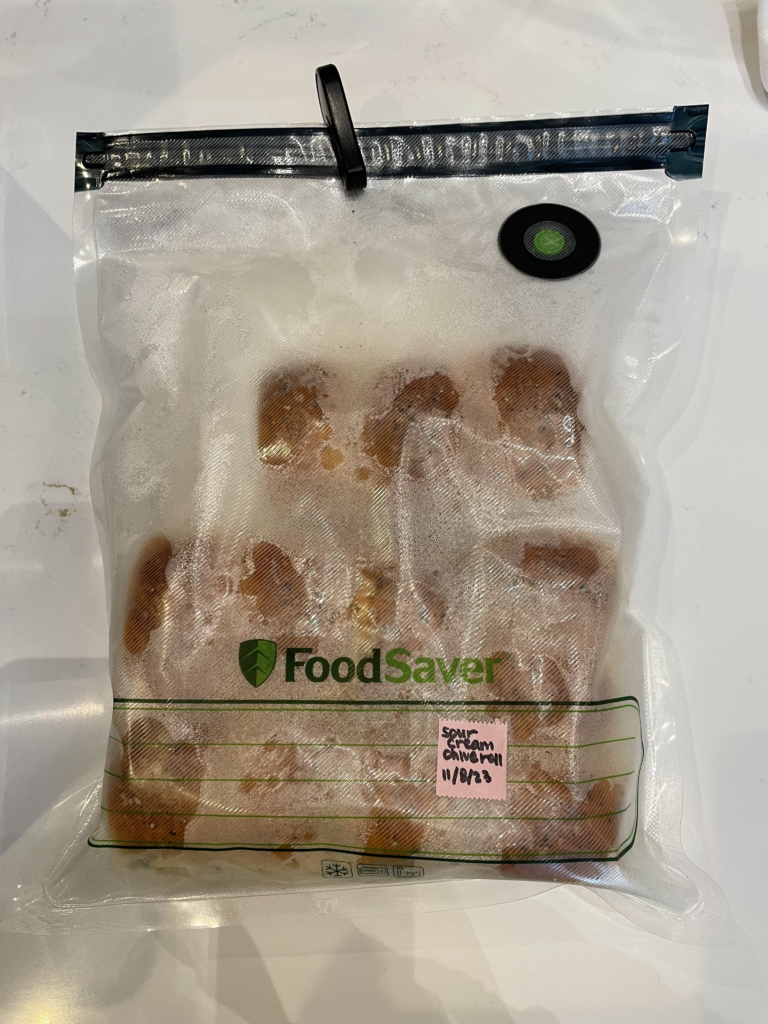
FoodSaver produces two types of zipper vacuum bags: Vacuum Zipper Bags (white and grey) and Reusable Vacuum Zipper Bags (black and green). It’s not immediately obvious what the difference is between the two, but after some digging, I found an FAQ page stating that “The zipper bags are designed for refrigerator items, such as deli meats and cheeses, that you access everyday [sic]. We do not recommend for long-term freezer storage. However, Reusable Vacuum Zipper Bags and regular heat-sealed bags are perfect for freezer storage.”
Tl;dr: For freezer storage, make sure you’re using the black and green Reusable Vacuum Zipper Bag!
Before you commit to buying a bunch of the bags, though, I recommend taking a look at the “Things to watch out for” section at the bottom of this post so you know what these bags aren’t suitable for.
What fits in a FoodSaver Reusable Vacuum Zipper Bag?
Here’s what I use my FoodSaver resealable vacuum bags for, so you can get an idea of their size and versatility.
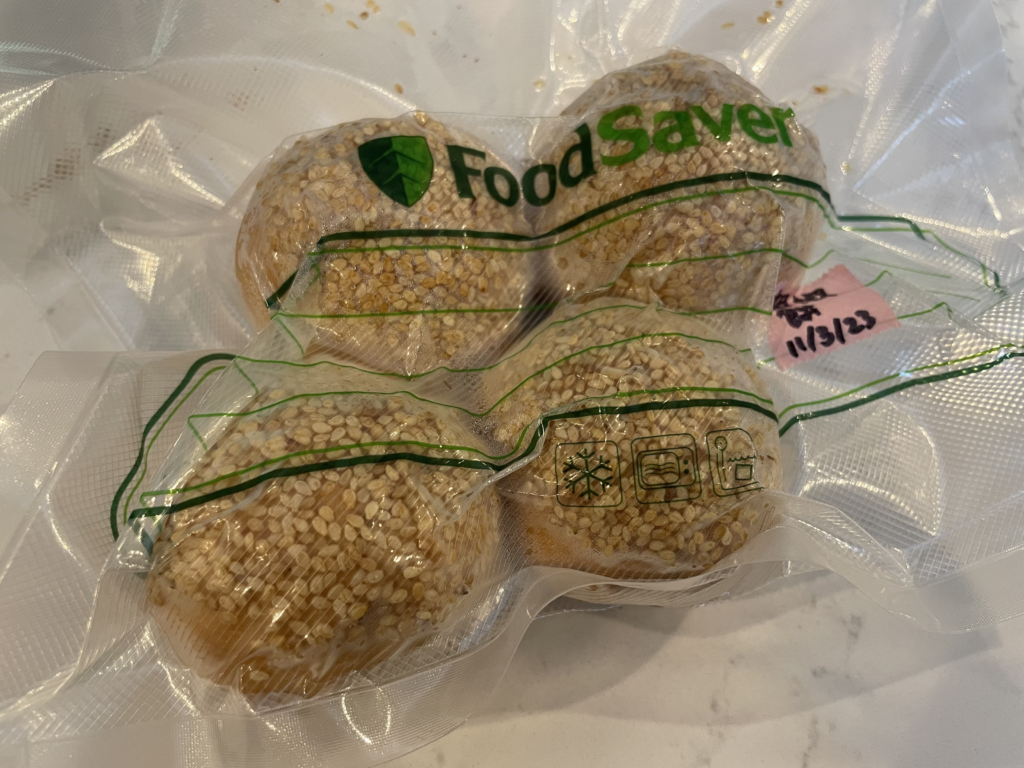
| Quart Size | 3-4 slices of sandwich bread 2 shaobing 3-4 regular-size muffins 1 lb sliced deli meat or ground meat |
| Gallon Size | Single 10″ pizza Baguette or half baguette, sliced (depending on size of baguette) 12 dinner rolls 4-5 lb raw pork shoulder |
How to freeze food in a FoodSaver Reusable Vacuum Zipper Bag
Here are the steps I take every time I freeze food in a vacuum zipper bag.
- Pre-freeze food if it is delicate, contains air pockets, or has significant liquid content (can be inside the bag or separate).
- Place frozen food in the zipper bag, separating pieces with parchment paper if needed.
- Seal the zipper tightly using the clip, squeezing out excess air.
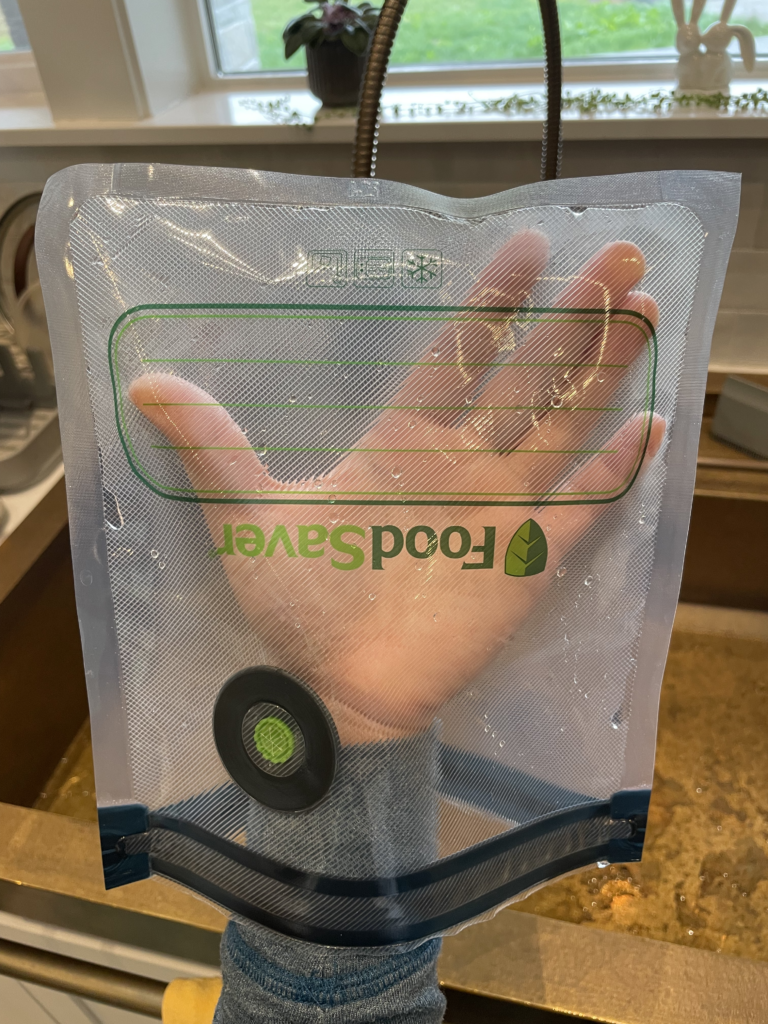
- Place the vacuum accessory hose adaptor over the bag’s valve.
- Start the vacuum (“Auto Vac & Seal” on the USV32) and help move air in the bag toward the valve as needed while the vacuum is running.
- Stop the vacuum sealer (“Cancel” on the USV32) once the bag is sufficiently vacuumed.
The pre-freeze step fulfills several functions. It:
- Freezes items with moisture content (e.g., freshly sliced bread) separately so they don’t get stuck together in a block
- Hardens delicate items and items with air pockets, making them less likely to be crushed during the vacuum process
- Solidifies liquid so it won’t get sucked out and muck up or break the vacuum sealer
Parchment paper between items or groups of items that have moisture content can also make them easier to separate when you want to remove portions of your frozen food.
How to clean vacuum zipper bags
These bags are pretty simple to wash out with a sponge and a bit of dish soap. I don’t turn them inside out or anything – just scrub inside, rinse out, and air dry.
The hardest part about air drying any food storage bag is getting the inside (especially corners!) to dry. I tried at first to turn the zipper part inside out so the structure would keep the bag open, but because the material is so thick and the seams on the edges are pretty rigid, I felt like that approach put more stress on the bag material than I liked.


After some experimentation, I’ve found this approach that works really well for me:
- Put one hand inside the bag, using it to make sure the bag is fully open. Pay special attention to seams and corners – water easily gets trapped there!
- Gently create a valley in the center of the bag (like a “karate-chopped” pillow). Adjust as needed to make sure all the seams are still open.
- Set the bag upside down or on its side to air dry. It should hold its shape.
This method is quick, effective, and doesn’t put undue stress on the bag material, so hopefully it’ll help your bags last longer!
Things to watch out for
While I love my FoodSaver bags and use them almost daily, I have discovered a few things to watch out for if you are considering these bags.
The vacuum seal isn’t perfect
I’ve found that air often eventually gets back into sealed bags. At first, I wasn’t sure if it meant I didn’t seal the bags tightly enough, but now that I’ve been using them for a long time and making sure to seal them with the included zipper tool, I doubt it’s due to user error. Given that the zipper and valve are both potential spots for failure/leakage, I’m not surprised that these wouldn’t be as effective as a regular heat-sealed vacuum bag.
Because of this, I recommend using the FoodSaver Reusable Vacuum Zipper Bags for short-term or medium-term storage of food items that you don’t mind getting a little bit of air contact. For example, I love using them to freeze bread I plan on eating within the next few weeks, but I would use a heat-sealed bag for meat I want to keep for many months.
When I do notice air intrusion and I’m not sure I’ll eat the sealed food soon, I just take the bag back out, re-vacuum it, and toss it back in the freezer.
Sealed bags are really hard to open
Maybe this is a good thing as a testament to the strength of the zipper seal, but the sealed bags are really hard to open! There isn’t much material to hold onto to pull the double zipper open, and the zippers zip very tightly, especially when there’s a solid vacuum on the inside. Even though I have a reasonably strong grip, the bags are often difficult enough for me to open that I wish I had a tool to help with it.
Sometimes I’m tempted to use my nails to peel apart the zippers, but be warned – you can accidentally damage the zippers this way and compromise the seal for future use. (Speaking from experience…oops! 😬)
I have found that the quart bags are a little easier to open than the gallon ones, probably because the zipper is shorter.
Difficulty opening might be an issue for anyone with a weaker grip or a hand injury. I’ll update if I find a good tool to help with opening the bags that also won’t damage them!
Zippers on the gallon bags break easily
After heavily testing these bags since mid-2023, I’m happy to report that the quart bags have held up very well to many rounds of washing and reuse. As of this update, I have been using them nonstop for the past ~6 months, and they all look as good as new!
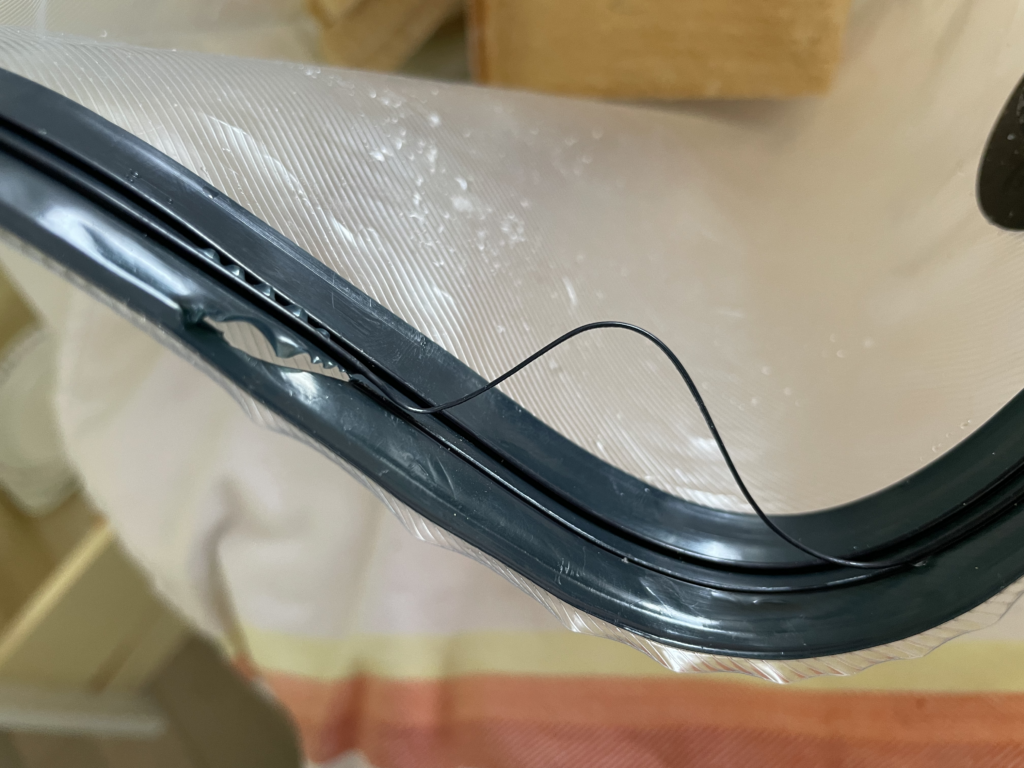
Unfortunately, I can’t say the same for the gallon bags. I’m guessing because the longer zippers are tighter and harder to open, at this point, every single gallon bag at this point has had part of the zipper tear off like in the photo above. I’ve tried to open them as gently as possible, but it seems like the zipper seals so tightly that the zipped-in part ends up detaching from the side of the bag rather than unzipping.
In some cases, I have kept reusing the bags when the broken area isn’t too large, but once the bag is compromised, it gets worse with each reuse. Bummer! I had been really stoked to use the gallon bags for storing small whole pizzas, but I’ll probably start looking for a more durable alternative.
Post Updates
Mar 8, 2024: Added information on durability of the bags after ~6 months of frequent use.